If you collect form submissions using Gravity Forms, you can add them to Sell as leads using the Zapier integration (see Using Zapier with Sell).
To set up Gravity Forms to create leads in Sell
- Create a Zapier account, if you don't already have one.
- Follow the steps described in Using Zapier with Sell.
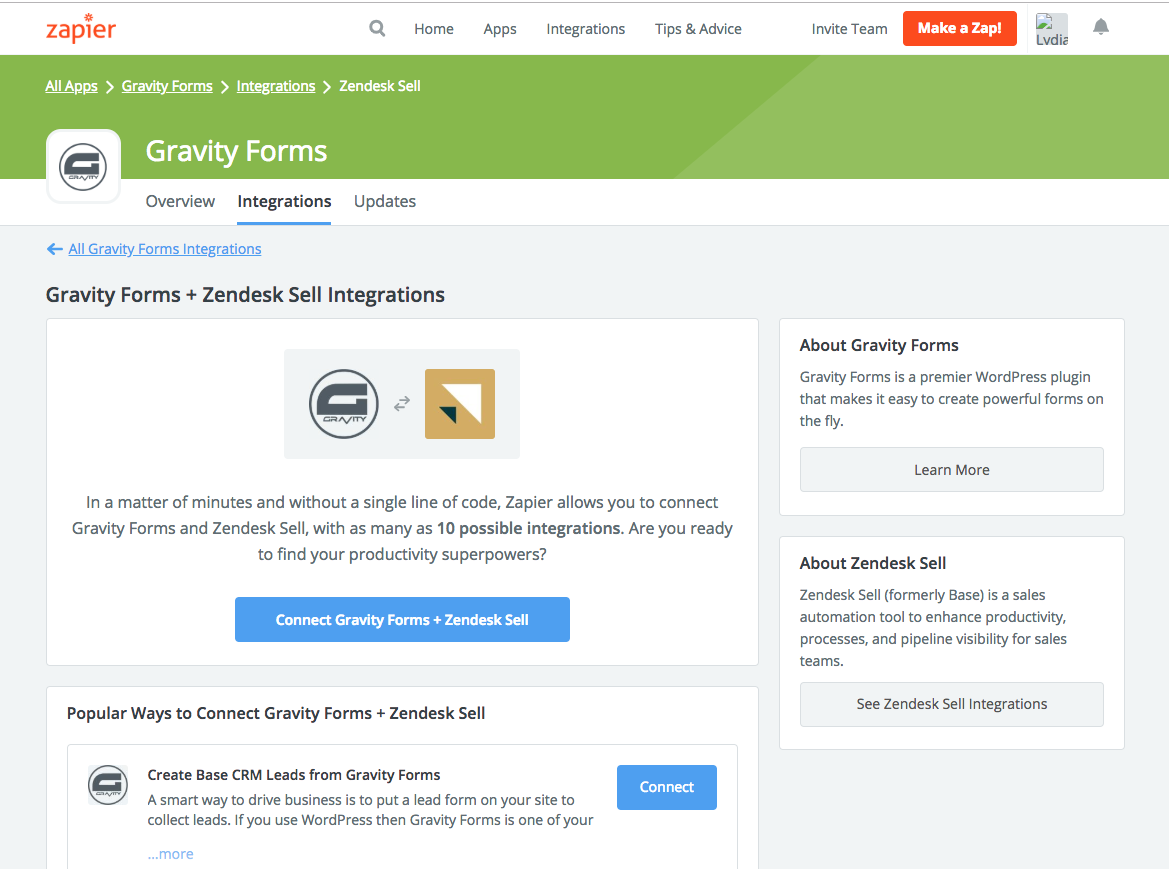
- Or, go directly to Gravity Forms + Zendesk Sell Integrations.
- On the Gravity Forms + Zendesk Sell Integrations page, provided you've set up a Zapier account and you're signed in, you can click Get Started–Use this Zap!.
- Click Connect Gravity Forms + Zendesk Sell.

- On the next page, click Test This Step to ensure that it is set up correctly.
- Mark the form you want to use as active and to insert the form URL to your new Zap (see Using the Zapier Add-On).
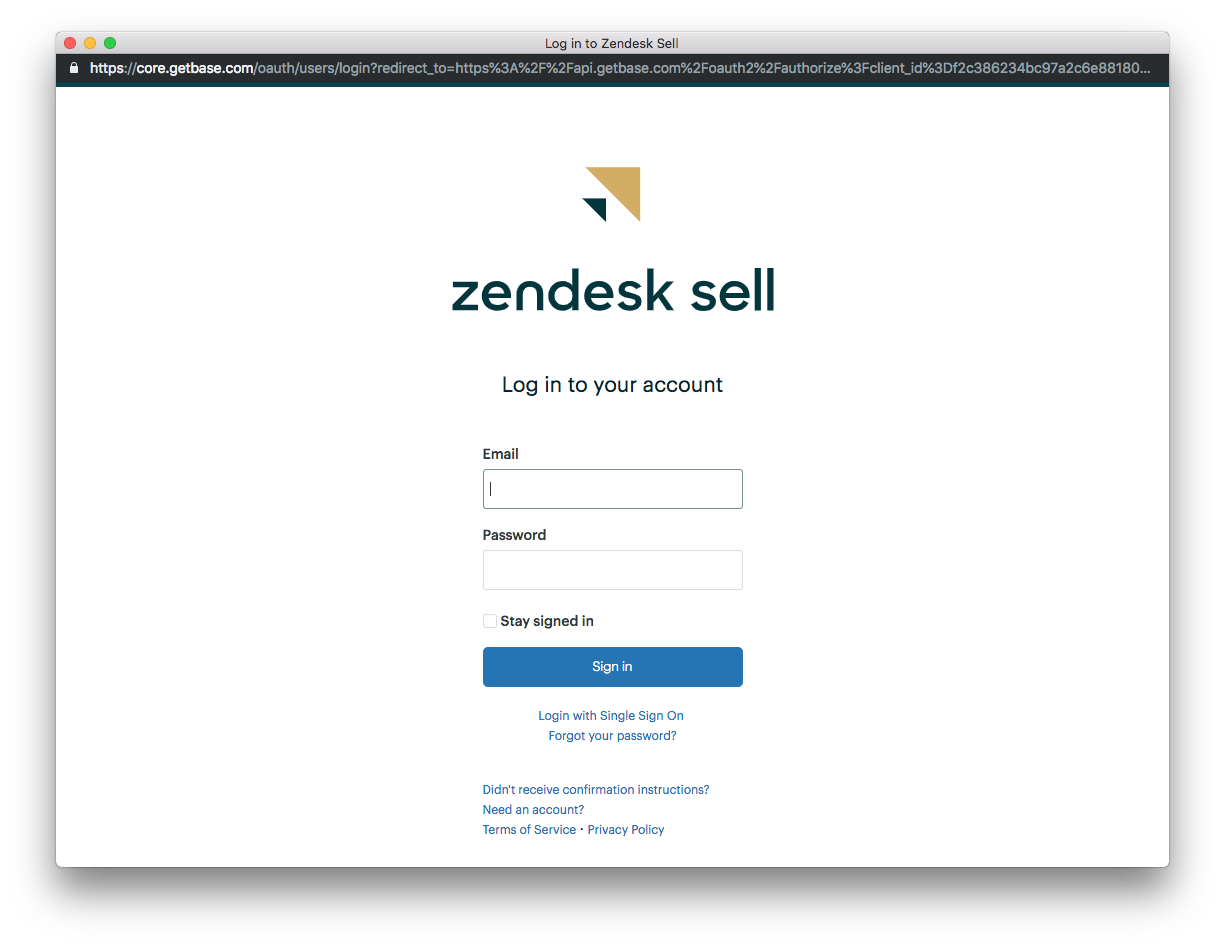
- Click Connect an Account.
- Enter your Sell account information.

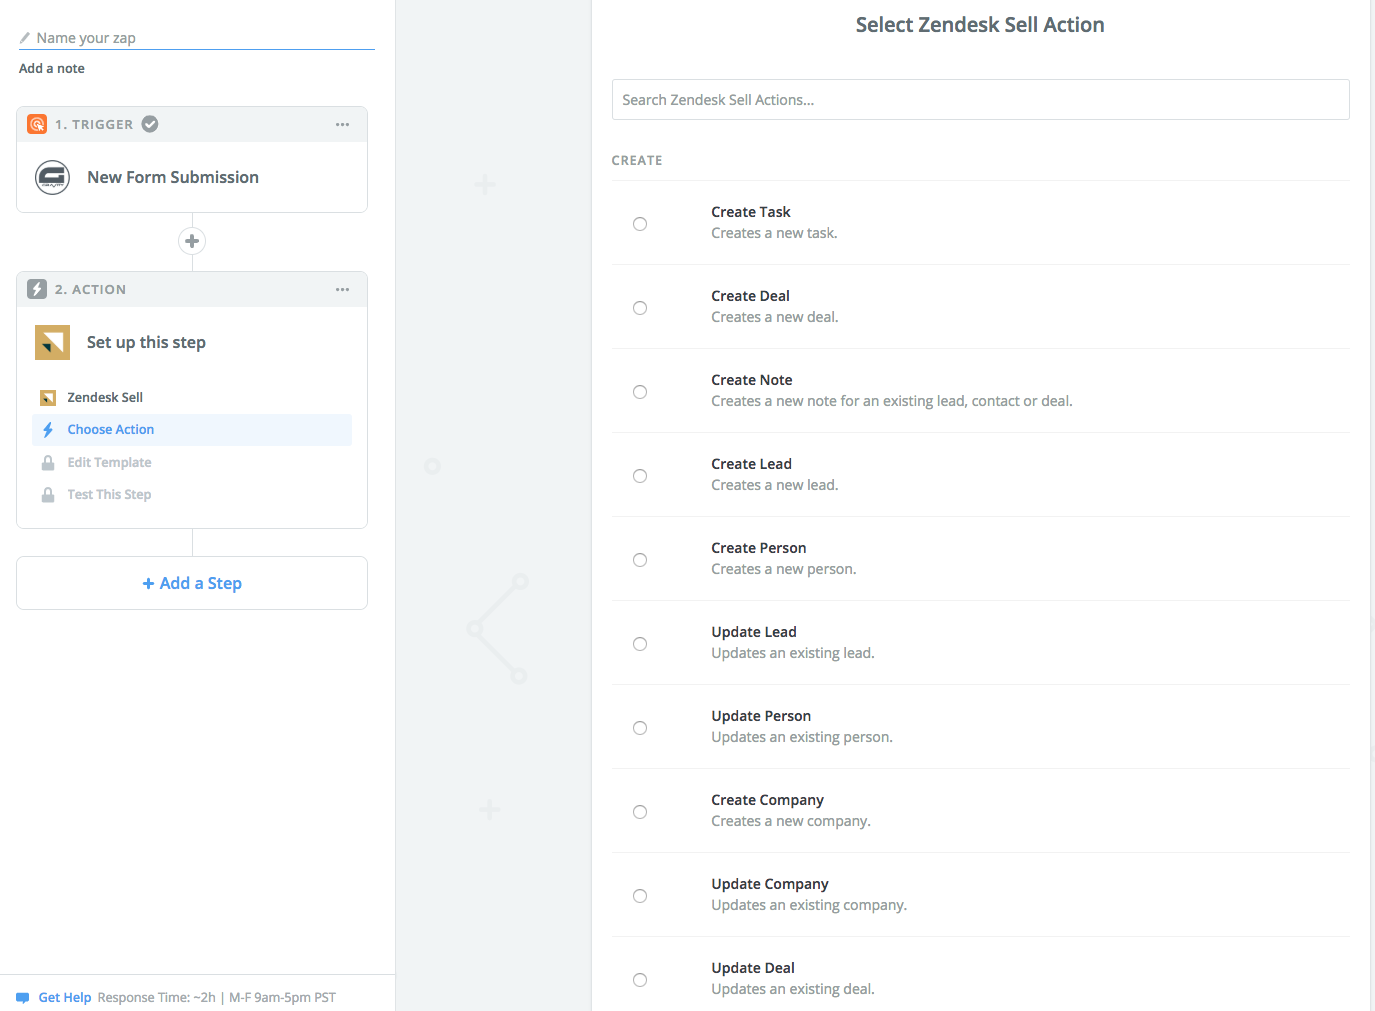
- Select the actions you want to create.

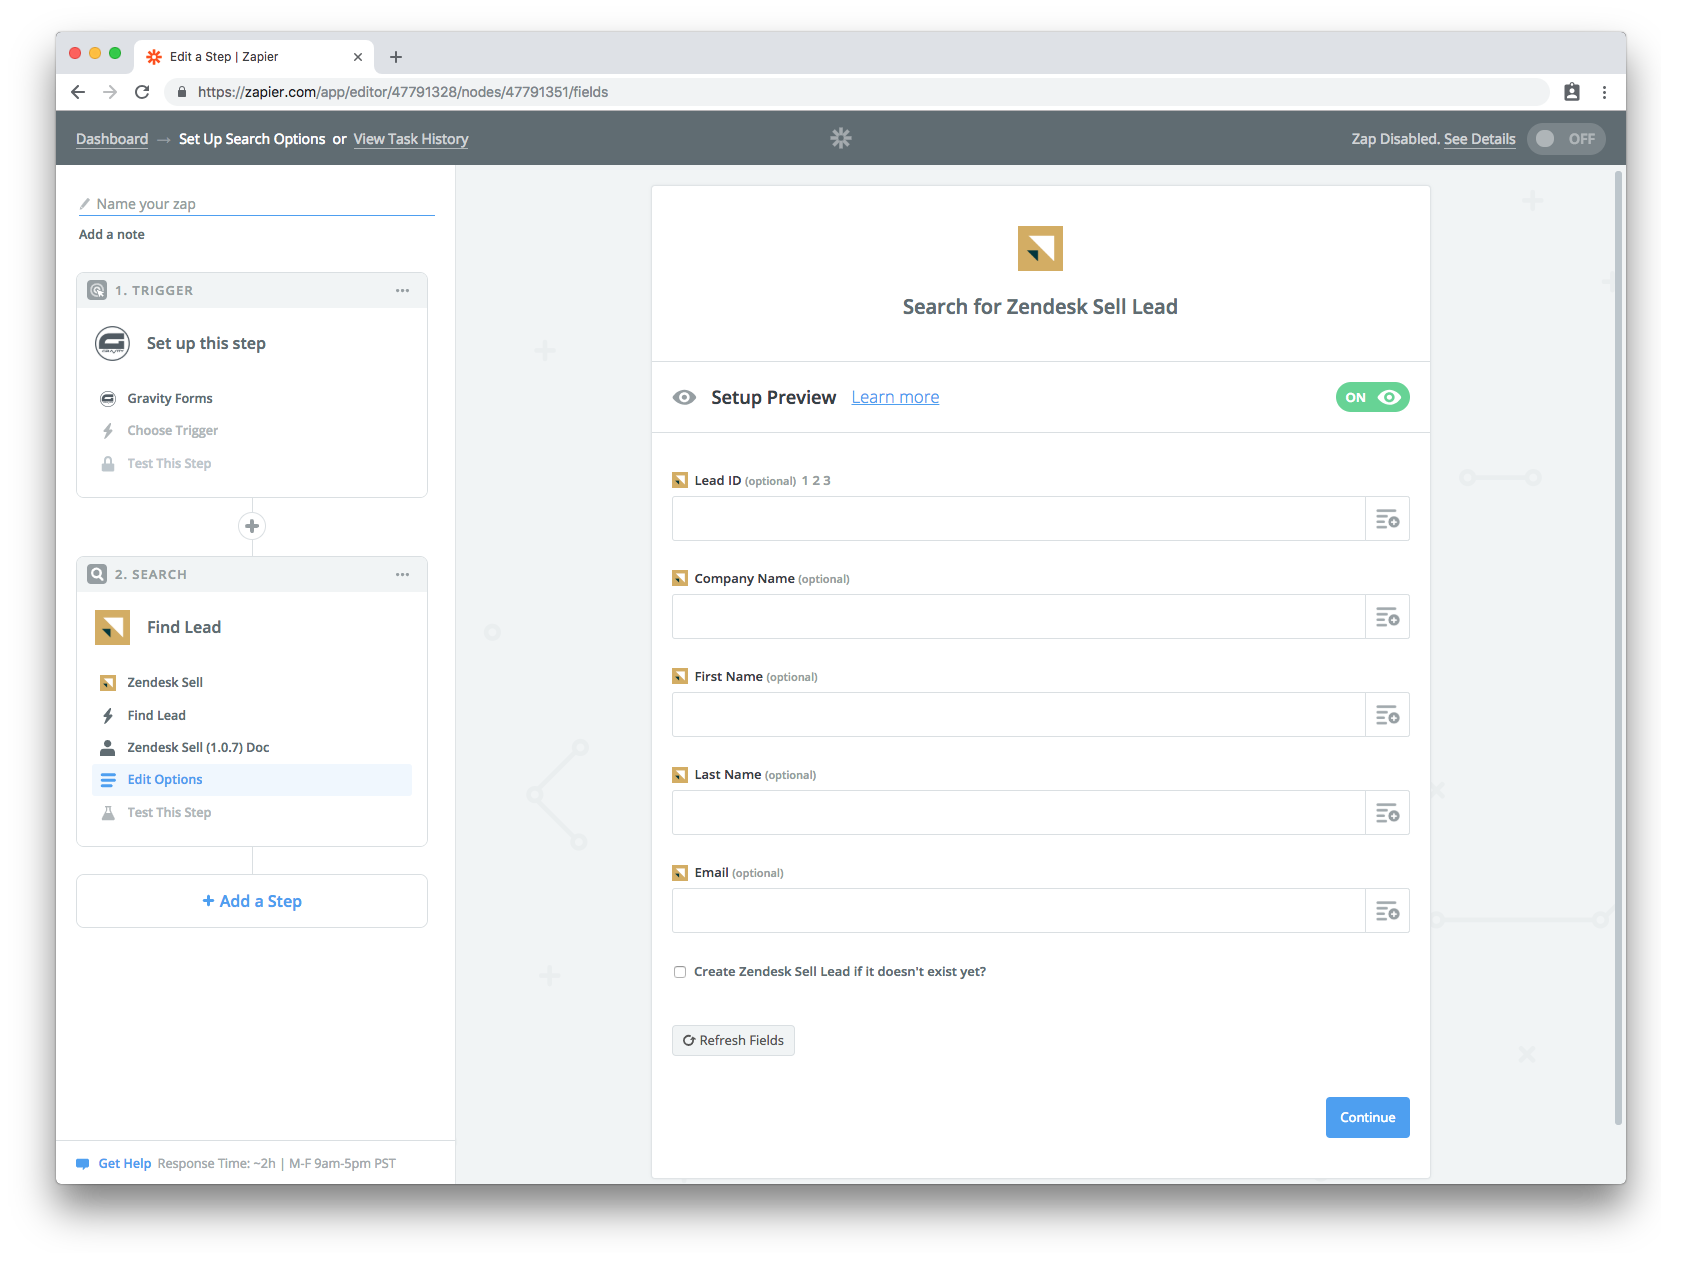
- Click Edit Template to map in data from Gravity Form to the appropriate field
in Sell. For example, if you are searching for an existing lead, the Set up
Template field may look like the screenshot below (see Create Zaps).

- Enter a name for it, then click On.
The data collected from your Gravity Forms account is automatically synced to your Sell account.