
This article is intended for Zendesk administrators. For information on the tasks required for developers, see Enabling authenticated visitors.
This article includes the following topics:
About end-user authentication for web and mobile messaging
End-user authentication is, simply put, verifying the identity of an end user. The verified end user’s new messaging request can then be connected with their past conversations, allowing agents to better support them.
This section includes the following topics:
Understanding key elements
To understand how end-user authentication for messaging works, you should be familiar with the key elements involved in the authentication process:
- JSON Web Tokens (JWT) for authentication. Zendesk uses signed JSON Web Tokens (JWT) for authentication in messaging. These tokens verify the identity of the end users. See jwt.io for detailed information on JWTs.
- Signing key. A signing key is created by a Zendesk admin in Admin Center, and shared with your developer, who will then use it to sign the JWT as necessary. See Creating and sharing the signing key.
- Unique user identifiers, or external ids. These are alphanumeric strings (user names or customer ID numbers, for instance) that are unique to each user.
- User name (optional). Including the name may help agents communicate with end users. If this information is collected and included in the JWT, it will appear in the Agent Workspace. However, it is not required.
Overview of the setup process
To enable end-user authentication, your Zendesk Admin first needs to create the signing key in Admin Center and provide this key (which will contain a secret) to your developer. Your developer will then need to implement a service on your business' back-end that can create the signed JWT and return this to your website or mobile app when requested (steps 1 and 2 in the image below). Any time your user is logged in to your website or app, your developer will need to call an equivalent login API which will be provided in both the Zendesk Web Widget and the Mobile SDKs. At sign-in time, the JWT will be passed to Zendesk in order to verify the claimed identity of the user (step 3 in the image below).

How the end user and agent experiences are impacted
Once authentication for messaging is implemented, end users and agents will see slight changes in their experiences:
- End users: Once they have been authenticated and their identity has been verified with Zendesk, the end user will not be prompted to provide their name or email address by the messaging bot as part of the default messaging response.
-
Agents: Verified end users will be identified in the Agent Workspace by an authentication icon:
The agents will be able to view the external id as part of the end user's profile.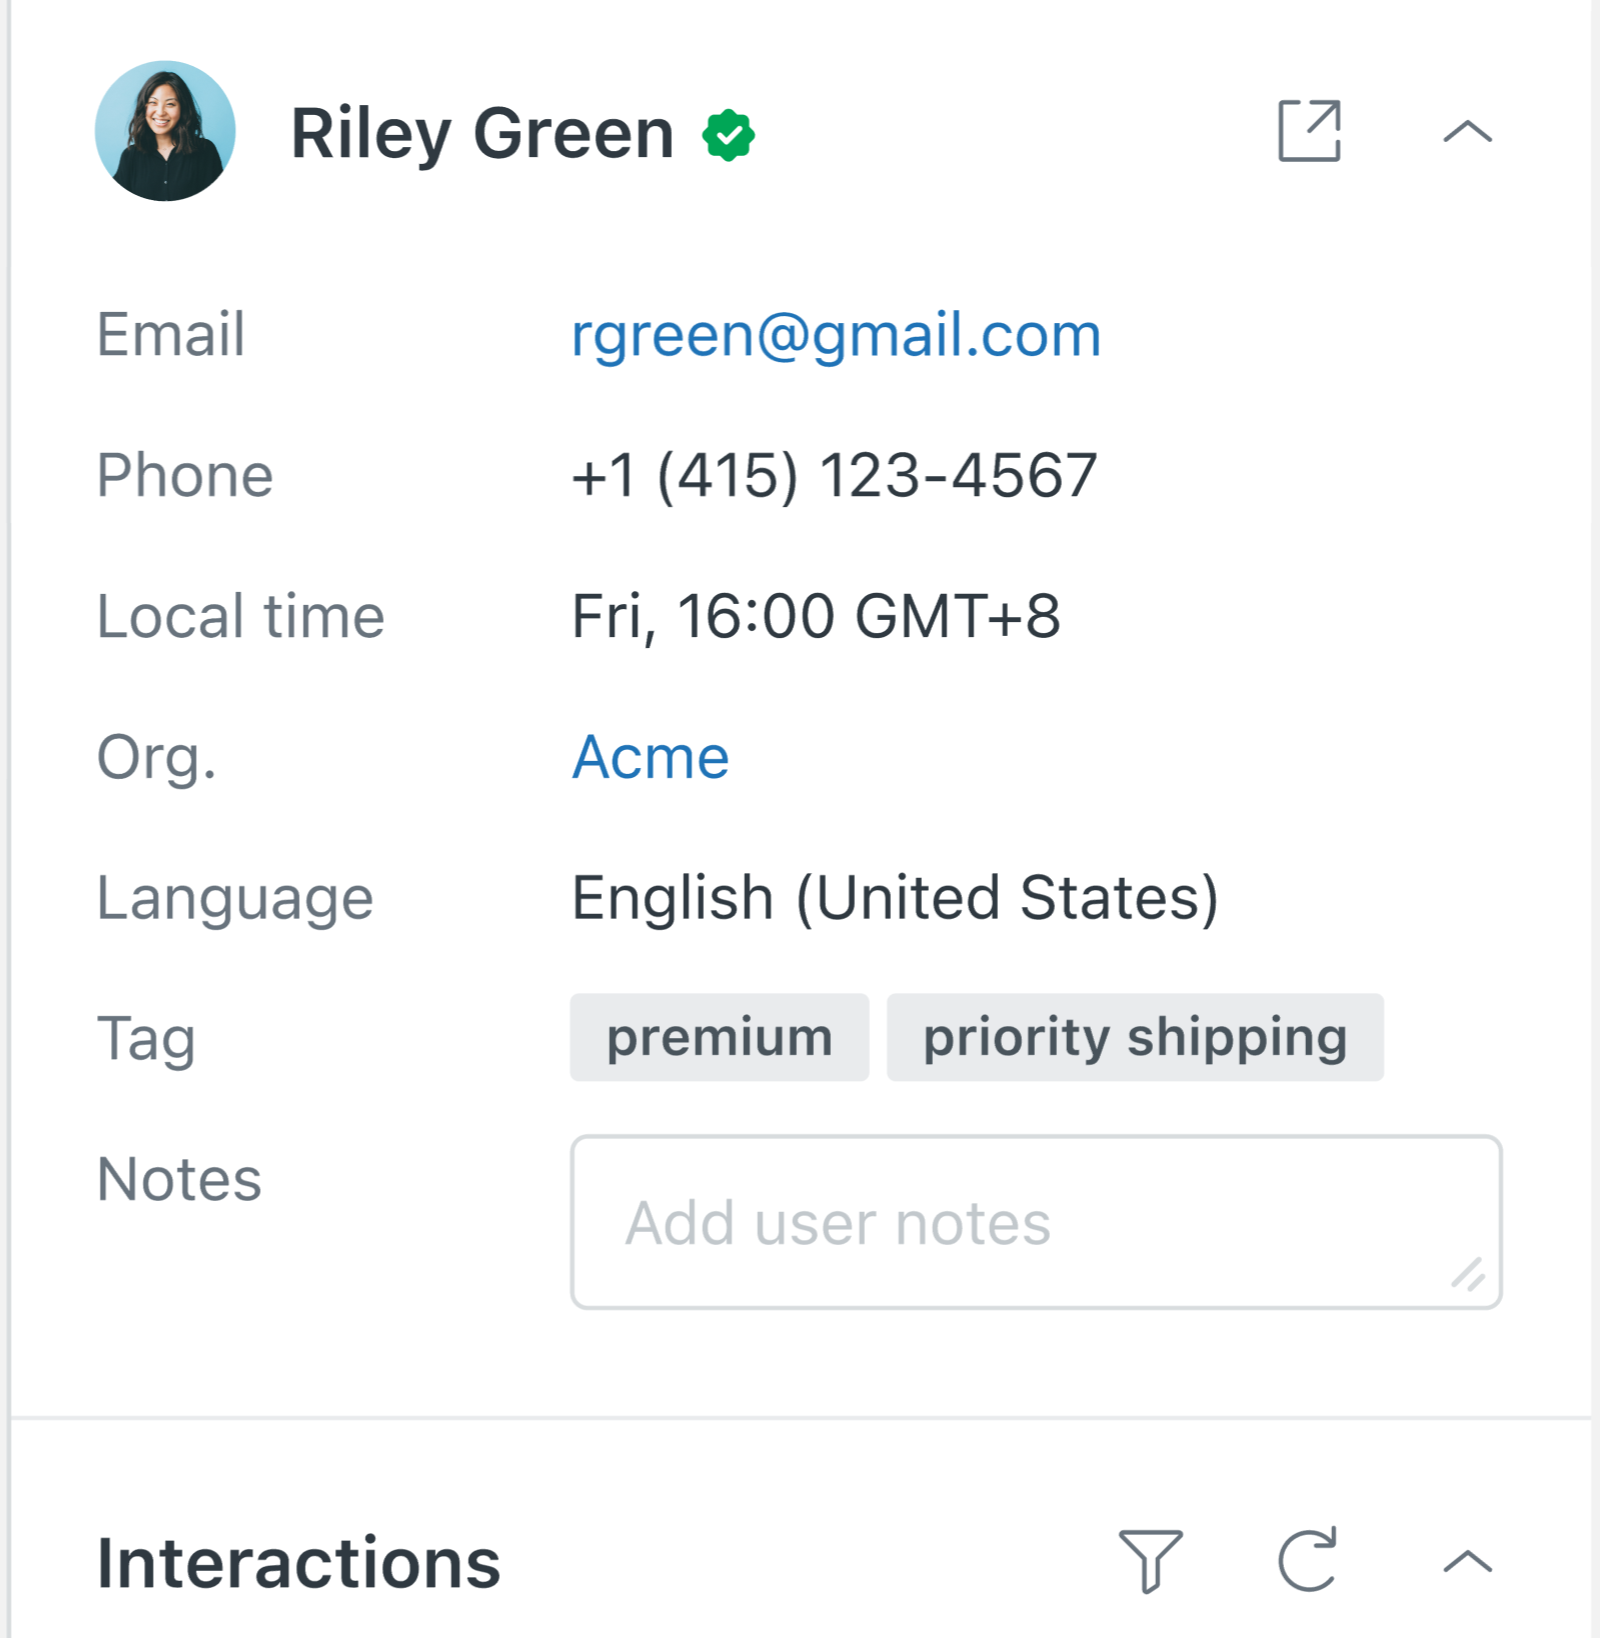
If the external id provided with the API matches the external id of an existing user, the messaging ticket will be referenced against the existing end user.
When an end user authenticates:
- A new end user will be created. The messaging ticket of the anonymous user will be associated with the newly-created user with the external id.
- If the authenticated end user has a non-closed messaging ticket, that ticket will be updated with the new messages.
- When an end user signs out, a new end user and new messaging ticket will be created for the subsequent conversation.
For example:
- End user A sends a message without signing in. User 1 and Ticket 1 is created.
- End user A signs in mid-conversation. User 2 is created with an external id (if no user with the external id exists).
- Conversation continues in Ticket 1 and the requester is updated to User 2.
For returning authenticated users, there’s a background ticket merge to ensure conversational continuity. For example:
- End user A has an open Ticket 1 as an authenticated user.
- End user A logs out.
- End user A sends a message without signing in. User 2 and Ticket 2 are created.
- End user A signs in again mid-conversation. Authenticated User A is retrieved via the external id and the anonymous and authenticated conversations are merged.
- Conversation continues in Ticket 1 and Ticket 2 is closed.
See Working with authenticated end users in the Zendesk Agent Workspace.
Creating and sharing the signing key
As mentioned in the section above, a Zendesk administrator must create a signing key and share it with the developer for use in the JWT. You can store up to 10 keys. Creating a signing key also enables messaging metadata variables in bot builder.
To create and share a signing key
- In Admin Center, click
 Account in the sidebar, then select Security > End user authentication.
 - Click the Messaging tab, then click the Create key button. If you are creating your first key, this button appears at the bottom of the page; if you have previously created a key, it appears in the top-right corner.
- In the Create new key dialog, enter an identifying name for the key, then click Next.

- In the Copy shared secret dialog, click Copy to save the secret to your clipboard, then click Hide key forever.

You’re returned to the Messaging tab, where the new key appears in the signing key list with the first six characters of the secret shown.

- Confidentially send the key ID and shared secret key to your developer, who can then use it to create the JWT. See Enabling authenticated visitors for more information.
If you generate a new key but have reached your 10-key limit, a notification appears, asking you to delete any unused keys.
To delete an unused key
- In Admin Center, click Account in the sidebar, then select Security > End user authentication.
- Click the Messaging tab.
- Hover over the key you want to delete, then click the option menu icon and select Delete.
- Confirm the action by clicking Delete key.