

A sandbox is a test environment with varying degrees of similarity to your production environment. You can use the sandbox to learn about new features and experiment with new settings without affecting your production environment. Zendesk has two types of sandbox environments: standard and premium. This article describes how to create and use standard sandboxes.
This article contains the following topics:
If you want to replicate information from your production instance, deploy tested triggers to production, or need more than one sandbox at a time, you can upgrade to a Zendesk Suite Enterprise or Enterprise Plus plan to get Premium Sandbox.
Creating a standard sandbox
To use a standard sandbox, you must initialize it. The sandbox is created with settings from your current production instance of Zendesk Support. Before you initialize your standard sandbox, make sure you're familiar with the key facts about sandboxes and understand what data is and isn't replicated for standard sandboxes.
To create a standard sandbox
- In Admin Center, click
 Account in the sidebar, then select Sandbox > Sandboxes.
 - Click the Create Sandbox button.
- Enter a Name that describes your sandbox.
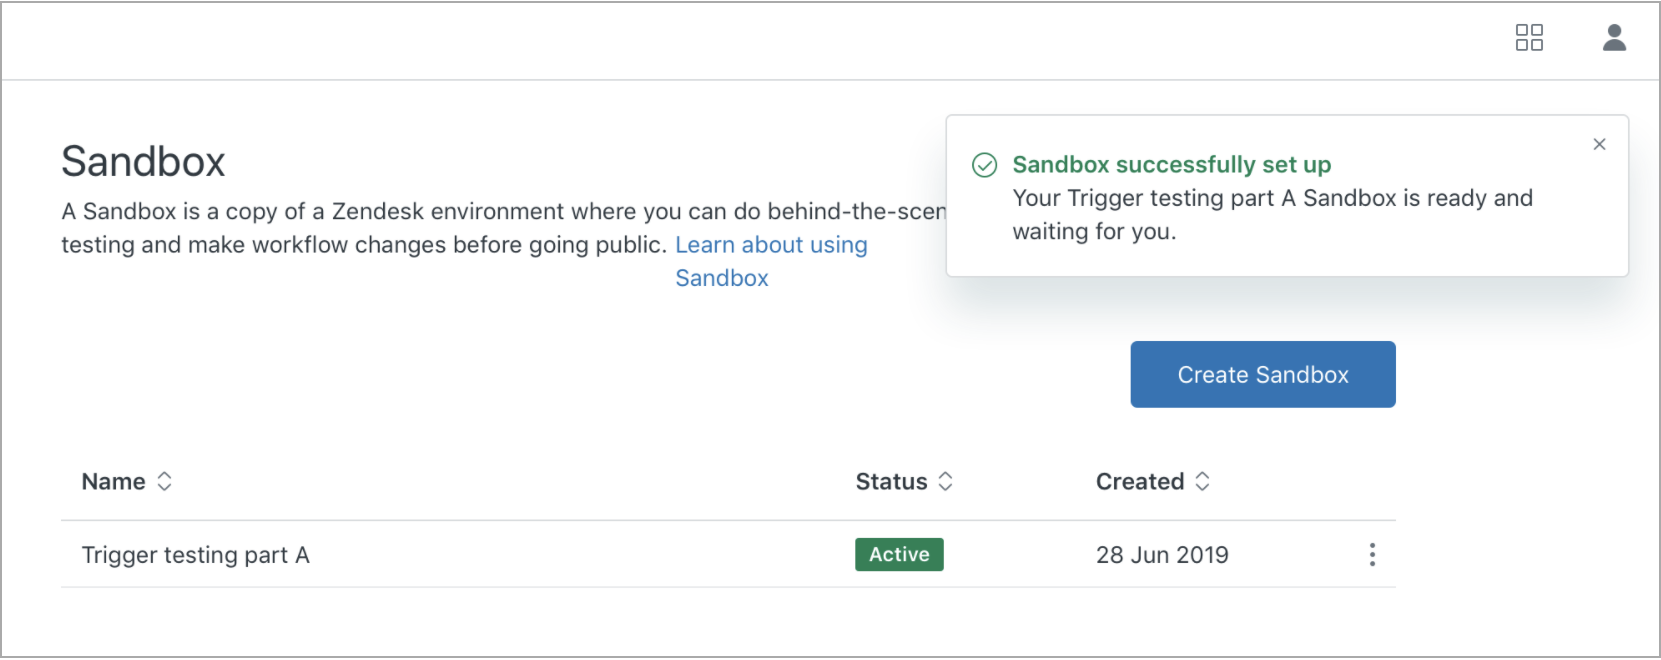
- Click Create.

You will see a message that your sandbox is being created. When your sandbox is successfully created, a message appears at the top of the page, and the status of the sandbox becomes Active. The sandbox has a unique URL with a ten-digit number after your domain name.
Working in your standard sandbox
To switch to the sandbox from the production instance of Zendesk Support
- In Admin Center, click
Account in the sidebar, then select Sandbox > Sandboxes.
- Click the options menu (
 ), then select Open Sandbox to launch the
sandbox instance in a new browser tab. You can also bookmark the sandbox and
access it from your browser.
), then select Open Sandbox to launch the
sandbox instance in a new browser tab. You can also bookmark the sandbox and
access it from your browser.
- Sign in to the sandbox with your normal administrator credentials.
- Make changes, test, and fine-tune.
Replacing your standard sandbox
After you're done with a round of testing and updates, you can create a new sandbox for a fresh round of development and testing. Creating a new sandbox is also useful if you mess up and want to start from scratch.
You can have a single sandbox at a time. A typical procedure would be to delete the existing sandbox and create a new one based on the settings of your current production instance of Zendesk Support. See About Zendesk sandbox environments.
To replace your sandbox
- In Admin Center, click
Account in the sidebar, then select Sandbox > Sandboxes.
- Click the options menu (), then select Delete Sandbox.

- Create a new sandbox using the steps in Creating a standard sandbox.
A new sandbox is created with a new URL.