Sometimes, you might want to provide the callback functionality only between certain hours, allowing enough time for your agents to return users' calls before the end of their shift.
Talk cannot turn on callbacks for specific times of the day. However, you can use no-code platforms like Make (formerly Integromat) or Zapier to build a custom solution using Zendesk public APIs.
In this article, you'll learn how to use Make to turn on callback at the times you specify.
This article contains the following topics:
- What you'll need
- Create a new scenario in Make
- Configure an app in Zendesk
- Configure the Zendesk integration
- Set up the API call to change the callback state
- Schedule the API call
Related articles
What you'll need
Skill level: Intermediate
Time required: 20 minutes
- An account with Make (you can set up a free account to test this recipe)
- A basic understanding of Make, or the no-code platform of your choice
Create a new scenario in Make
First, open Make and create a new scenario from where you'll configure the Zendesk integration.
To create a scenario in Make
- Sign in to your Make account.
- From the Make navigation panel, click Scenarios.

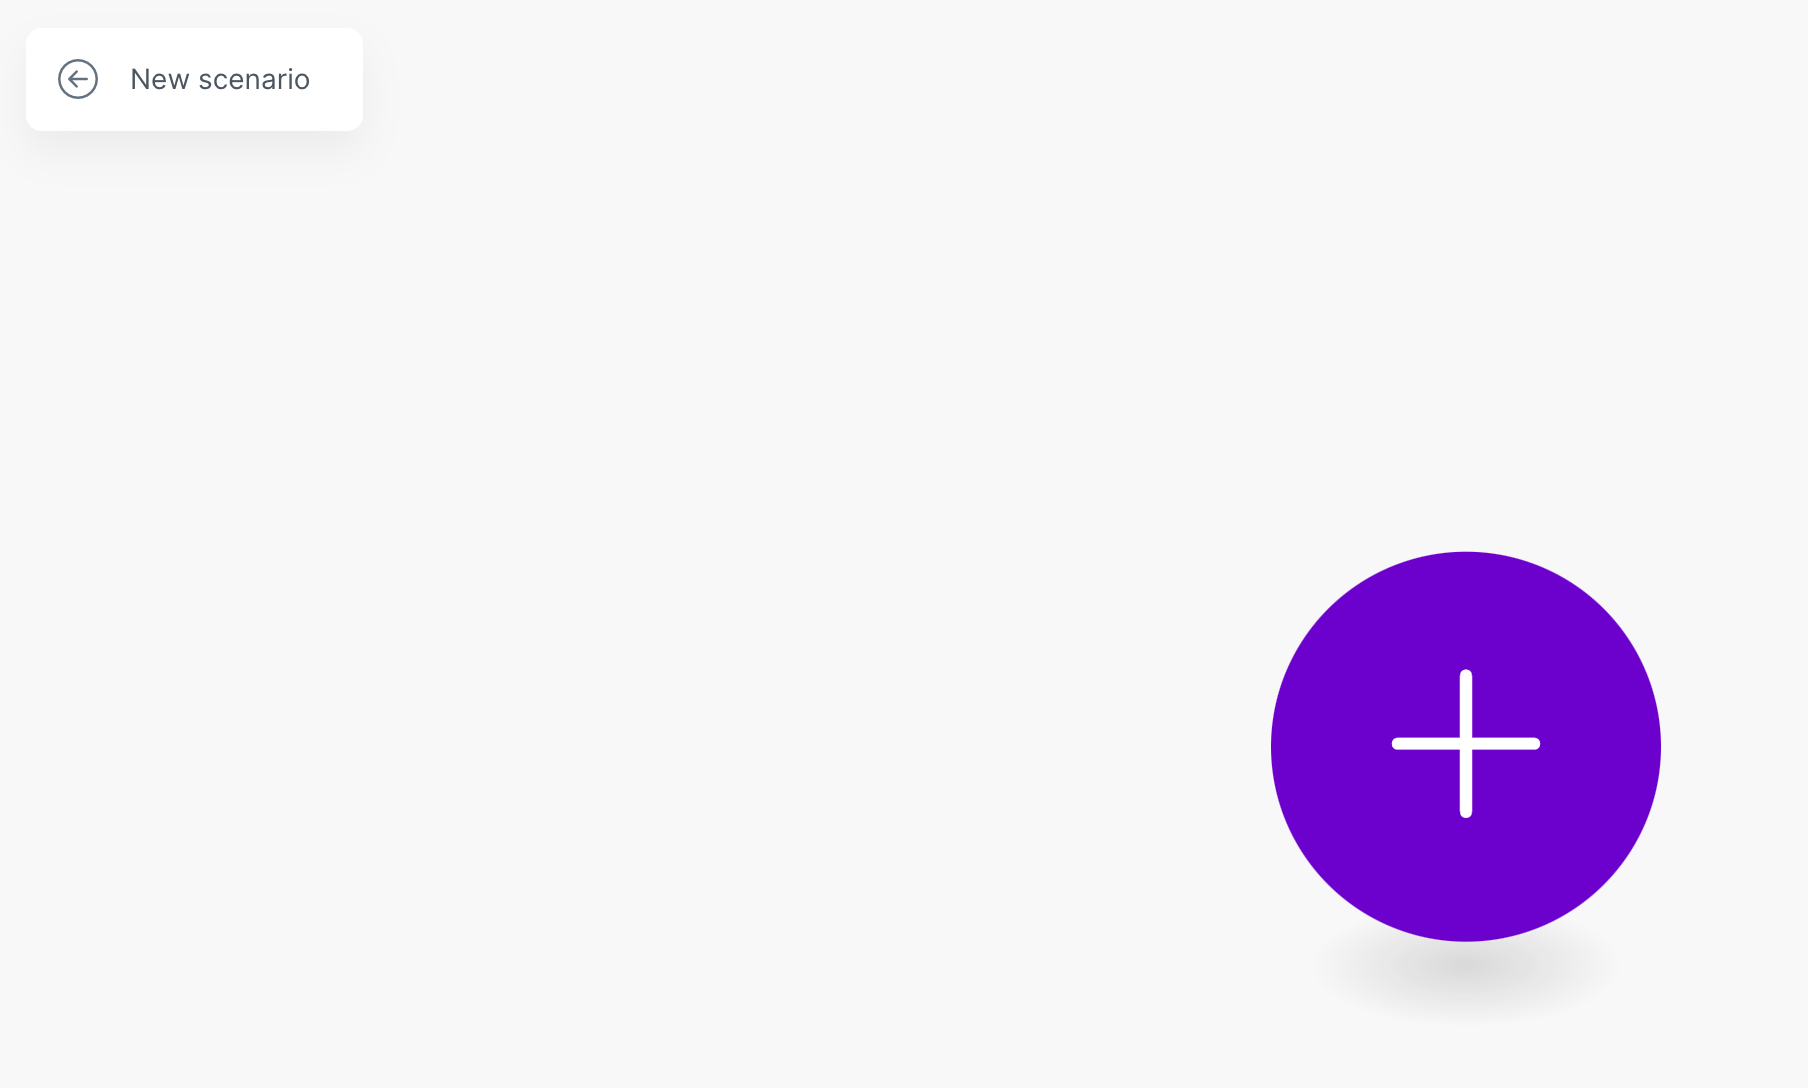
- On the All scenarios page, click Create a new scenario.
- On the New scenario page, click the + icon.
- From the list of apps, select Zendesk.
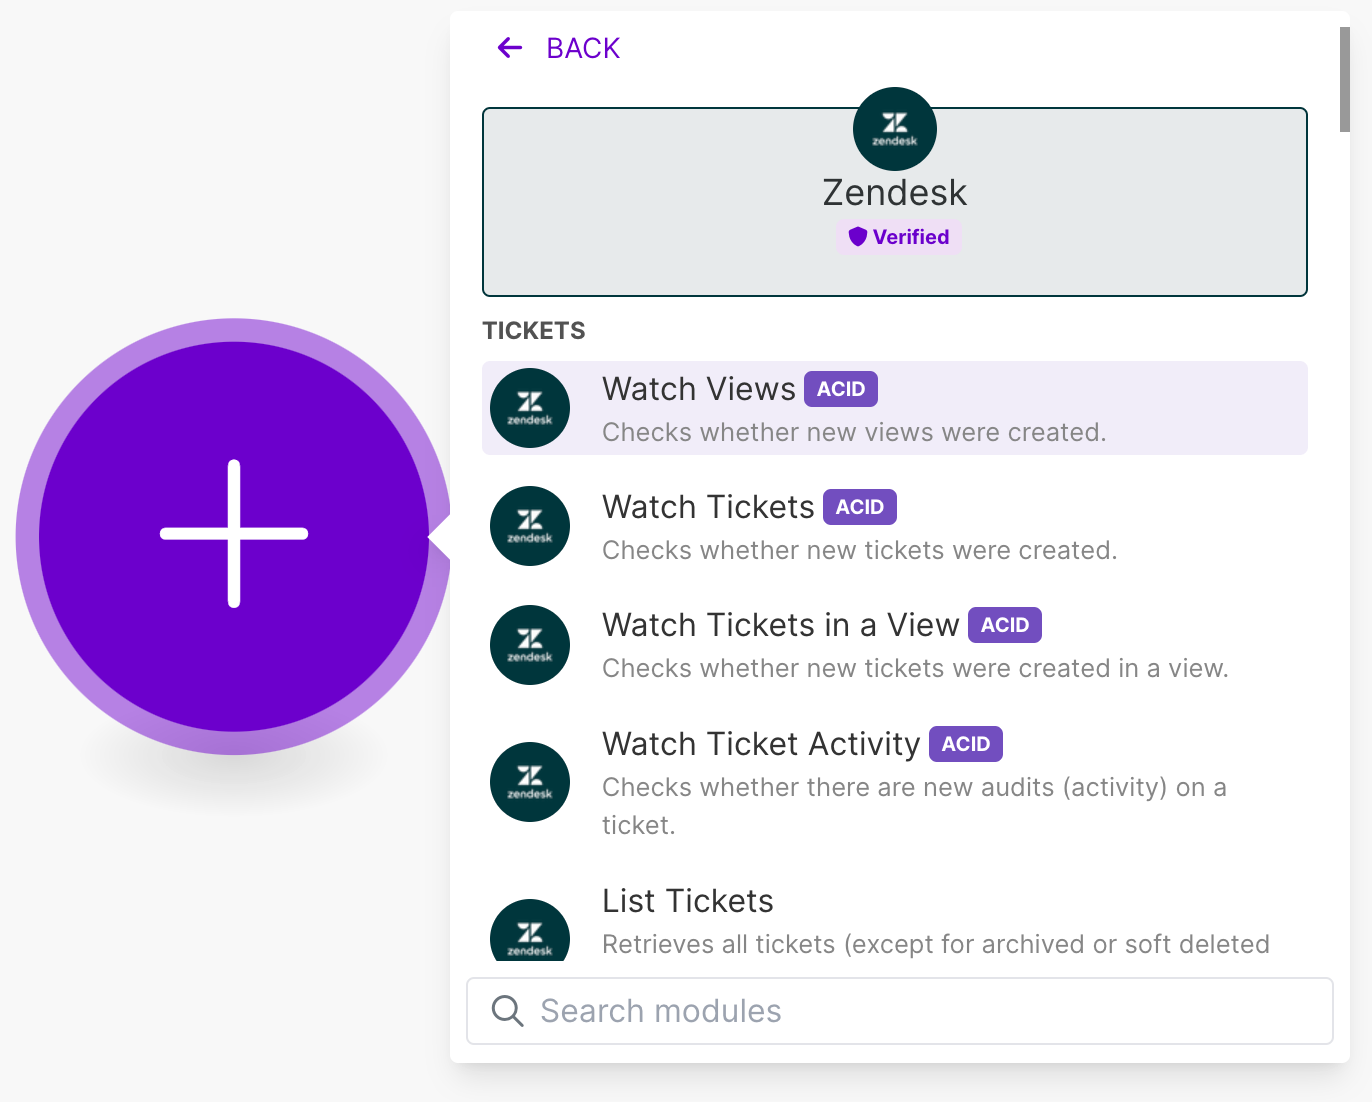
- From the list of Zendesk options, click Make an API call.
Configure an app in Zendesk
To obtain the connection information you need, create a custom app in Zendesk Admin Center.
To create the app
- Log in to your Zendesk account.
- Click Apps and integrations > APIs > Zendesk API.
- On the OAuth Clients tab, click Add OAuth Clients.
- On the Create a new OAuth client page, configure the following:
- Client name: enter a descriptive name for your client.
- Unique identifier: Enter an identifier such as "my_oauth_client". You'll need this later, so copy it and store it safely.
- Client Kind: Select Confidential.
-
Redirect URLs: Enter
https://www.integromat.com/oauth/cb/zendesk/
- Click Save.
- A dialog box will open, advising you that the secret value will only be shown once. Click OK.
- Copy the Secret value and store it safely.
- Click Save.
Configure the Zendesk integration
Next, configure the connection between Make and Zendesk.
To connect Make to Zendesk
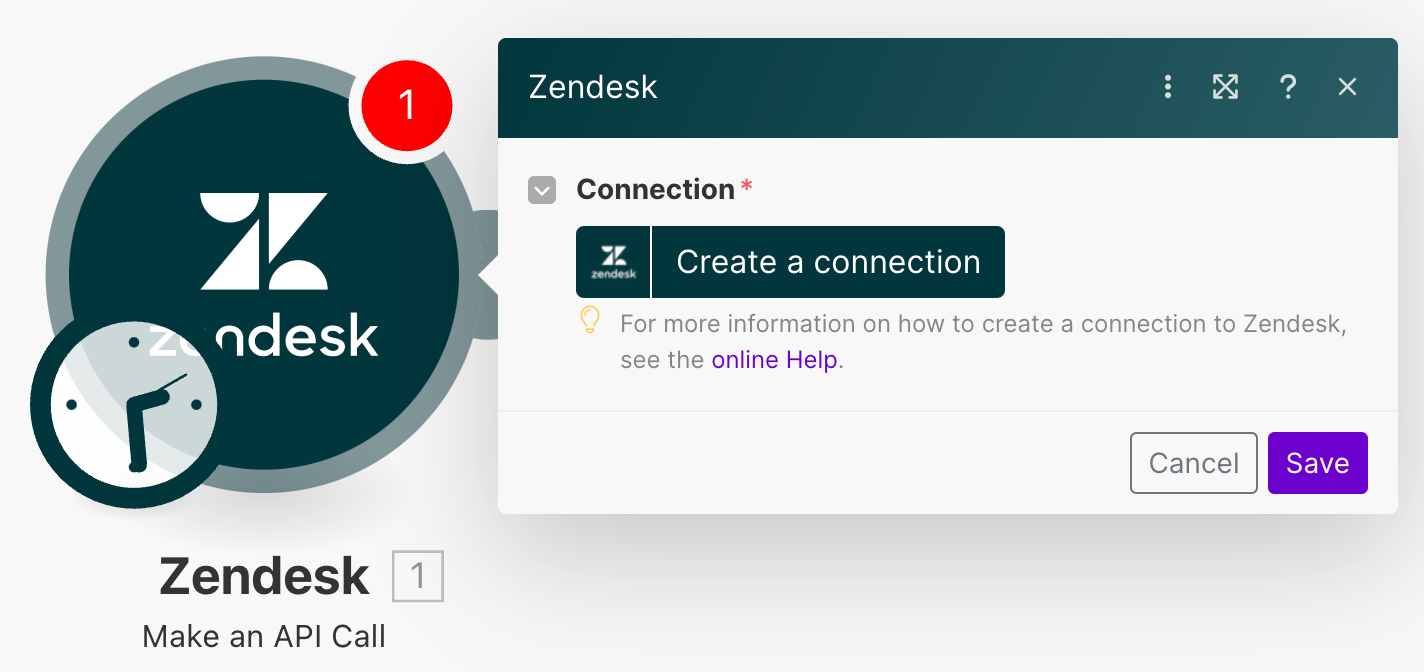
- From the module you created, click Create a connection.
- On the Create a connection page, specify the following:
- Connection name: Provide a descriptive name for the connection
- Domain: Enter your Zendesk domain name, for example, mycompany.zendesk.com
- Unique identifier: Enter the identifier you created in Step 2.
-
Secret: Enter the secret value you generated in Step 2.
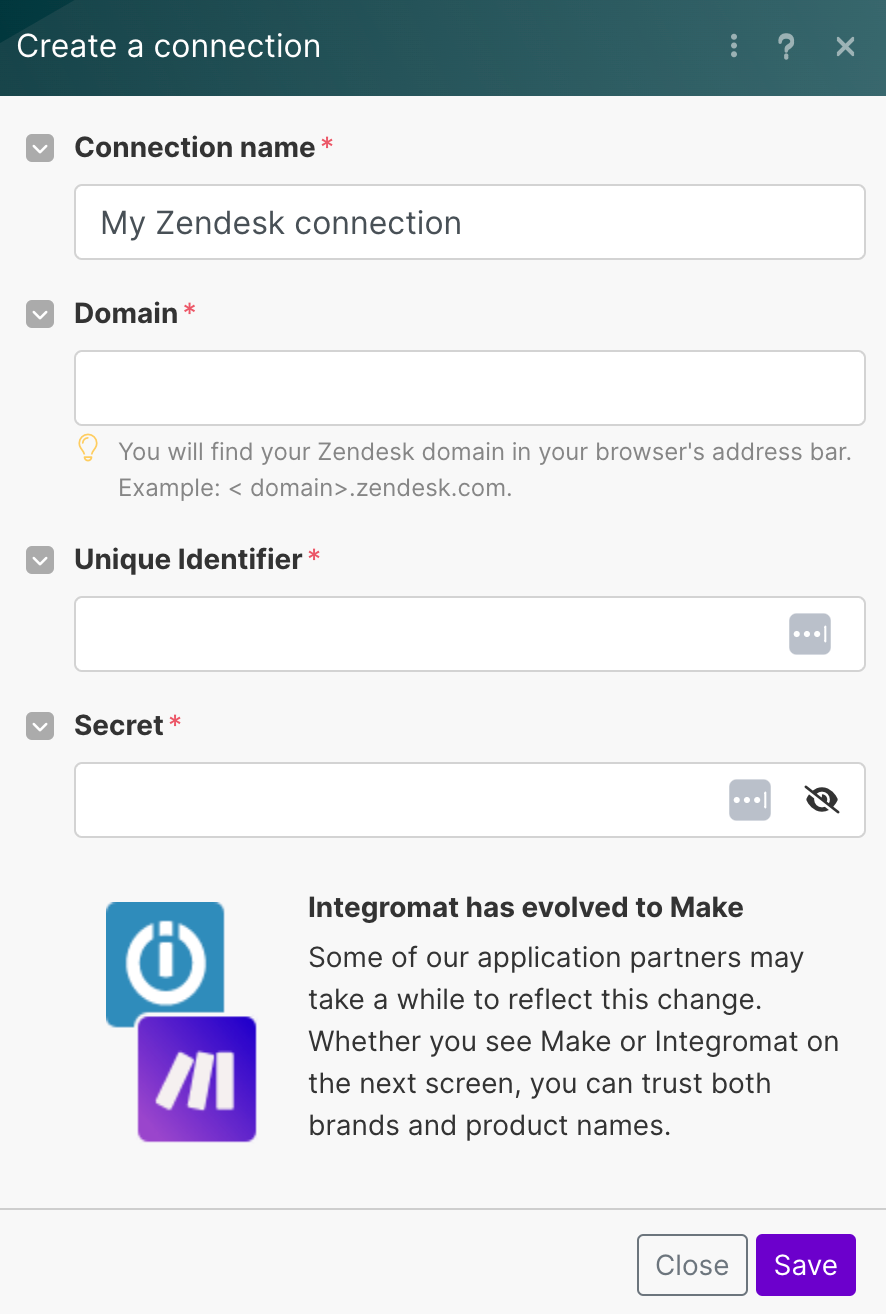
- Click Save.
- On the confirmation page, click Allow.
Set up the API call to change the callback state
The Zendesk API has an Update Phone Numbers endpoint that can change most phone line settings. Before you start using it, you need to discover the ID of the line you want to configure.
To find the phone number ID
- In your web browser, go to
https://{your_domain}.zendesk.com/api/v2/channels/voice/phone_numbers.Where your domain is your Zendesk subdomain, for example, megapets. -
A list of your Talk numbers is displayed. Use your browser's search function to look for the phone number and ID you want. In this example, you want to configure the phone number +441680340311 and find the ID 25333154338065.
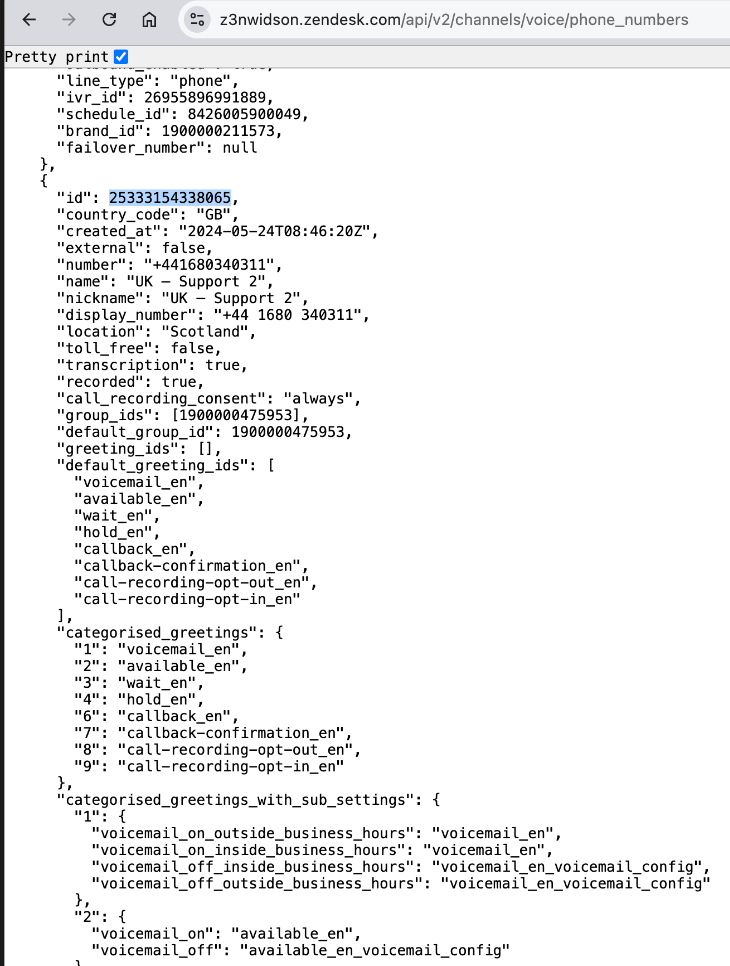 Tip: if you use Google Chrome, select the “Pretty print” checkbox at the top of the page to make the code more readable.
 - Search for the phone number you want to configure; you'll find the ID above it. For example, for the phone number +441680340311, the ID is 25333154338065.
- In Make, click the Zendesk module and configure the following values (:
-
URL:
/api/v2/channels/voice/phone_numbers/{phone_number_id}. Replace{phone_number_id}with the ID you copied previously. -
Method:
PUT -
Body:
json { "phone_number": { "settings": { "callback_from_queue": false } } }
Thecallback_from_queueparameter is set tofalseto turn it off. To turn it on, set the parameter totrue.
-
URL:
You can now test that your API call turns off callback on your selected Talk line.
To test your API call
- In Make, right-click the Zendesk module, then select Run Once
- In Zendesk Admin Center, click Channels > Talk and email > Talk.
- On the Lines tab, click the line you are configuring, then click the Callback tab.
- Check that callback is turned off for the selected phone number. If the page was already open, you might need to refresh it to see the new configuration.
Schedule the API call
The last step of this recipe is to schedule the API call to trigger automatically at certain times of the day and turn off callback.
To schedule the API call
- In Make, click the Clock associated with the module.
- Set the schedule to run Every day and choose the time you want it to run.
- Save the scenario and return to the Make Scenarios page.
- On the Scenarios page, activate the toggle switch to turn on your new scenario.

Now, the callback feature will be turned off every day at the time you specified. This allows agents some time to manage their queues and address any remaining tickets before the end of their shift.
However, you must also remember to turn it back on again afterward. You can create another scenario that turns on the callback at a specific time. You don't have to start from scratch, though. You can clone the scenario you created earlier and then update the API call body. - Clone the scenario you just created.
- Update the API call body with the same code as before and replace
falsewithtrue:json { "phone_number": { "settings": { "callback_from_queue": true } } } - Adjust the scheduled time to the start of your shift.
You'll now see two scenarios: one that turns off callback and one that turns it on at a specified time.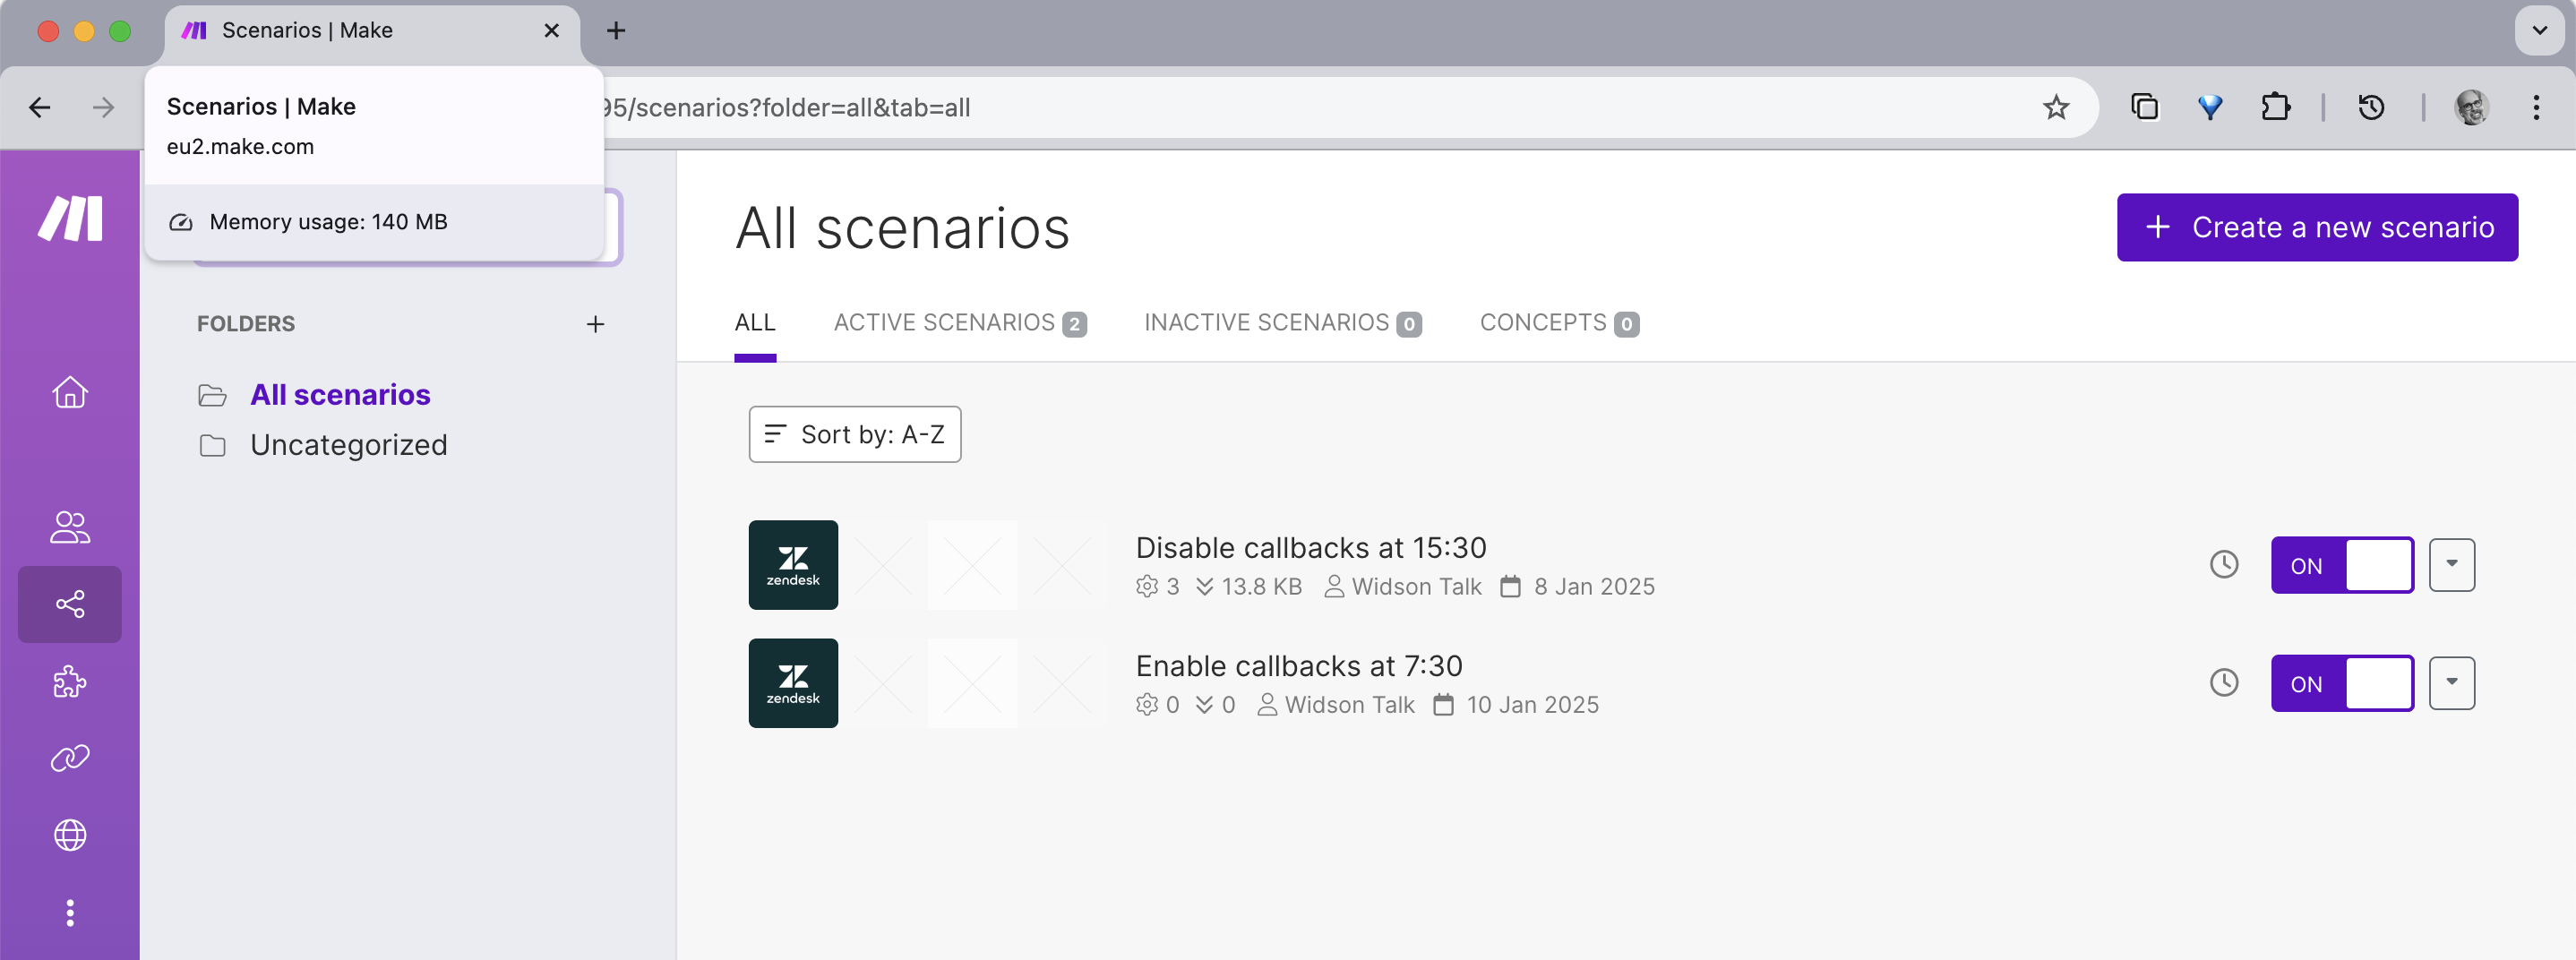
You’ve successfully created automated scenarios for managing Zendesk callbacks according to your schedule. You can customize and expand these scenarios to suit your workflow, such as concatenating modules to turn on or turn off callbacks on multiple lines simultaneously.