Verified AI summary ◀▼
Admins can access workflows in Contact Center to suggest, automate, and enforce activities during customer interactions. Customize workflows to override default settings, such as auto-accepting contacts, creating profiles, sending automatic messages, and managing after-contact work. Adjust interface extensions to display utilities for agents. These settings help streamline tasks across channels like chat, calls, and tasks.
Use workflows to suggest, automate, and enforce activities during a customer interaction. Each workspace has a default workflow. You can create a custom workflow to override the default workflow settings.
Note: You must be an admin to access workflows.
To access workflows
- In Contact Center, click the settings (
 ) icon, then click the Workflows tab.
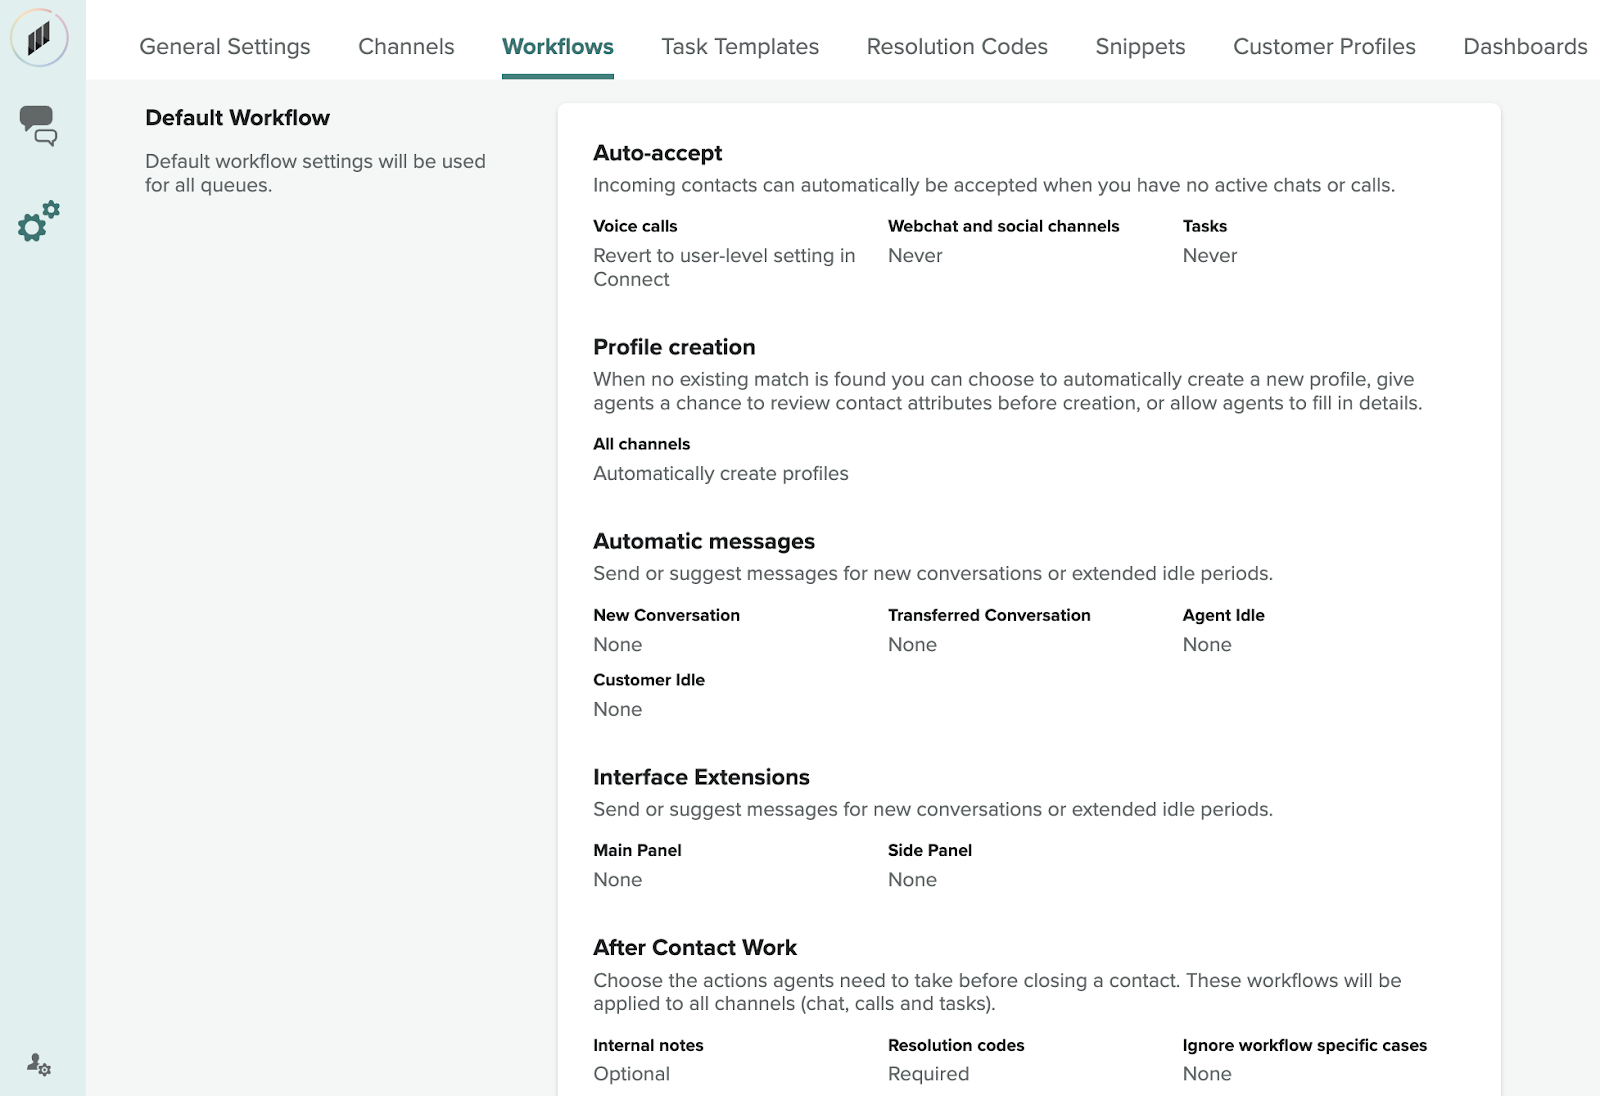
The workflow has the following settings:
-
Auto-accept: Automatically accepts incoming contacts when you have no active
chats or calls. The default settings are:
- Voice calls: Revert to user-level setting in Connect
- Webchat and social channels: Never
- Tasks: Never
- Profile creation: Automatically creates a new profile when no existing match is found. You can give agents a chance to review contact attributes before creation or allow agents to fill in details. The default setting is Prompt agents to review before creating new profiles.
- Automatic messages: Sends or suggests messages for new conversations or extended idle periods. This setting is off by default.
- Interface extensions: Determines which utilities to display to agents and where on the desktop they should appear, either main panel or the side panel.
-
After contact work: Actions agents need to take before closing a contact.
These workflows are applied to all channels (chat, calls, and tasks). The default
settings are:
- Internal notes: Optional
- Resolution codes: Optional
- Ignore workflow for specific cases: Off