Verified AI summary ◀▼
Snippets are predefined responses that help agents respond faster by reducing typing time. As an admin, you can create snippets with specific names, text, and restrictions for content types and queues. Personalization tokens allow customization with customer details. Set restrictions to organize snippets by content or queue, enhancing the customer experience.
Snippets are predefined responses that can be easily accessed using shortcut commands. Snippets are perfect for defining common responses such as greetings or answers to frequently asked questions.
Use snippets to shorten the time spent typing by your agents thereby enabling faster responses, increasing efficiency, and improving the customer experience.
You will need admin access in Contact Center in order to configure snippets.
This article contains the following topics:
Creating a new snippet
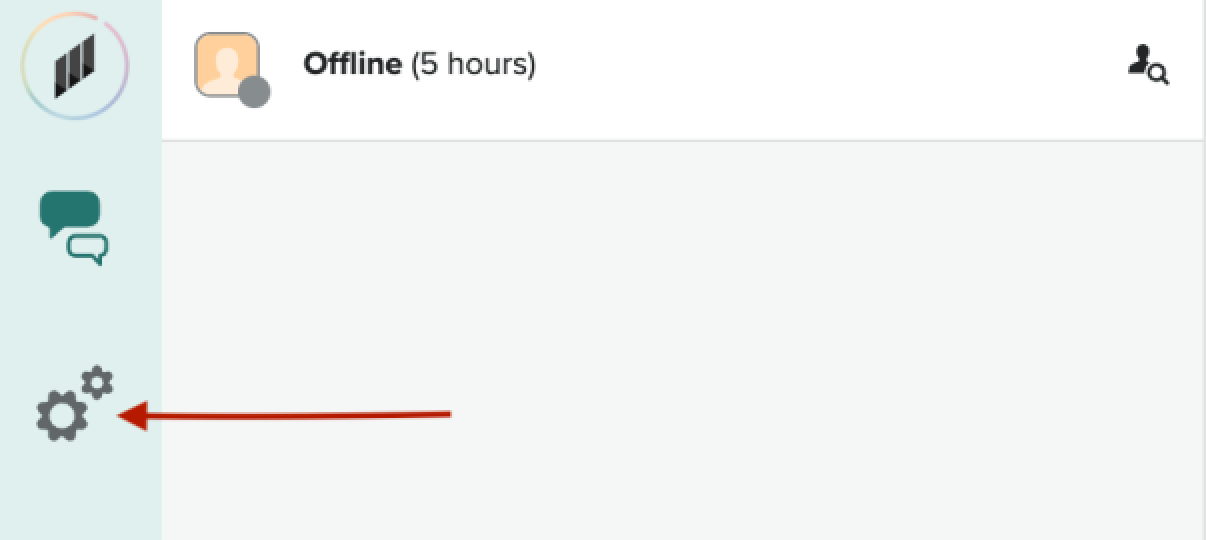
To access the Administrator settings in Contact Center, click on the cogs icon on the left-hand side of the screen.
Click on the Snippets tab and select the Add new snippet button.

To create snippets, you will need:
- A name for the snippet.
- Your snippet text.
- Content types restrictions: This is where you would like them to appear - external replies, internal notes or tasks. A snippet can be made available to as many content types as you like.
- Queue restrictions: This is where you can restrict the use of the snippet to selected queues. If you select no queues, then the snippet is available to everyone.
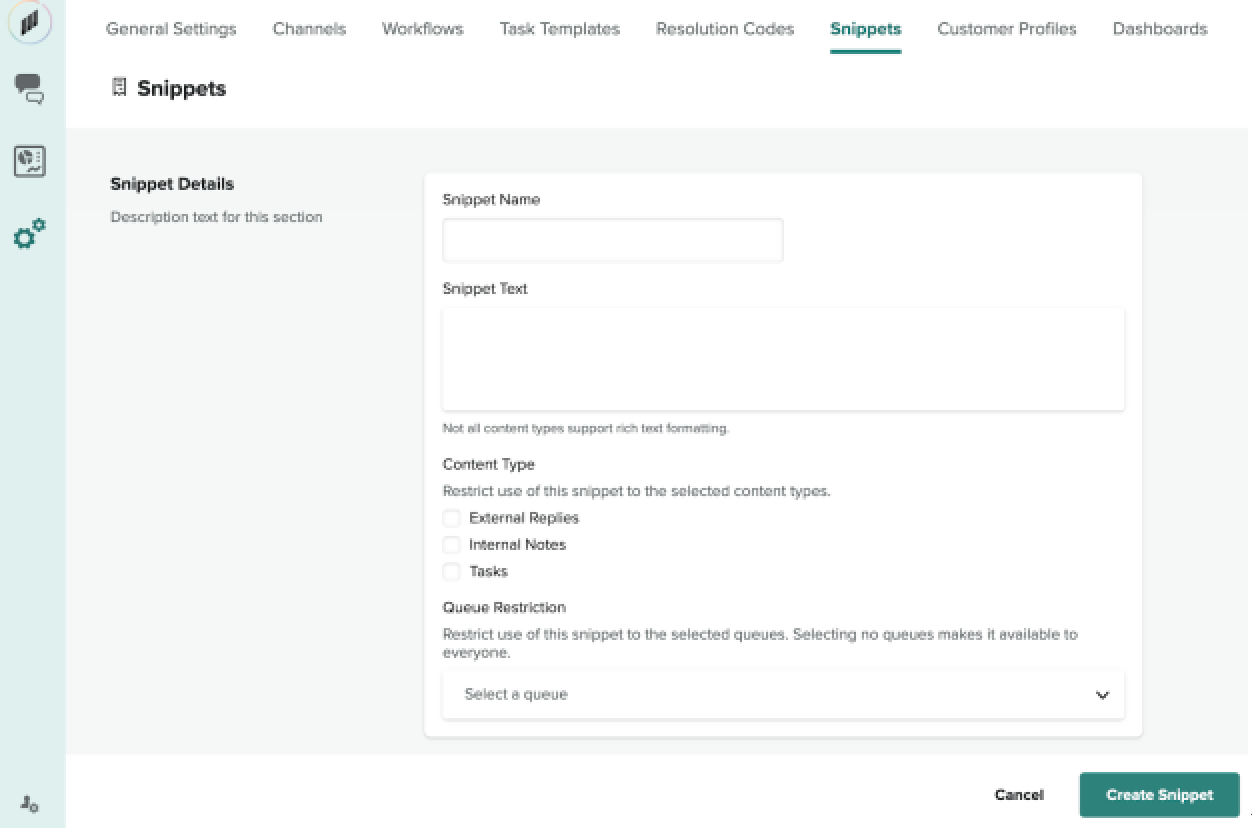
Once you have entered all the relevant information, click Create Snippet to save your snippet.
Using personalization tokens in a snippet
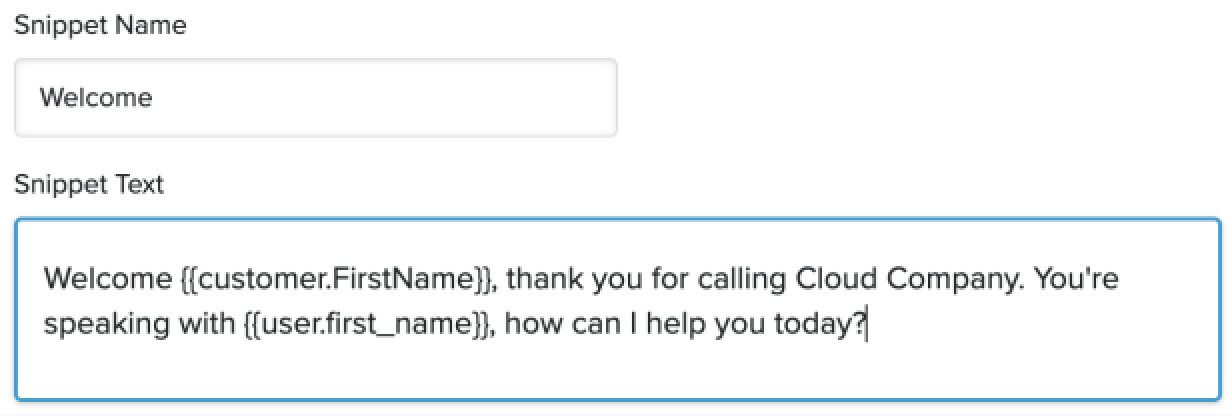
Snippet responses can be customized using personalization tokens to improve the customer experience. They can be thought of as placeholders that will be used to include stored attributes such as the customer’s name, phone number, account ID or other information.
The format used is {{user.attribute}} as shown below.
Setting a fallback
If the attribute doesn’t exist or is empty, by default the token wont be replaced. However, you can provide a fallback in the template using this syntax:
{{contact.first_name || "dude"}}
Understanding snippet restrictions
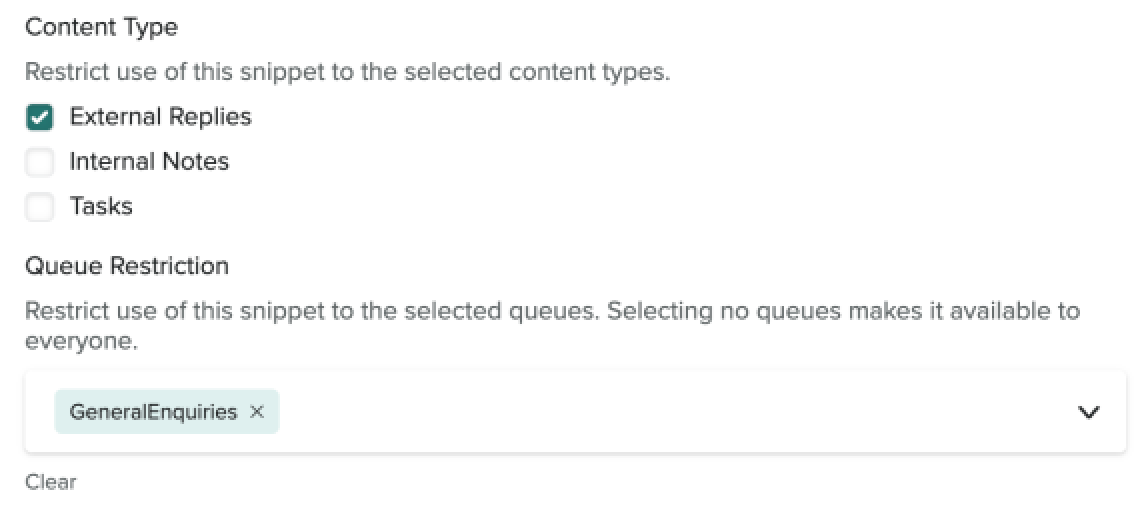
Restrictions limit use of the snippet depending on the case. Restrictions can be configured under Content Type and Queue Restriction. Limiting the snippets to certain content or queues is helpful for separating and organizing your snippets.
- Navigate to Settings and click the Snippets tab.
- Click the snippet you want to edit.
- Select the restrictions you want.
- Click Save snippet.