Summary: ◀▼
Learn how to accept or decline Contact Center calls, set the right agent status, and use call details before answering. If you can’t take a call, decline it to send it to the next available agent and reduce customer wait time. You also need a supported browser and notifications turned on to get incoming call alerts.
This article describes how to accept and decline calls in Contact Center.
You must use a supported browser and, if you want your operating system to notify you of incoming calls, configure your browser for notifications.
This article contains the following topics:
Related articles:
Setting your status for calls
To receive calls, you must set your status to a Zendesk status that maps to Available in Amazon Connect. The standard Zendesk status Transfer only isn't supported for Contact Center calls. For information about the Zendesk statuses and how to set your status, see Setting your agent status.
Accepting calls
To accept a call
- (Optional) Click Show details to view any associated information.
The information comes from the contact flow and its contact attributes.
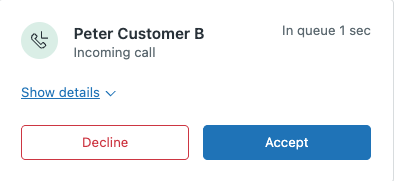
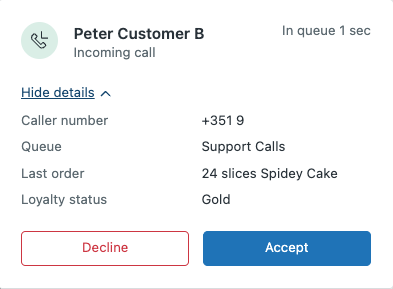
- Click Accept.
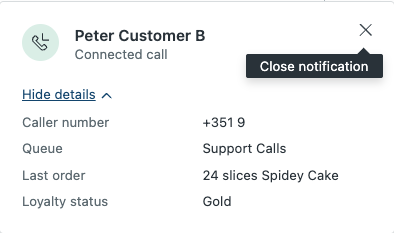
When you accept the call, depending on your settings, Zendesk might begin recording the call and create a ticket. For details, see how calls become tickets. A counter shows the duration of the call.
You can still show or hide the call details at this point.
- Click the close icon (X) to close the call notification and proceed with the
call.
Automatically accepting calls
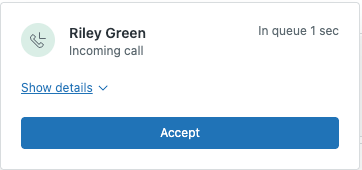
When admins configure agents to automatically accept calls, agents are presented with the same notification as in accepting calls but without an option to Decline. Also, shortly after receiving the notification the call is automatically accepted.
Declining calls
Calls are automatically routed to the first available agent. If that agent doesn't answer after a configurable amount of time, the call routes to the next available agent.
Don't wait for the allocated time to run out. Decline the call to send it straight to the next available agent so customers wait less time.
To decline a call
- (Optional) Click Show details to view any associated contact attributes.
- Click Decline to reject the call and put it back in the queue.