Summary: ◀▼
You can keep browser notifications on for incoming calls and chats when the app is open or in the background by allowing notifications in your browser, turning on browser notifications in your profile or agent settings, and letting your operating system show them. Make sure your browser stays awake, use a supported browser, and enable the needed cookies and notification settings.
Contact Center supports system notifications so agents can stay informed about incoming contacts when Contact Center is open or running in the background. To get notifications from Contact Center, you must configure notifications in your browser, Contact Center, and operating system. Additionally, you need to ensure that the browser doesn't deactivate or put Contact Center to sleep. Use a supported browser (Chrome, Edge, or Firefox) and keep your browser and operating system up to date.
This article contains the following topics:
Configuring your browser for notifications from Contact Center
To ensure you receive Contact Center notifications, even when you're using other applications, you need to allow browser notifications from Contact Center and prevent your browser from putting Contact Center to sleep.
To allow browser notifications
In your browser settings, these sites should be allowed to send notifications:
https://support.zendesk.com:443https://1162894.apps.zdusercontent.com:443- If using Local Measure infrastructure,
https://[workspace-name].[AWS-region].local
                            measure.com:443
To prevent browsers from putting Contact Center to sleep
In your browser settings, ensure that tab discarding and notification suppression doesn't apply to Zendesk apps.
- Chrome: Disable Memory Saver
-
-
Open Settings > Performance or enter
chrome://settings/performancein the address bar. -
Under "Always keep these sites active", then click Add.
-
Enter
[*.]zendesk.comand click Add to save.
-
- Edge: Stop Sleeping Tabs
-
-
Enter
edge://settings/systemin the address bar. -
Locate the "Never put these sites to sleep" section.
-
Click Add and enter
[*.]zendesk.com.
-
- Firefox: Prevent Tab Discarding
-
-
Type
about:configin your address bar and press Enter. -
Click "Accept the Risk and Continue."
-
Search for
browser.tabs.unloadOnLowMemoryand double-click it to set it to false.
-
If you also want to receive notifications from Connect, allow the required cookies and notifications for your Connect instance.
To allow Amazon Connect cookies
In your browser settings, add these domains to allow third-party cookies:
-
[*.]amazon.com [*.]connect.aws-
[*.]my.connect.aws(or your specific instance URL)
For example, for Chrome, add these domains in
chrome://settings/cookies, for Edge in
edge://settings/content/cookies, and for Firefox, in
about:preferences#privacy and scroll down to the Cookies and
Site Data section.
Turning on notifications in Contact Center
After you configure browser notifications, you need to turn on notifications in Contact Center.
To turn on Contact Center notifications
-
Click your profile icon on the top right.
-
Click Manage profile.
-
Click the Voice preferences tab.
- Click Turn on browser notifications
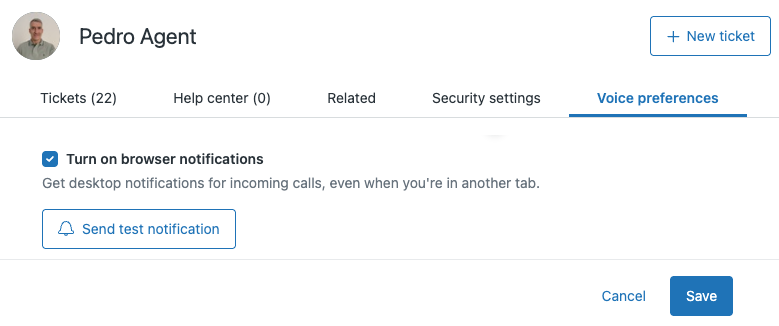
- Click Save.
- (Optional) Click Send test notification to check if system notifications
appear on your desktop.
If no system notification appears, see Configuring your operating system to allow browser notifications.
To turn on Contact Center marketplace app notifications
- In Contact Center, select Agent Settings > Notification settings.
- Click Enable browser notifications.
If you get an error message that notifications have been blocked and need to be enabled in the site settings, then you must first configure the browser. See Configuring your browser for notifications from Contact Center.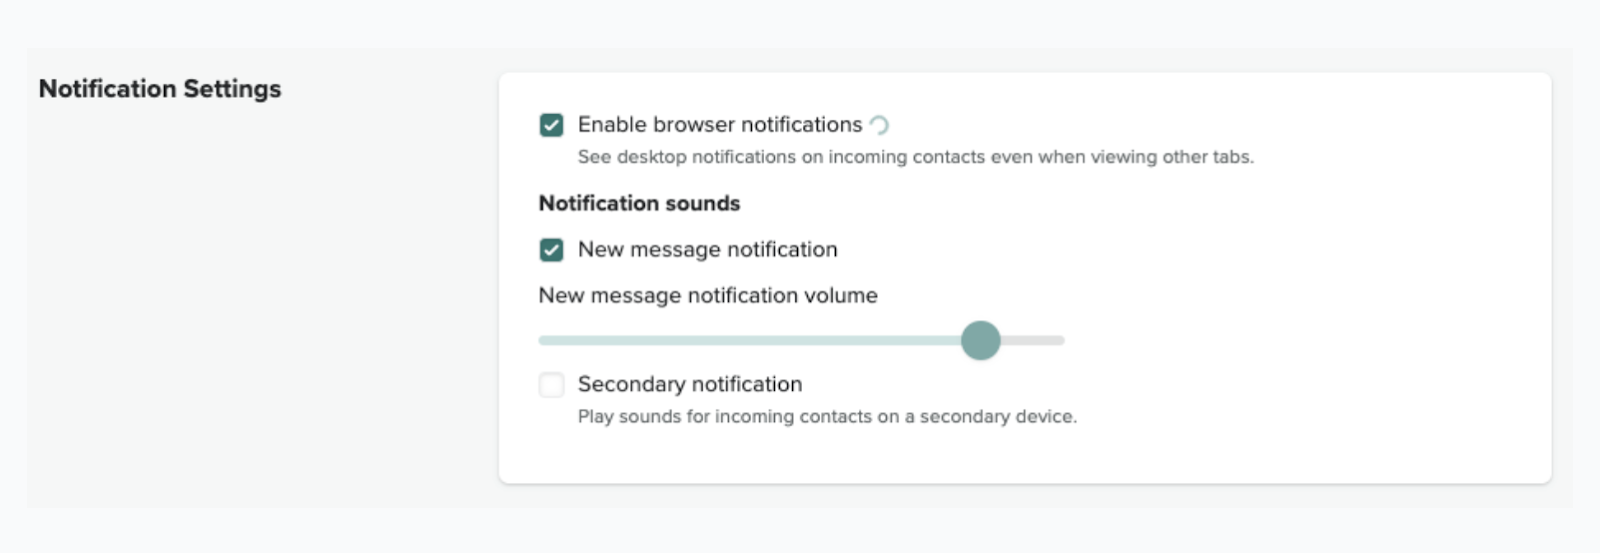
- Click Save.
Configuring your operating system to allow browser notifications
In addition to configuring notifications in Contact Center and your browser, you also need to configure your operating system to allow the browser to show you system notifications on the desktop. If you use Focus (macOS) or Do not disturb (Win11) or Focus assist (Win10), add your browser as an allowed app so Contact Center notifications aren’t silenced.
To turn on notifications on macOS
- In System Settings > Notifications, check that your browser has the Allow
notifications option selected.Note: If there are two entries for your browser, allow notifications for both.
To turn on notifications on Windows
- In the Notifications & actions section of Windows Settings, check that your browser has the Get notifications from these senders option selected.
Viewing Contact Center notifications
How you view notifications depends on the browser and operating system you use.
To view notifications from Contact Center
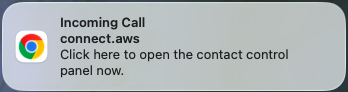
- Click the notification to open Contact Center.
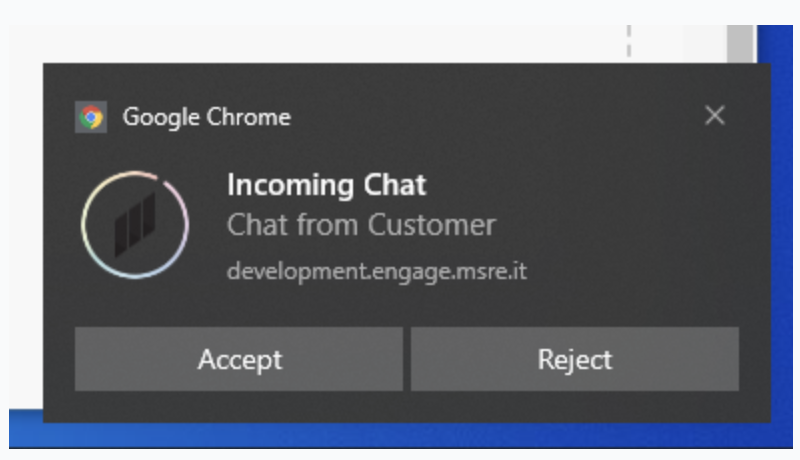
- If available, click the Accept or Reject option.
 |
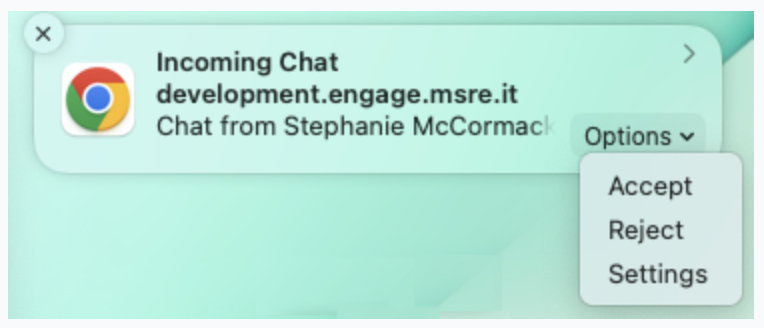 |
Example of a chat notification on Windows 10: