Summary: ◀▼
You can connect your support email during the trial setup using options like Gmail, Microsoft Exchange, email forwarding, or a Zendesk support address. This lets you receive and manage customer support requests directly through your email, helping you streamline communication and ticket creation based on your email provider and preferences.
Zendesk provides free trial accounts you can use to test drive Zendesk Suite. As part of automatic setup for your trial account, Zendesk provides you with a setup wizard to help you connect your email.
Setup tasks include:
Starting automatic setup
Automatic setup starts when you sign up for a free Zendesk trial.
To start automatic setup
- Open Zendesk
home and select Try for free.
You can also start a trial by selecting Free trial on the Zendesk pricing page.
- Follow the instructions to automatically set up your account. For details, see Using AI to automatically set up your Zendesk account.
Connecting your support email
After you finish the automatic setup, you'll see a list of additional setup tasks for your account.
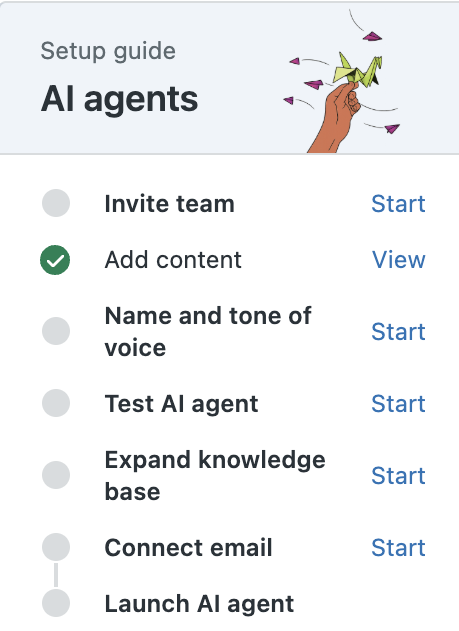
- Locate the Connect email task and click Start.
The email setup wizard helps you connect your support email to start receiving support requests from your customers. There are multiple ways to connect your support email, depending on your preferences and your email provider.
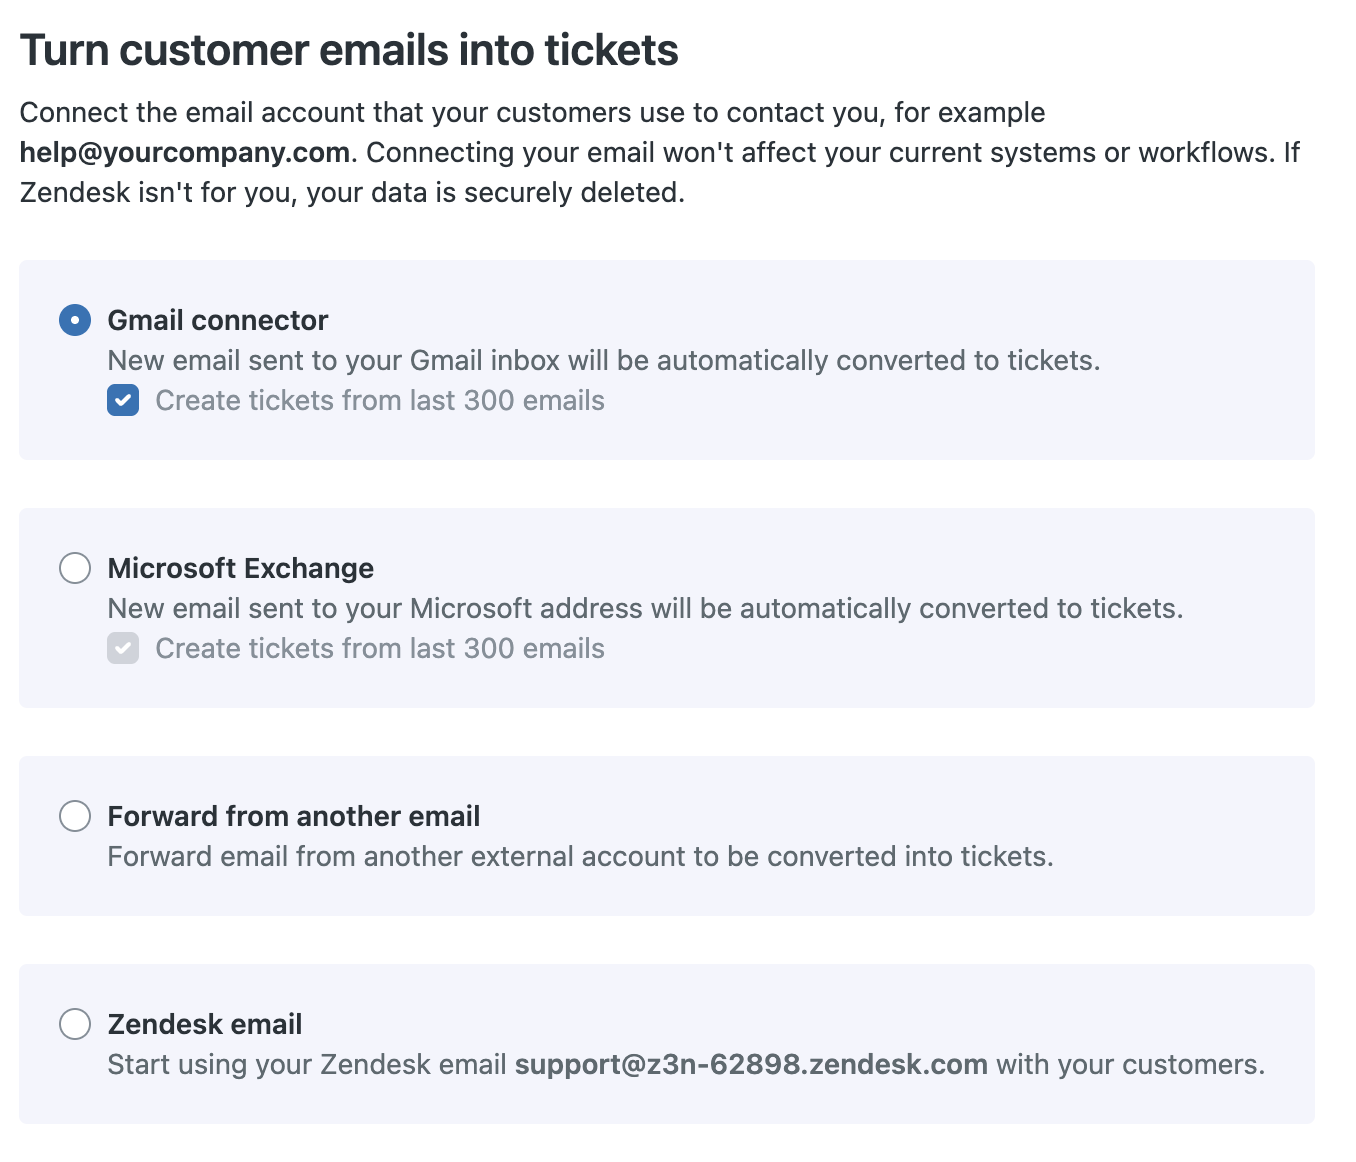
Email setup options include:
Connect with Gmail
You can import email from one or more Gmail inboxes and automatically convert email messages to tickets. This option is useful if you’re a small business with low email traffic. Google limits daily sending to 500 messages for Gmail or 2000 for Google Apps. To learn more, see Connecting to your Gmail account.
To connect with Gmail
- When the Connect your support email page appears, click Gmail.
- Click Next.
- Choose the Gmail account you want to connect to.
- Click Continue to sign in to Zendesk Connector for Email.
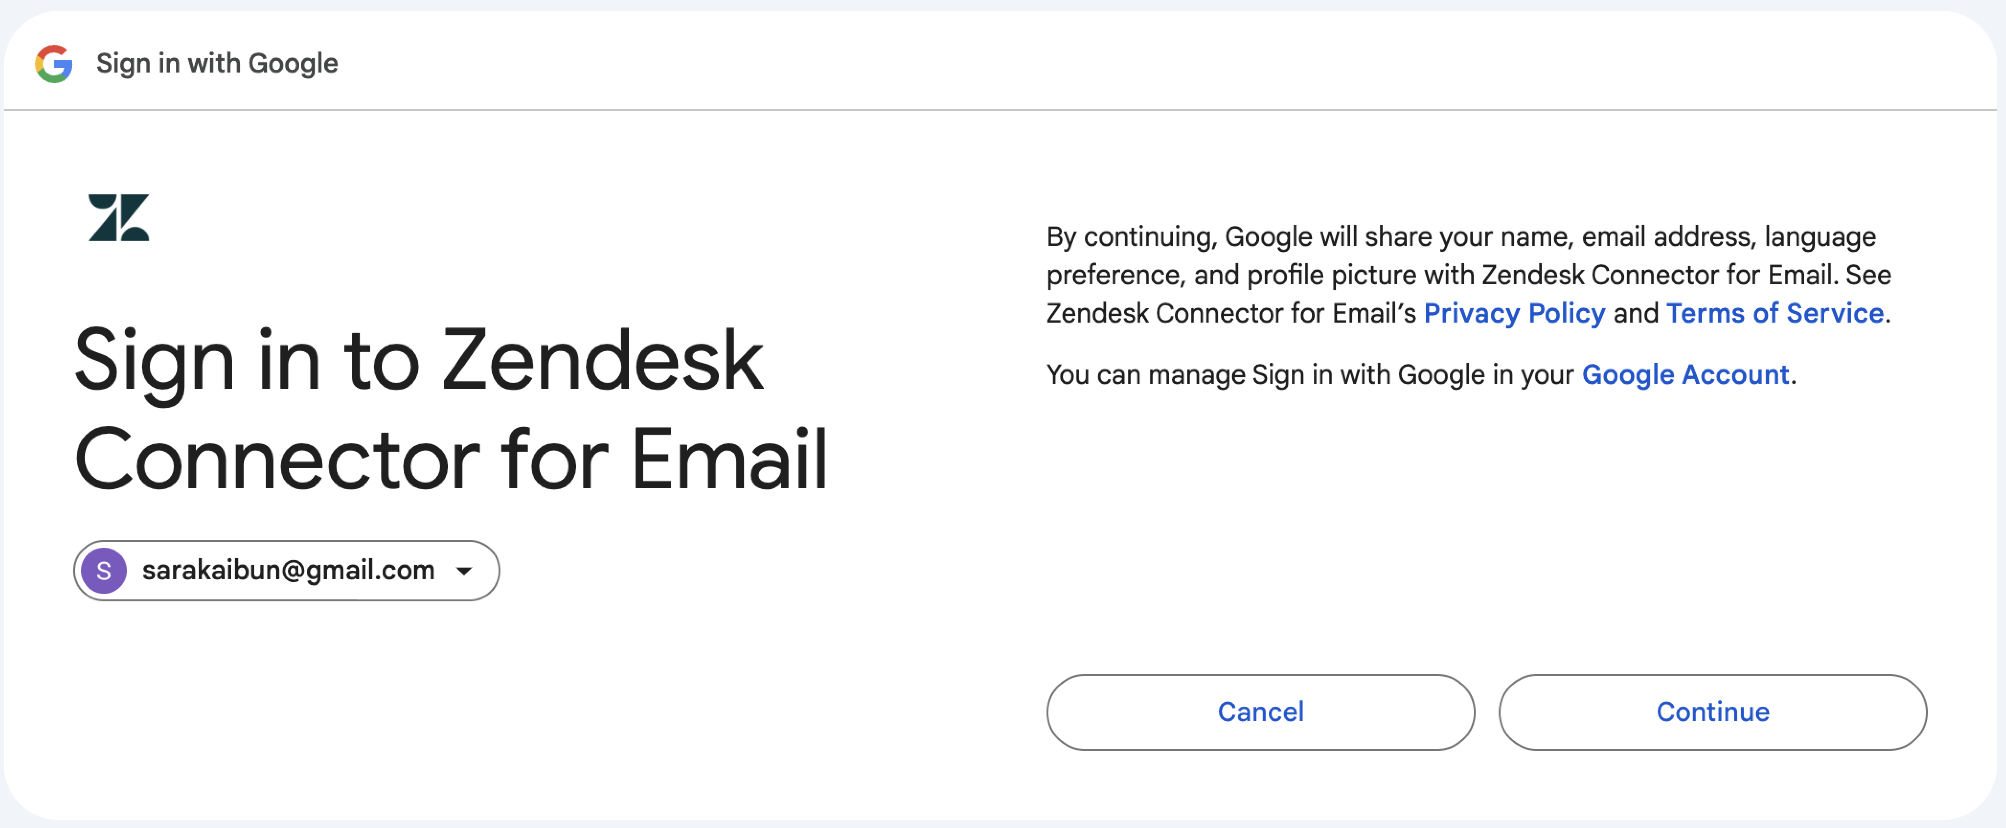
- Check the box to Read, compose, and send emails from your Gmail account.
- Click Continue.
A message appears to show your email is connected.
Connect with Microsoft Exchange
The Microsoft Exchange connector allows you to connect your non-Zendesk email servers, based on Microsoft Exchange, directly to your Zendesk Support instance. To learn more, see Connecting your Microsoft Exchange account to Zendesk.
To connect with Microsoft Exchange
- When the Connect your support email page appears, click Microsoft Exchange.
- Click Next.
- You may need to sign in to Microsoft using your account credentials.
Enter your email address and password.
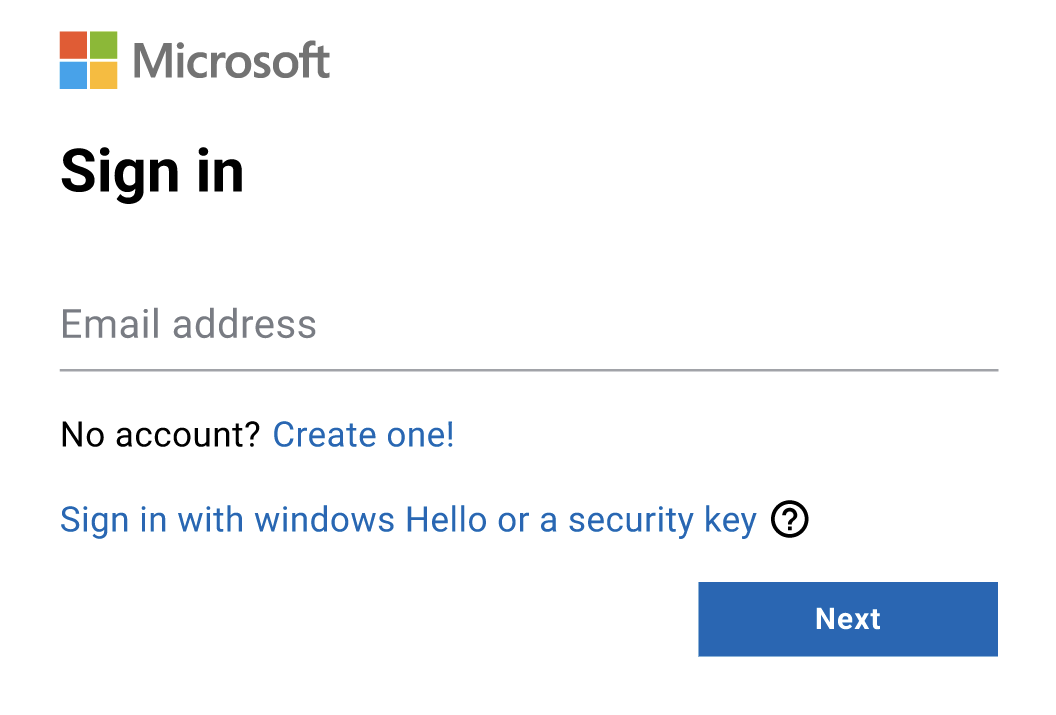
- Click Next to sign in to Zendesk Connector for Email.
- Click Accept to approve access to the email account.
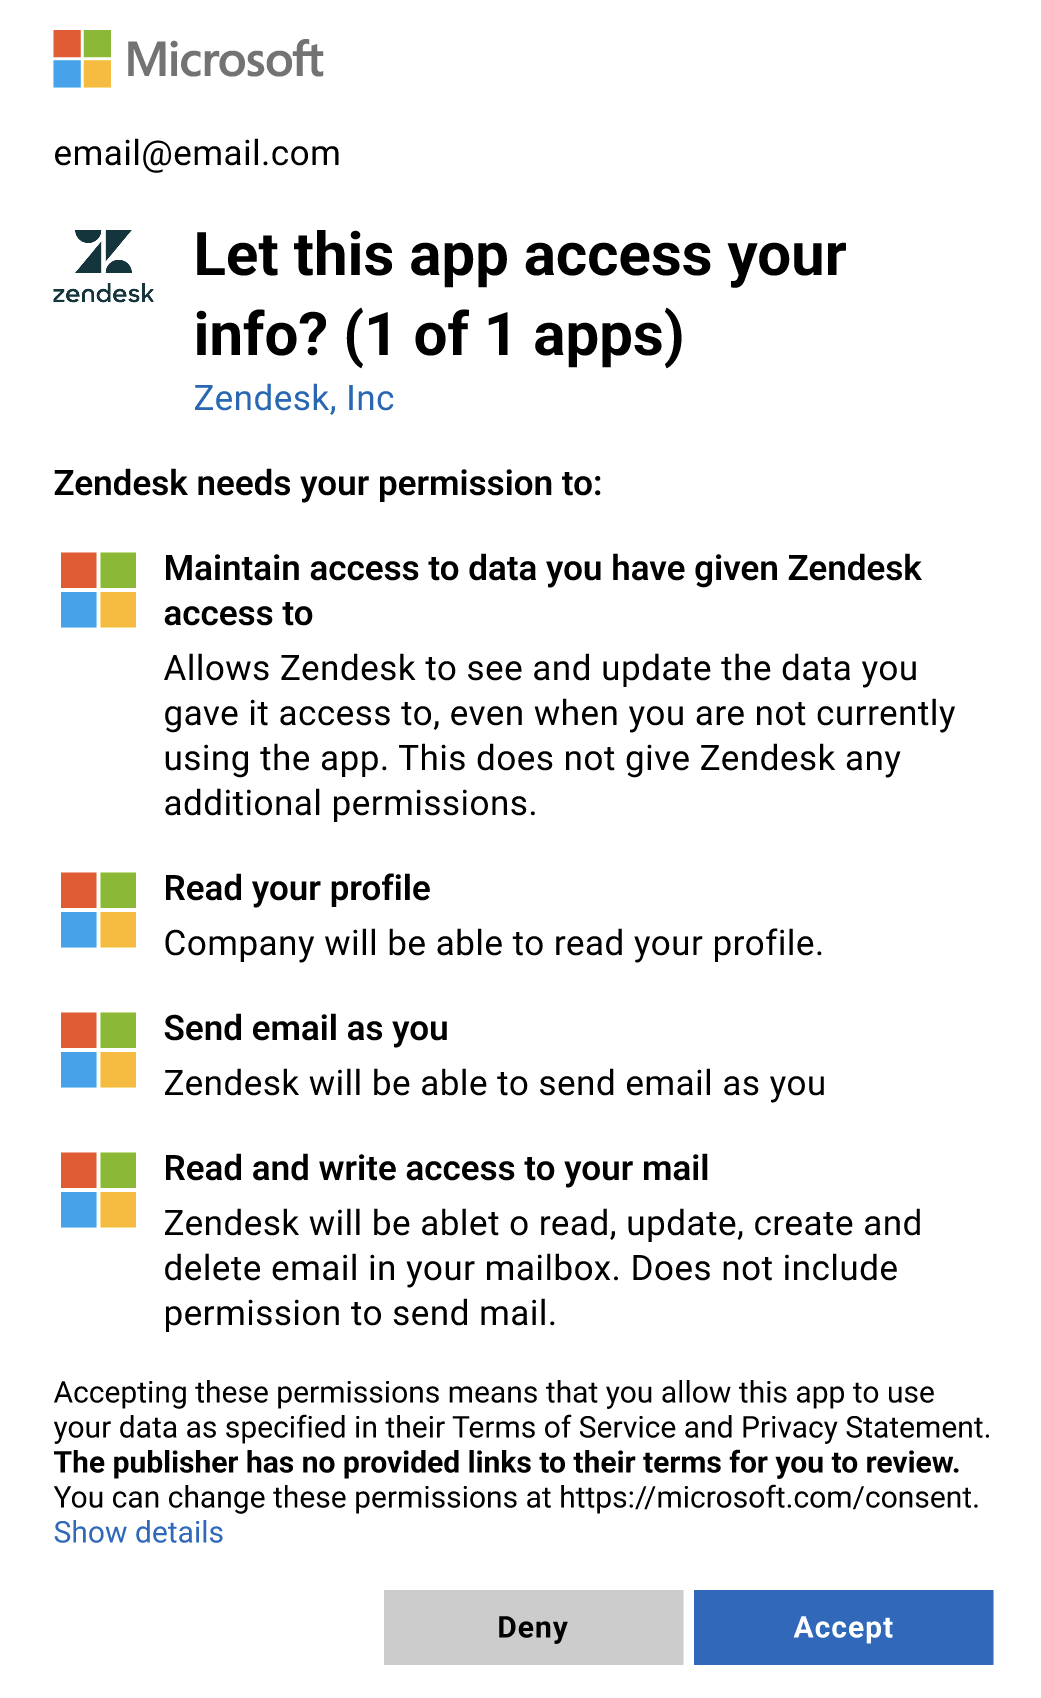
A message appears to show your email is connected.
Connect with email forwarding
In another email connection option, you can receive support requests at an external email address and forward the incoming email to Zendesk. In turn, Zendesk can send email replies to your customers via your external email address. To learn more, see Forwarding incoming email.
To connect with email forwarding
- Select Email forwarding when you see the email setup options.
- Click Next.
- Enter your email support address.
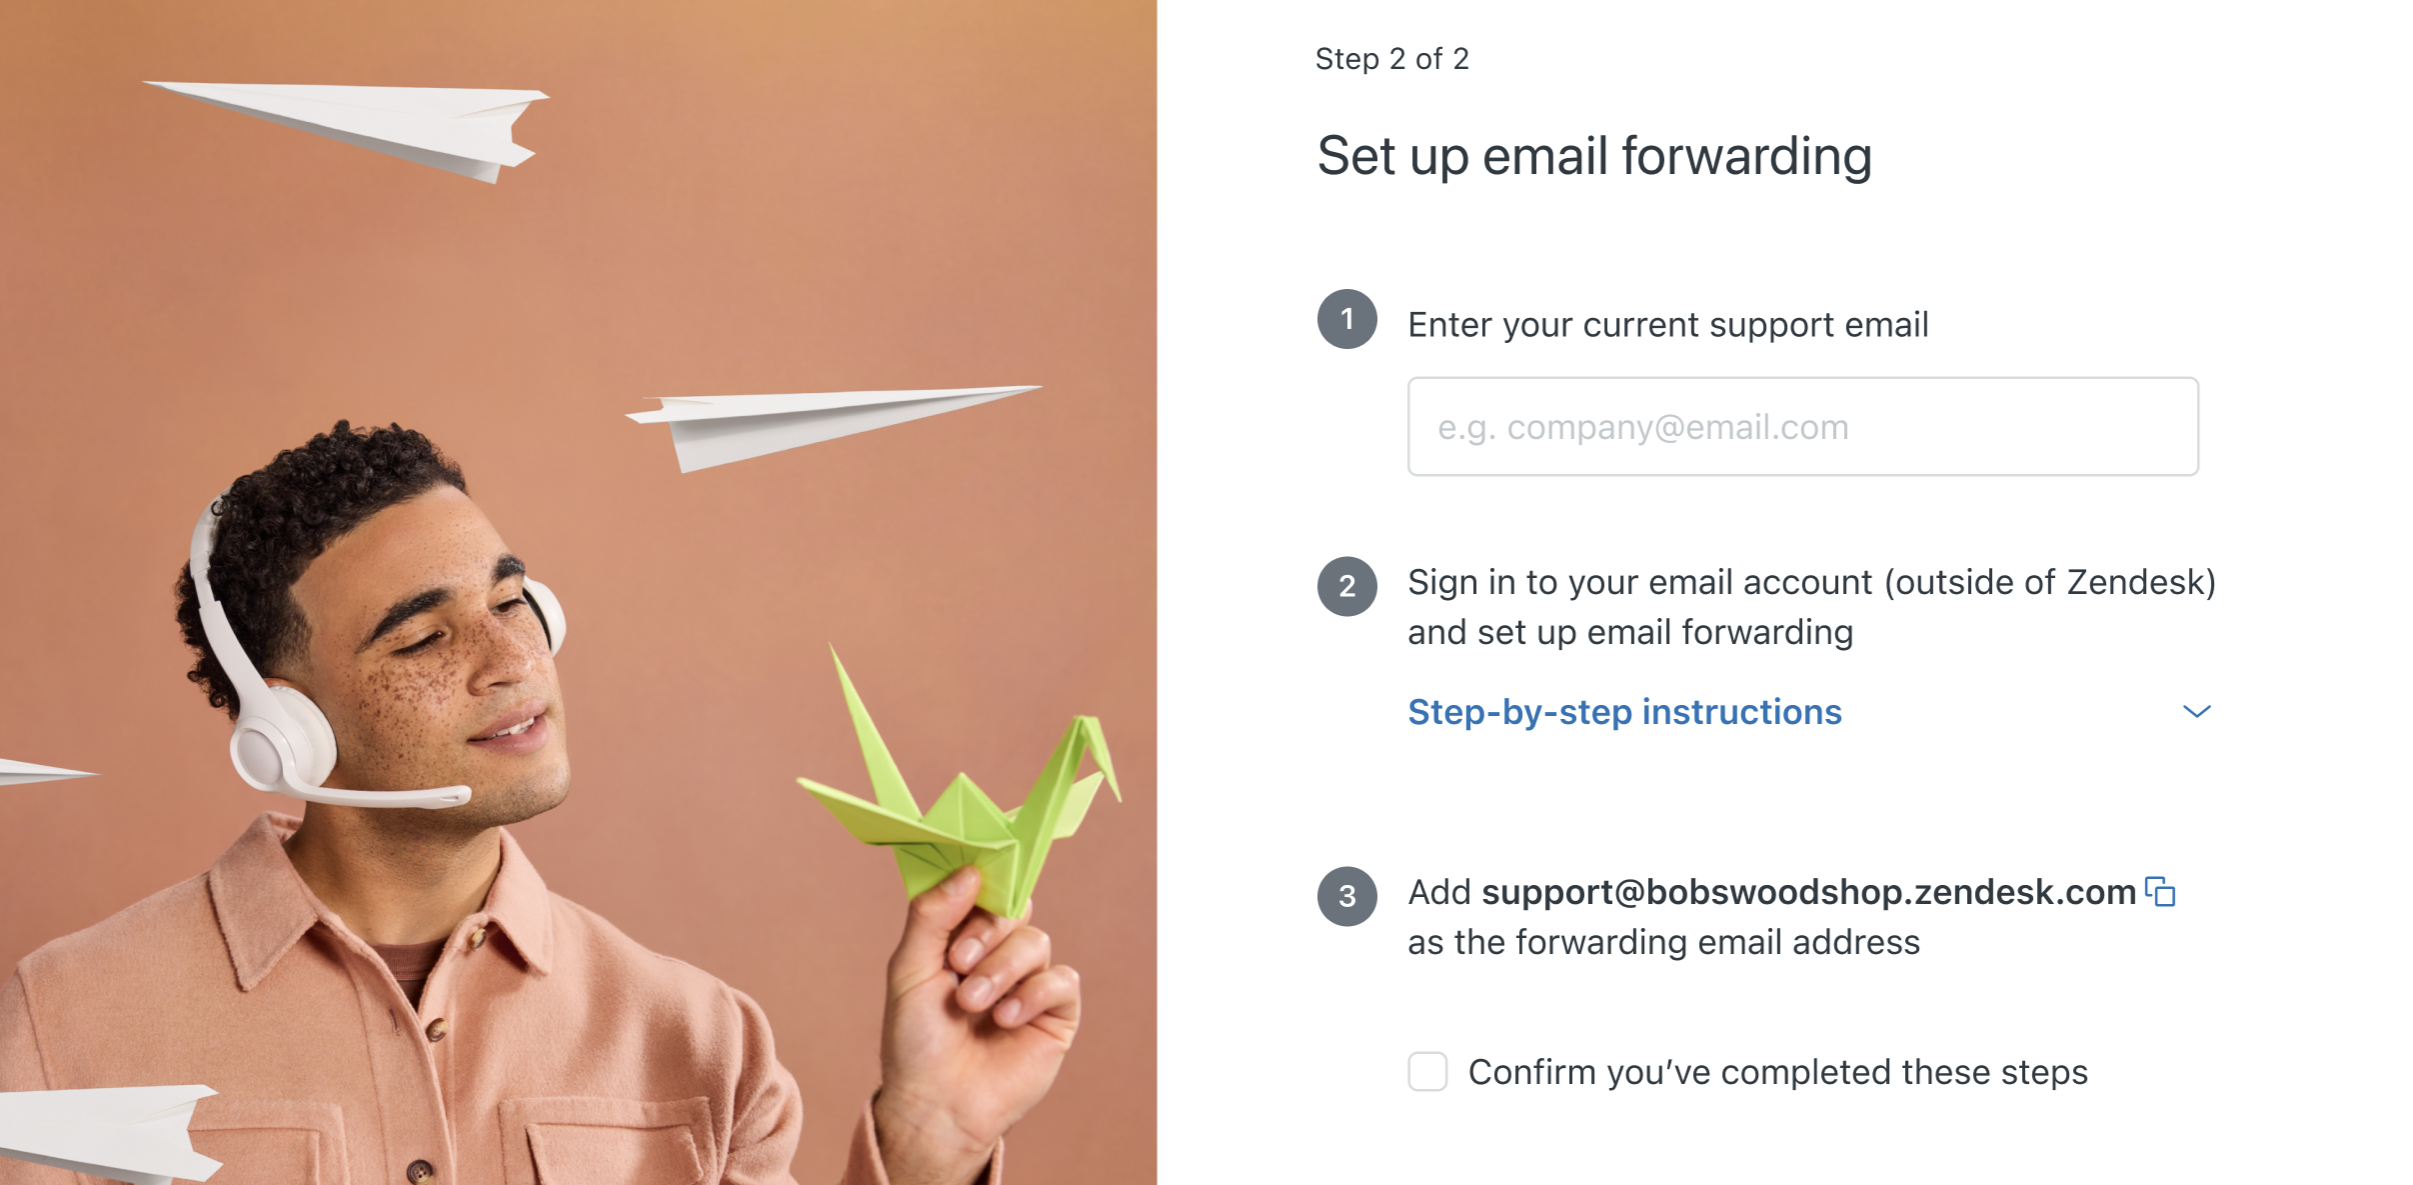
- Click Next.
A list of step-by-step instructions appear, based on your email provider.
- Select your email provider.
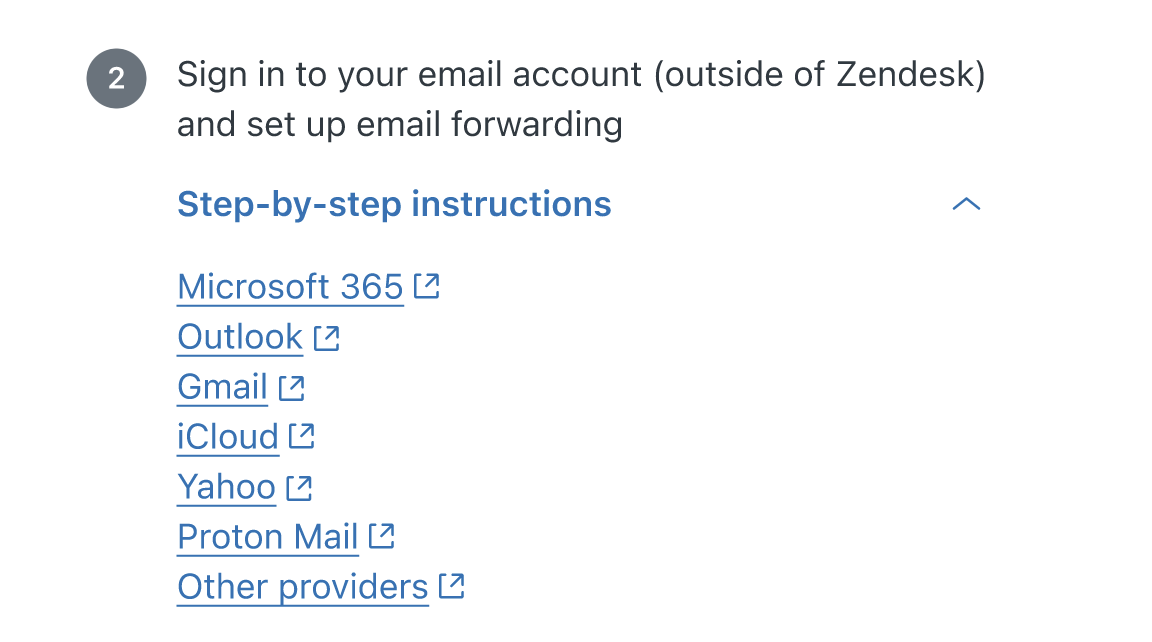
If your provider isn’t listed, select Other providers.
- Complete the on-screen steps to set up forwarding on your email server.
This is done outside of Zendesk. The exact steps depend on your mail server.
The email forwarding wizard instructs you to enter your default support address as the forwarding email address (support@yoursubdomain.zendesk.com).
- After you set up email forwarding on your server, select Confirm you’ve completed
these steps.
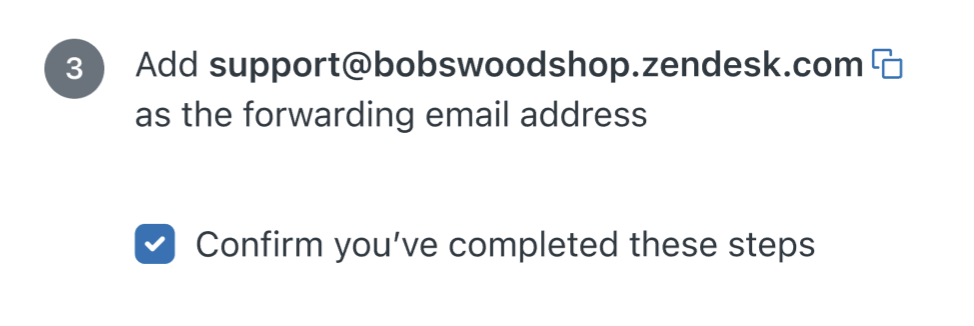
- Click Next.
Wait a few minutes while Zendesk checks your setup. When the verification is complete, a message appears to show your email is connected.

Connect with a Zendesk email address
One of the easiest ways to connect your email is to use a Zendesk support email address. Customers can send their requests directly to the default Zendesk support email address created for your account. To learn more, see Understanding the default email setup.
To connect with a Zendesk support email address
- Select Zendesk email when you see the email setup options.
- Click Next.
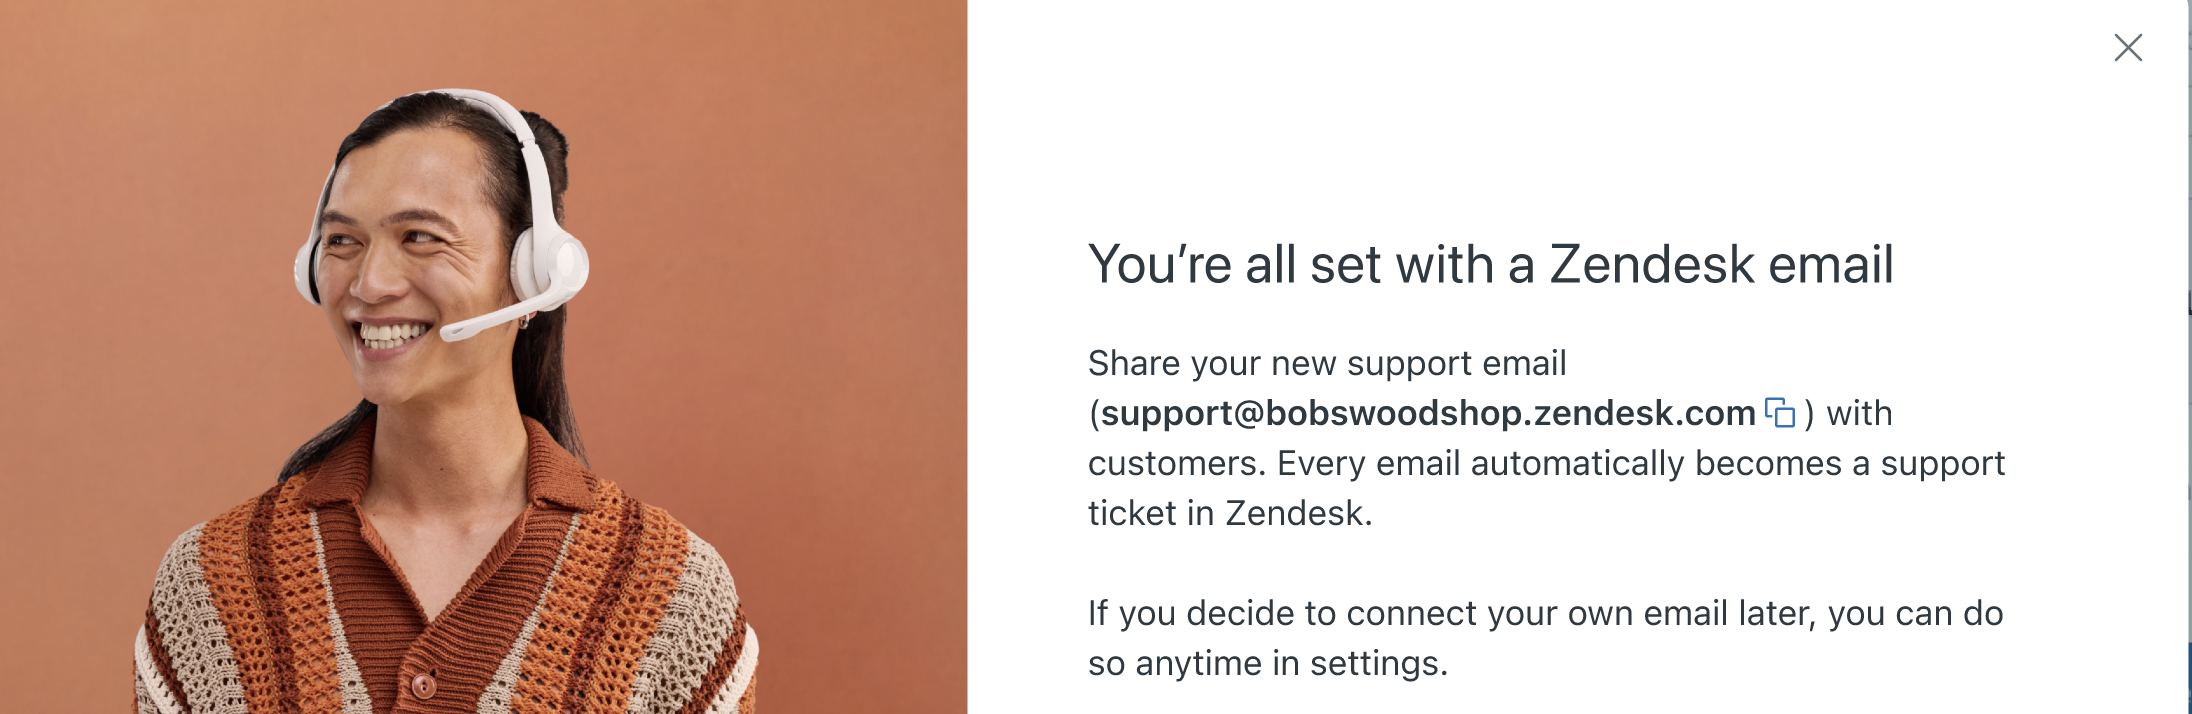
You’re all set. A message appears showing you the Zendesk support email address your customer can use to send requests.
- Click Done.