App Builder supports a range of standard API authentication methods, including API keys and OAuth 2.0. Some setup is always required. You’ll need to provide credentials like an API key from your provider or OAuth client credentials.
When an app built with App Builder needs to authenticate with an external API, credentials are never written into the app’s code. Instead, App Builder creates a secure setting for each secret. A secure setting allows you to enter and store credentials using Zendesk’s application proxy. These secrets are encrypted and can only be used for API calls to the domains you specify, much like a password manager limited to approved services.
Credentials managed this way are never visible to agents, end users, or exposed in browser code, even if a user account is compromised. Agents are limited to their authorized actions and cannot use these credentials to gain extra access, significantly reducing the risk of credential theft or misuse.
Admins are responsible for protecting all shared secrets and passwords. Secure settings help by limiting exposure and access, but best practices still apply.
To strengthen security, you are prompted to enter credentials each time an app is tested or published. Keep track of your credentials and notes during development, so you can quickly update the test environment as you iterate on your app.
Example: Creating an OAuth connector for Google Sheets
Google Sheets can be integrated through its API, which is secured using OAuth to prevent unauthorized access. When prompted to connect to a Google Sheet, App Builder automatically guides you through the OAuth connection steps, including configuration in the Google Cloud Dashboard.
The following example creates an app that reads your spreadsheet and retrieve data from its rows. For this example, a Google Sheet is created, and the "risk subtype" and "overall risk" custom fields are set up in Zendesk. A CSV file is then used to upload 278 risk values to the custom field and to populate the Google Sheet.
In this example, the app reads a sheet containing ticket subtypes (represented by a custom multi-select dropdown field in Zendesk). Each subtype is matched to a row in the sheet to determine its priority. For example, some subtypes may indicate an urgent priority while others are low priority. The app finds the highest priority among all selected risk subtypes on the ticket and assigns it to the ticket’s priority field. The subtype list is updated regularly and maintained in the Google Sheet by another team, allowing the integration to use the most current data without manual updates.
Creating the prompt and reviewing the plan
In this example, the following prompt is used. It isn't necessary to include extensive details or the Google Sheets ID. App Builder prompts for any additional information as needed.
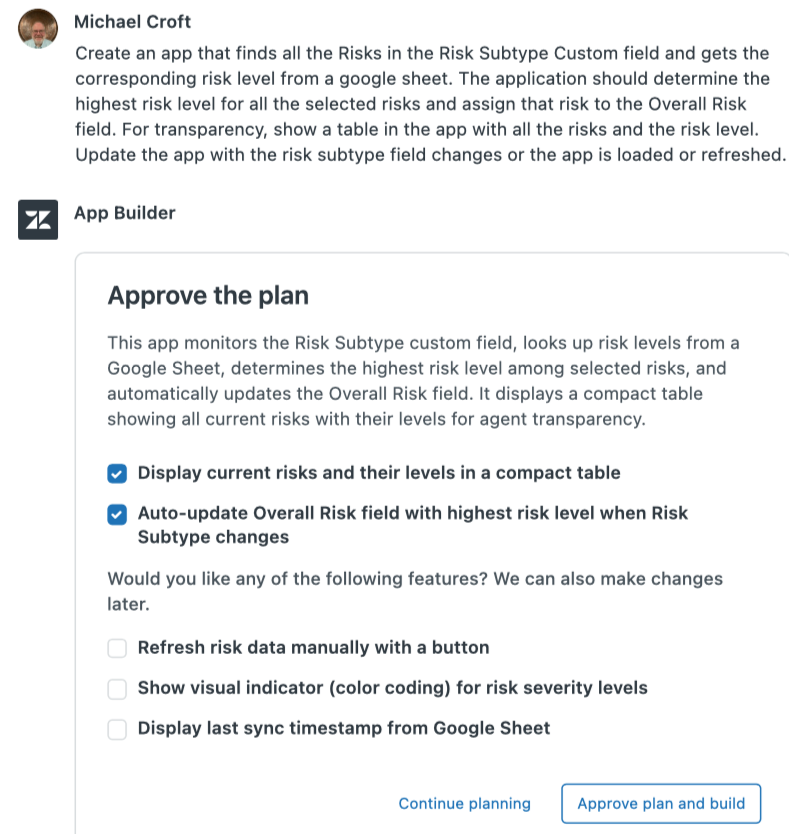
App Builder generates a plan that outlines the features to be included in the app, along with recommendations for potential enhancements. In this example, the plan is approved as presented, but it is also possible to select additional options or continue refining the plan through further conversation.
Reading the spreadsheet
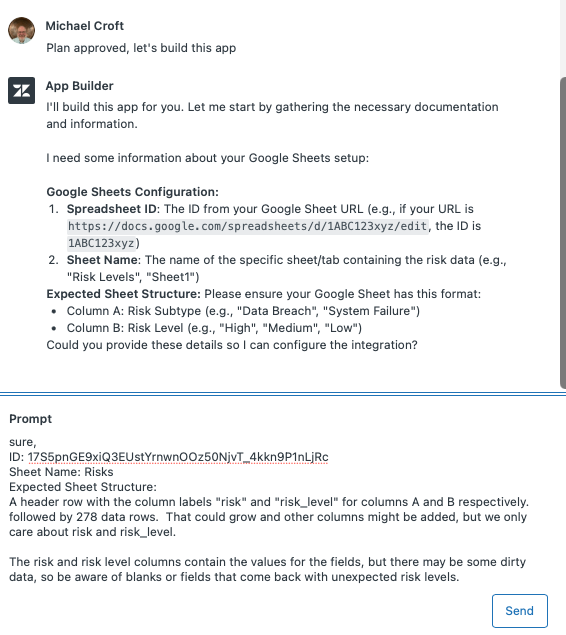
App Builder recognizes that it needs to access the spreadsheet and prompts for the necessary spreadsheet details, such as the URL and the name of the sheet within the file. By default, the sheet name is “Sheet1,” but in this example “Risks” is used for clarity. At this stage, credentials are not yet required.

In this example, App Builder needs more details to proceed. Providing additional information about the expected sheet structure helps App Builder to correctly interpret and process the data it retrieves from the spreadsheet.
Building the modules
App Builder passes the approved plan to its build modules, which reference documentation on Zendesk ticket objects (such as fields and events) and UI display standards (using the React framework). These modules then generate the required app components and provide a summary of the work completed.
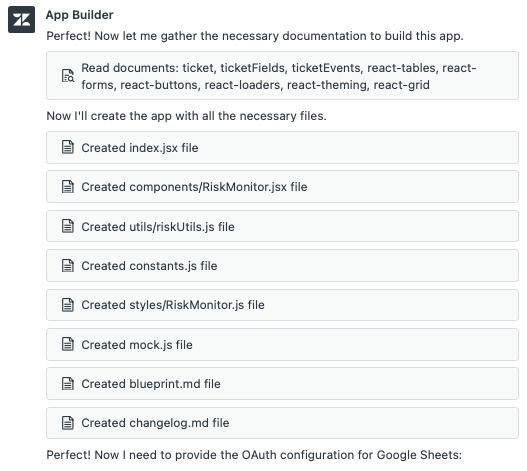
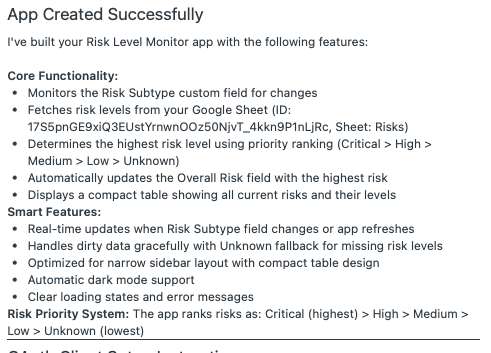
App Builder then describes the built product, which can be used as a starting point for future enhancements.
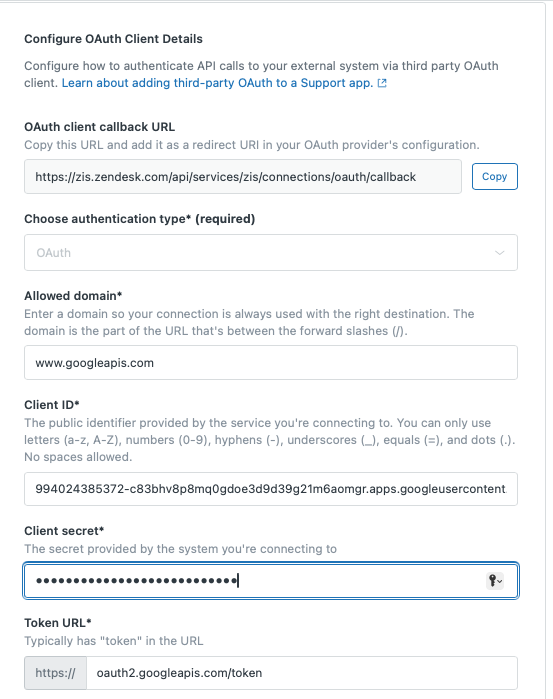
Creating the OAuth connection
App Builder next provides step-by-step instructions for creating a read-only OAuth token for Google Sheets. If you’re connecting to another service, the process may involve different steps. Whenever App Builder recognizes the external system, it offers guidance to help you set up a successful connection.

After completing these steps, you'll have the option to download the credentials as a JSON file. This lets you reuse the credentials for future connections without needing to create new ones. For example:
{
  "web": {
        "client_id": "000000000000-cabcderfp8mq12345678b21m9aomgr.apps.googleusercontent.com",
        "project_id": "test-api-use-12345",
        "auth_uri": "https://accounts.google.com/o/oauth2/auth",
        "token_uri": "https://oauth2.googleapis.com/token",
        "auth_provider_x509_cert_url": "https://www.myapis.com/oauth2/v1/certs",
        "client_secret": "PIR-UAE1234567abc123234546_"
    }
}
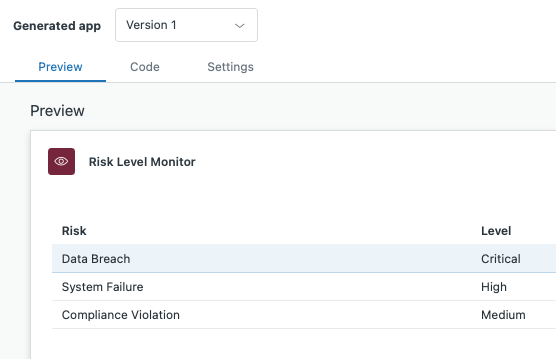
Previewing and testing the app
The built-in preview displays your app using mock data, giving you an idea of its appearance and features.
Once your app is ready, click Test or Publish and App Builder will guide you through the OAuth authorization steps needed to connect to your data source. Be sure to provide the client callback URL to your OAuth provider as part of this process.
You'll need to re-enter the callback URL each time you test to ensure that your credentials remain secure and up to date. In a production environment, this step is typically only required during installation or major changes.
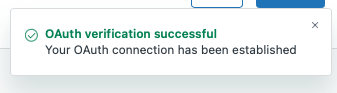
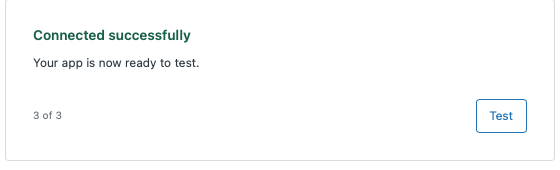
After connecting, Google prompts you to sign in with an authorized account, which doesn’t need to be your Zendesk admin user. When the authentication succeeds, you’ll see a confirmation popup and the App Builder displays a new Test button. Clicking Test validates the connection using your real data source.