Summary: ◀▼
You can enable or disable AI-generated article summaries to add concise descriptions at the top of help center articles. When enabled, authors create summaries within the article editor to highlight key content. Disabling this feature removes the option for authors to generate AI summaries. This setting helps control how article summaries are managed and displayed in your knowledge base.
The article summaries feature lets you insert an AI-generated article summary into your help center article. When you publish the article, a shaded box appears at the top of your article that contains a concise description of the article content. This feature is on by default. This article describes how to turn this feature off and on.
This article contains the following topics:
Turning on AI-generated article summaries
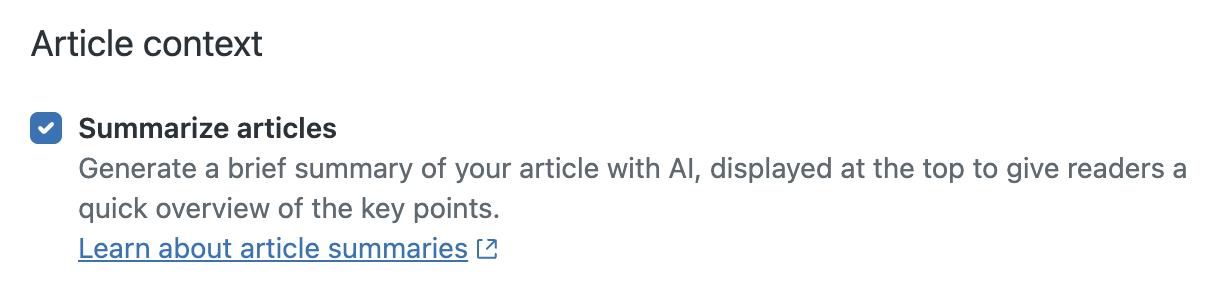
When the Summarize articles setting is turned on, article authors can create AI-generated article summaries from within the article editor. This setting is turned on by default.
To turn on AI-generated article summaries
- In Admin
Center, click
 AI in the sidebar, then select Knowledge > Article
context.
AI in the sidebar, then select Knowledge > Article
context. - Select Summarize articles.
- Click Save.
Turning off AI-generated article summaries
If you don't want agents to create AI-generated article summaries, you can turn off this feature. When you do so, article authors will no longer be able to create AI-generated article summaries in the article editor.
To turn off AI-generated article summaries
- In Admin
Center, click
AI in the sidebar, then select Knowledge > Article
context.
- Deselect Summarize articles.
- Click Save.