Summary: ◀▼
You need to manually create a Jira webhook to enable field syncing for linked issues. This webhook triggers updates when issues are changed or deleted, ensuring data stays synchronized. Setting it up requires admin access in Jira to configure the webhook with a specific URL and event settings, allowing your integration to detect and sync changes effectively.
When saving field mappings to turn on field syncing, the Zendesk Support for Jira integration registers a Jira webhook. The webhook is triggered whenever a linked issue is updated, moved, or deleted by a user, informing the integration that data has changed and syncing may be required.
Jira Cloud doesn't automatically create webhooks by third-party add-ons like Zendesk Support for Jira. Jira administrators must manually create a webhook for field syncing to work properly.
Configuring a Jira webhook
Follow these steps to configure a Jira webhook for field syncing.
To configure a Jira webhook
- Sign in to Jira as an admin.
- In the top navigation bar, select Apps > Manage your apps.
- Select Zendesk Support for JIRA in the accordion, then click Configure.
- Select Field Mapping in the left navigation pane, then click Copy webhook URL to clipboard.
- Click the Settings cog icon, and under Jira Settings, click System.
- Select Advanced > WebHooks in the left navigation menu.
- Click Create a WebHook in the upper-right area of the screen.
- Enter the following information:
-
Name: Enter
(Zendesk add-on) Sync with Zendesk on issue update (do not change) - Status: Select Enabled
- URL: Enter the webhook URL that you previously copied in Step 3. We have provided a convenient mechanism to get the webhook URL with all placeholders replaced with the correct values for your Zendesk account.
-
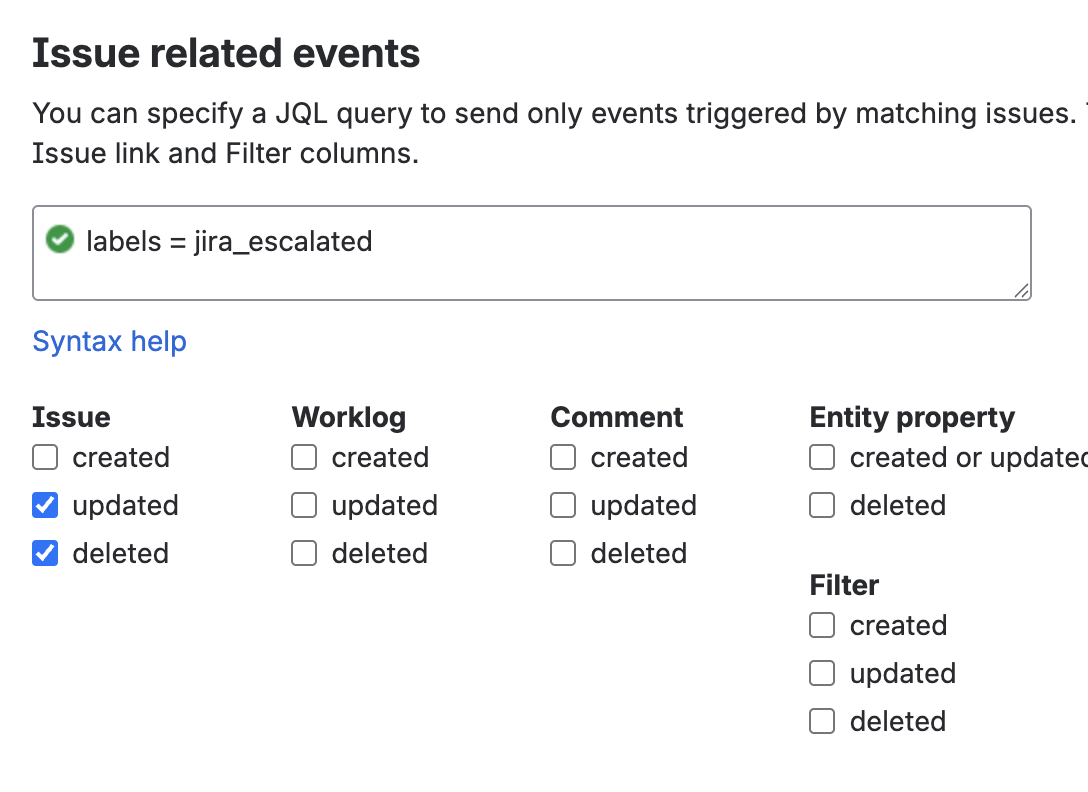
Events:
labels = jira_escalated -
Issue: Select updated and deleted
- Exclude body: Do not select this option.
-
Name: Enter
- Click Save. The Webhooks page displays the webhook details.