Summary: ◀▼
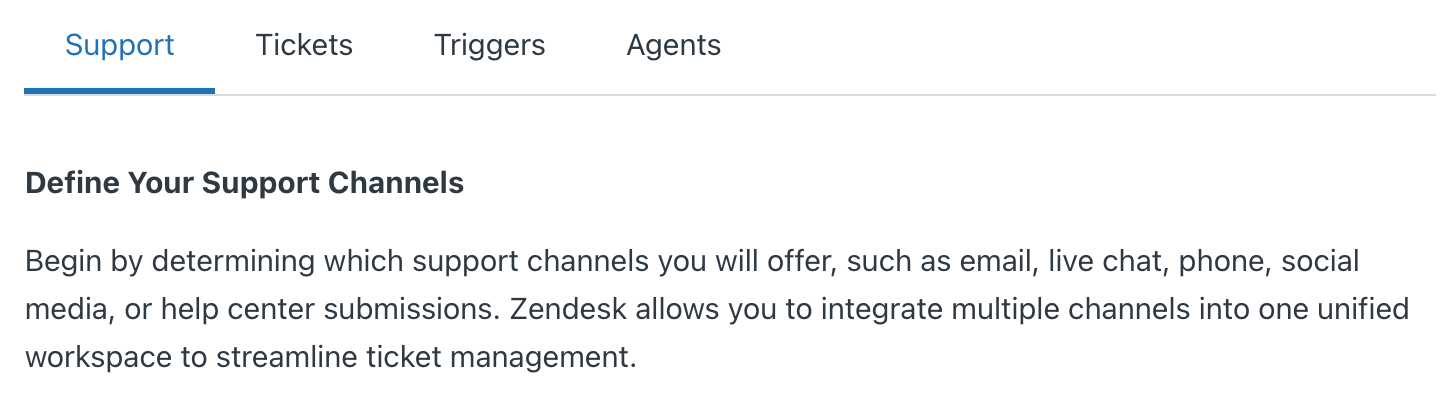
Tabs let you group related article content into selectable panels, so your readers can switch between versions of the same instructions without losing their place. Use them for platform-specific, role-specific, or use-case content to cut scrolling and make comparisons easier. You can add, reorder, and remove tabs in the article editor without custom code.
You can use the tabs component in the article editor to organize related content into separate panels. Help center users can select a tab to view the version of the content that applies to them. They can switch to another tab easily to read alternate content without shifting focus in the article. This helps reduce scrolling and makes similar instructions easier to compare.
Use tabs when you need to present parallel content, such as instructions for different operating systems, products, roles, or use cases. You can create tabs directly from the article editor toolbar without using custom code.
This article contains the following topics:
Creating tabs in the article editor
You can create tabs when you want to display related content in separate selectable panels within an article. Before you begin, decide what content belongs in each tab. Tabs are most effective when each tab represents a clear variation of the same topic, such as a platform-specific or role-specific version of a procedure.
- In help center or Knowledge admin, create a new article or edit an existing article.
- Place the cursor where you want the tabs to appear.
- Click the Article components button (
 ) on the article editor toolbar and
select Tabs.
) on the article editor toolbar and
select Tabs.The tabs component appears in edit mode.
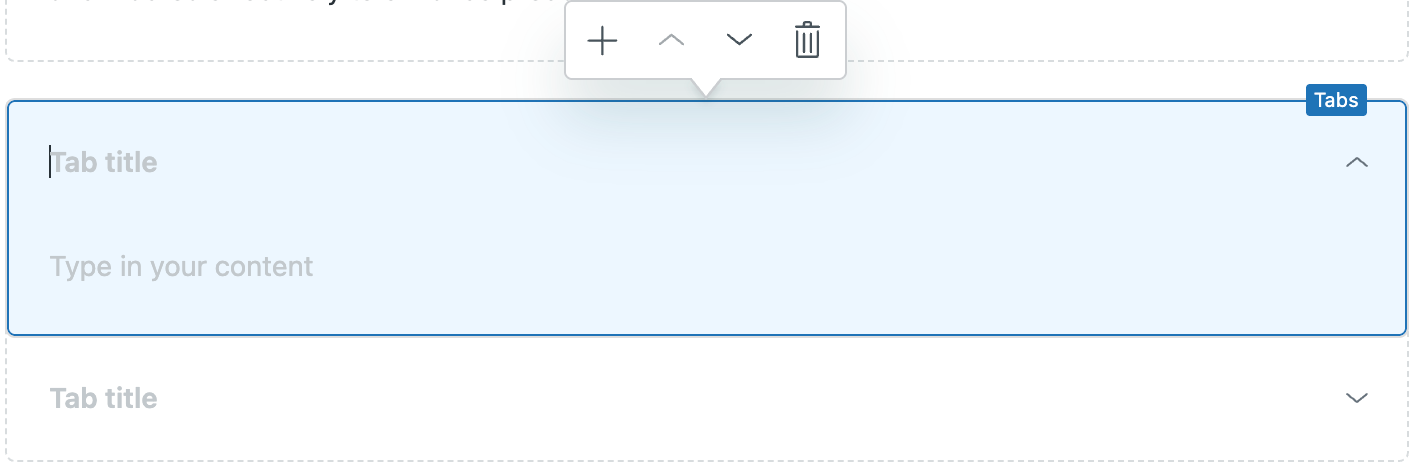
- Enter the following information:
- Tab title: Text that appears in the article editor as the tab label. Make this title short and concise to clearly indicate the tab contents while not consuming too much space in the article itself.
- Content: Content that you want to appear when users open the tab. You can use the article editor tools to format text as you would in any other area of your article.
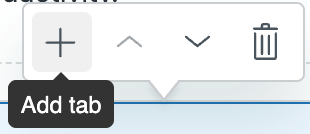
- Click the Add tab icon (+) in the tab toolbar to add a new section to
the tab.
- Identify the tab that you want to be open by default in the help center, and
expand that tab in the editor.
For example, if you have three tabs and want the second tab to be expanded when the user opens the article, expand that tab in the editor before saving and publishing. The expanded tab in the editor defaults to open when users open the article.
- Continue working with tabs until you're satisfied with the layout and
content.
If you want to:
-
Reorder tabs, click the Move up (
 ) or Move down (
 ) icons in the tabs toolbar
for the tab you want to move.
) icons in the tabs toolbar
for the tab you want to move. -
Remove a tab, click the Remove icon (
 ) in the tabs toolbar for the
tab you want to move.
) in the tabs toolbar for the
tab you want to move.
-
Reorder tabs, click the Move up (
- Click Save.
Working with tabs in the article editor
You can create as many tab components as necessary in your help center article. Once you create a tab component, you can move or delete it, or add a line return before the tab in the article editor.
To work with tab components in the article editor
- In help center or Knowledge admin, edit an existing article that contains a tabs component.
- Hover over the tabs component in the article editor to expose the
controls.
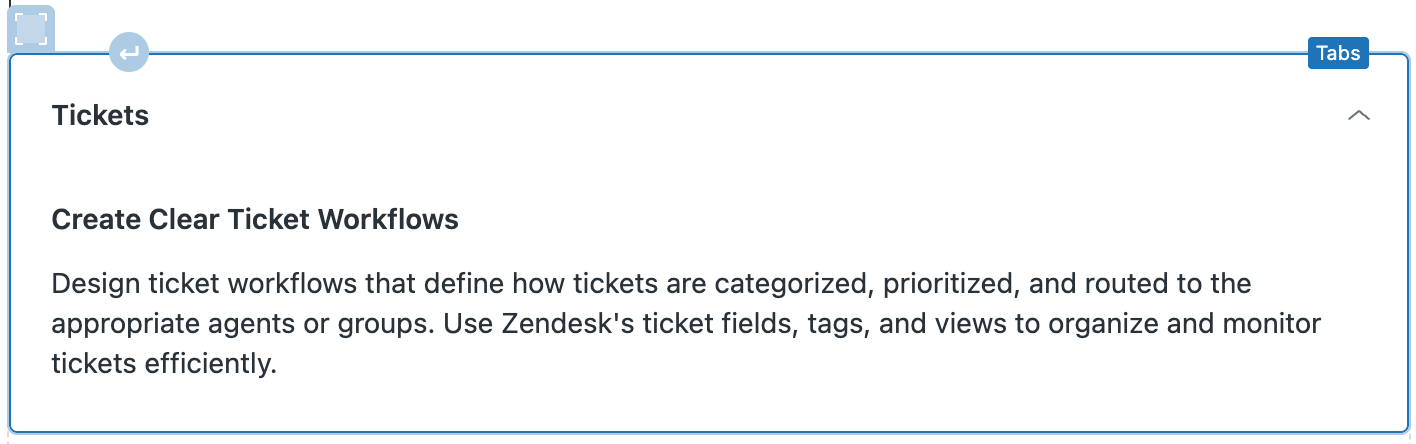
- If you want to:
-
Add a space between the tabs component and the previous or
following line, click the return icon (
 ) above or below the
component.
) above or below the
component. -
Move the tab component elsewhere in the article, click and drag
the handlebar icon (
 ) to a new location.
 -
Delete the tab component, click the handlebar icon () to select the component, then
press Delete on your keyboard.
-
Add a space between the tabs component and the previous or
following line, click the return icon (
- Click Save.