After you create an AI agent, you can update its name and add an avatar image to align with your brand and AI agent persona.
You must be an admin to configure an AI agent’s name and avatar.
This article contains the following topics:
Related article:
Updating an AI agent name
You picked a name for your AI agent when you created it, but you can update the name at any time.
To update an AI agent’s name
- In Admin Center, click
 AI in the sidebar, then select AI agents > AI agents.
 - Click the name of the AI agent you want to update.
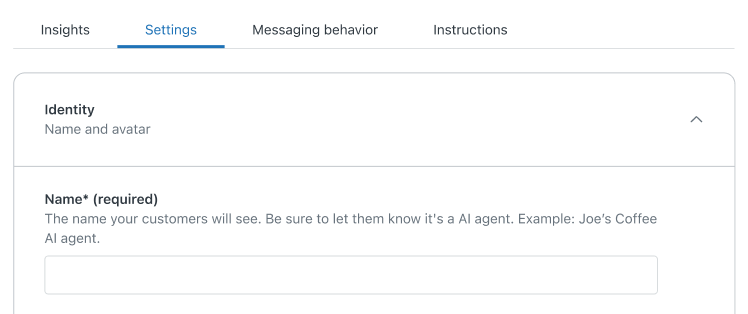
- Click the Settings tab.
- Click the Identity section to expand it.
- In Name, update the AI agent’s name.
This name appears at the top of the Web Widget in messaging conversations and as the sender in emails. Choose a name that makes it clear customers are not talking to a human.
Your changes are automatically saved, but updates to the AI agent’s name won’t be presented to customers until you publish the AI agent.
Adding an AI agent avatar
You can upload an AI agent avatar to reinforce your brand. The avatar appears next to the AI agent’s messages in the Web Widget.
To add an AI agent avatar
- In Admin Center, click
AI in the sidebar, then select AI agents > AI agents.
- Click the name of the AI agent you want to update.
- Click the Settings tab.
- Click the Identity section to expand it.
- Under Avatar, drag-and-drop or click to upload an image.
The image can be a JPG, PNG, or GIF file and it must be smaller than 100KB. An image size of 50x50 pixels gives the best results. Simple, clear images that represent your organization (such as a logo or mascot) are recommended.

-
(Optional) Click Test AI agent to open the test widget and see how the avatar appears, and repeat step 5 if necessary.
Your changes are automatically saved, but updates to the AI agent avatar won’t be presented to customers until you publish the AI agent.