Verified AI summary ◀▼
Create AI agents to handle customer inquiries on messaging, email, API, and web form channels without human intervention. Use your existing help center content to provide automated responses. Customize the agent's tone and brand, and test before publishing. You can also clone or delete agents as needed. Ensure proper permissions for restricted content access based on customer authentication.
AI agents interact with customers on messaging, email, API, and web form channels to resolve issues without human intervention. You can create an AI agent that responds to your customers in a conversational manner using information sourced from your existing help center.
You must be an admin in both Support and Knowledge to create an AI agent.
This article contains the following topics:
Related articles:
About AI agents for messaging, email, API, and web form
If you have an active help center, AI agents deliver automated, AI-generated answers in response to customer requests, with information from your own trusted help center content.
If you’re using restricted help center content, AI agent responses respect the article view permissions, which means:
- If the customer is authenticated, the AI agent can use relevant restricted articles to generate its response.
- If the customer is unauthenticated, the AI agent can use only public articles to generate its response.
For more information, see Using restricted help center content in AI agent responses.
The customer experience of an AI agent depends on the channel:
Understanding the customer experience for AI agents on the messaging channel
On messaging, the customer engages with the AI agent through the embedded Web Widget in your help center or website. The AI agent first greets the customer with the message defined in its greeting message.
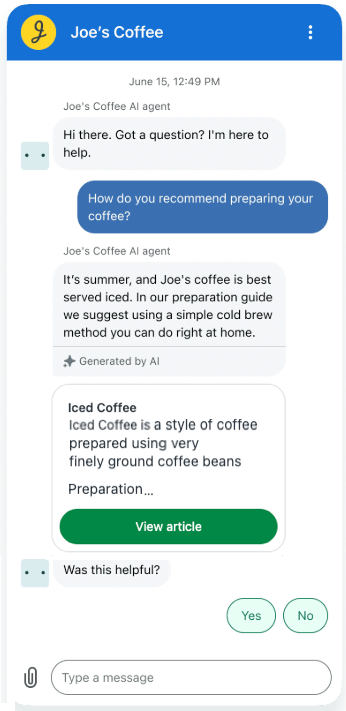
When the customer sends a message, the AI agent responds in one of the following ways:
- If the customer asks a question that can be answered with content from your help center or other connected knowledge source, the AI agent responds with a generative AI answer based on the relevant content. Links to the source articles are included below the response.
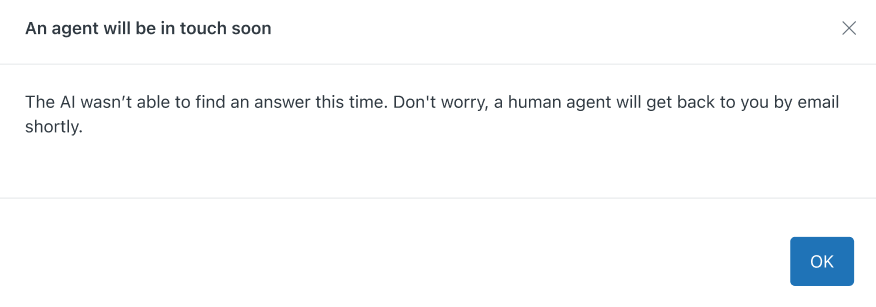
- If the customer asks a question that the AI agent can’t answer, the AI agent responds with the answer defined in its fallback response.
- If the customer sends a small-talk message (“Hi, how are you?”), the AI agent replies with a generative AI small-talk message for a natural, conversational feel.
When the AI agent sends a response based on help center content, it also sends a request for feedback (“Was this helpful? Yes/No”). The customer can click the feedback buttons to indicate whether the AI agent solved their issue. You can customize how the AI agent responds to the customer’s feedback in the AI agent’s response to customer feedback message (for example, allowing the customer to escalate to a human agent if they still need help).
Understanding the customer experience for AI agents on the email and API channels
On email and API channels, the customer engages with the AI agent by emailing one of your support email addresses. The AI agent sends a reply email containing a generative AI response based on relevant help center content, including direct links to the articles.
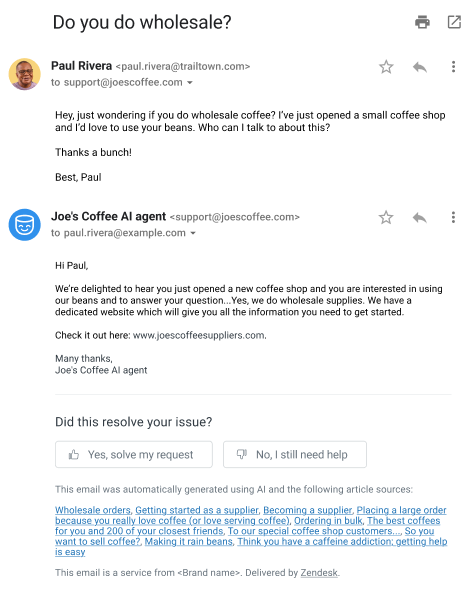
The AI agent’s response also includes feedback buttons that the customer can click to indicate whether the AI agent solved their issue. If the customer clicks Yes, solve my request, a browser opens and asks customers to confirm that their request was solved.
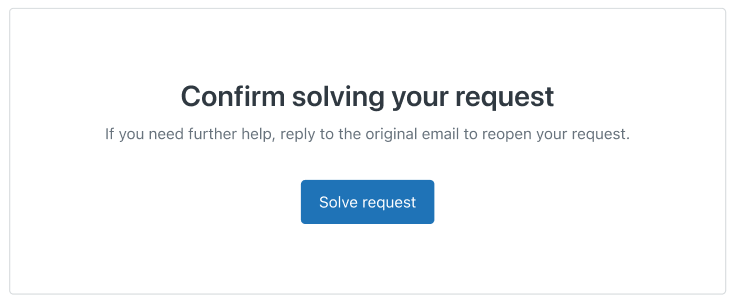
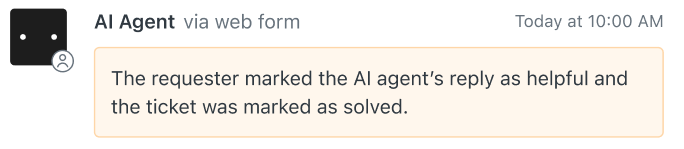
If the customer clicks Solve request, the ticket is solved, and an internal note is added to the ticket.
If the customer clicks No, I still need help, a browser opens and asks them to confirm they still need help.
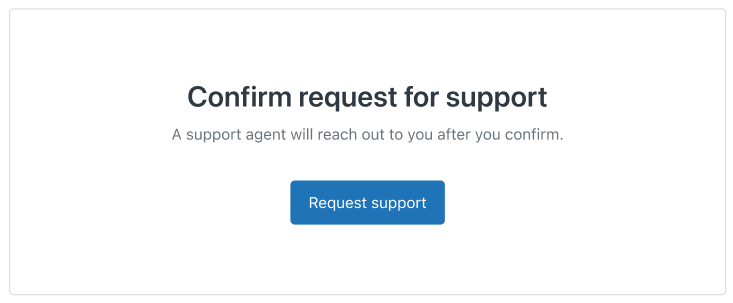
If they click Request support, an internal note is added to the ticket, and the ticket is escalated to a human agent.

Understanding the customer experience for AI agents on the web form channel
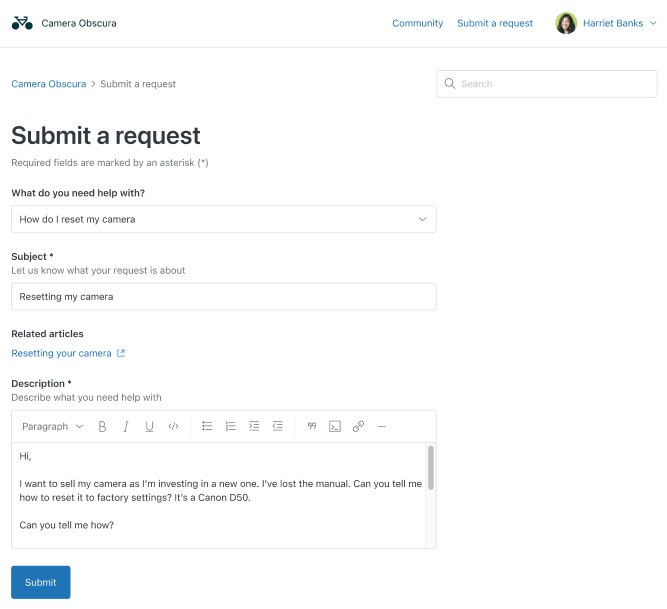
On the web form channel, the customer engages with the AI agent by submitting one of your configured ticket forms.
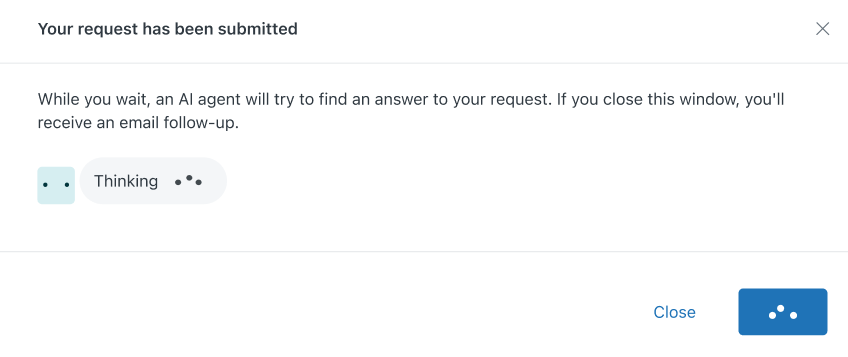
Within the same browser tab, a dialog appears as the AI agent processes the customer’s question.
After a moment, the AI agent responds with a generative AI answer based on relevant help center content. The customer can click View sources to see which articles were used to generate the answer.
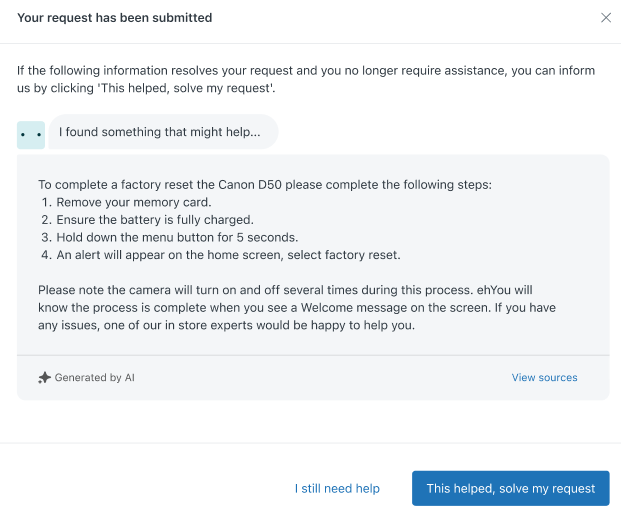
The AI agent’s response also includes feedback buttons that the customer can click to indicate whether the AI agent solved their issue. If the customer clicks This helped, solve my request, the ticket is solved, and an internal note is added to the ticket.
If the customer clicks I still need help, or if the AI agent can’t answer the customer’s question, the ticket is escalated to a human agent.
Creating an AI agent
Creating an AI agent means you’re adding the ability to use the AI agent as a responder for that channel. Until you add an AI agent to a specific channel and publish it, the default response remains active for that channel.
These instructions assume you've already created a messaging, email, API, or web form channel.
To create an AI agent
- In Admin Center, click
 AI in the sidebar, then select AI agents > AI agents.
 - Click Create AI agent.
The Create an AI agent page opens.
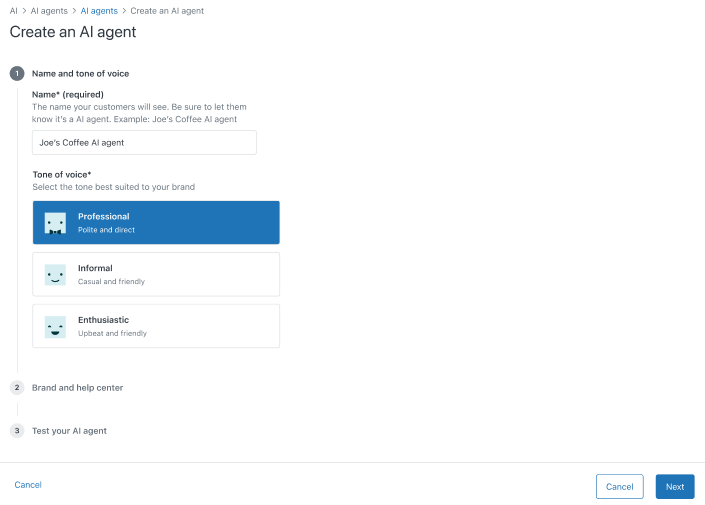
- In Name, enter a name for the AI agent.
This name appears at the top of the Web Widget in messaging conversations and as the sender in emails. Choose a name that makes it clear customers are not talking to a human.
- Select a Tone of voice:
- Professional: (Default) A polite and direct tone.
- Informal: A casual and friendly tone.
- Enthusiastic: An upbeat and friendly tone.
- In the Brand drop-down, select a brand to apply to the AI
agent.
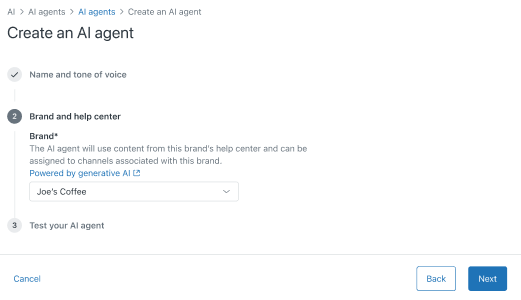
If the help center for the brand you selected is not active, you’ll see an error message with a link to the help center that needs to be activated before you can proceed.
- Click Next.
A test version of your AI agent appears.
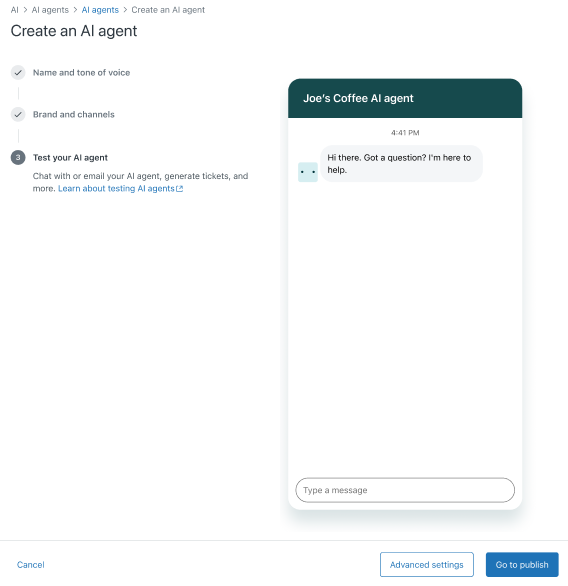
- Test your AI agent to be sure it performs the way you expect.
For help, see Testing an AI agent before publishing it for customers.
- Choose your next step:
- Click Advanced settings to configure additional settings that affect the AI agent’s behavior. See Viewing and configuring settings for AI agents.
- Click Go to publish to publish the AI agent. The AI agent won’t be available to customers until it’s published. See Publishing an AI agent to make it live for customers.
Cloning an AI agent
You can clone an existing AI agent, then use it as the starting point for building a new one.
To clone an AI agent
- In Admin Center, click
AI in the sidebar, then select AI agents > AI agents.
- Find the AI agent you want to clone.
- Click the AI agent's options menu (
 ) and select Clone.
The AI agent is copied and added to the end of your AI agent list. It has the same name as the original AI agent, appended with "(copy)".
- Choose your next step:
- Configure additional settings that affect the AI agent’s behavior. See Viewing and configuring settings for AI agents.
- Publish the AI agent. The AI agent won’t be available to customers until it’s published. See Publishing an AI agent to make it live for customers.
Deleting an AI agent
To delete an AI agent
- In Admin Center, click
AI in the sidebar, then select AI agents > AI agents.
- Find the AI agent you want to delete.
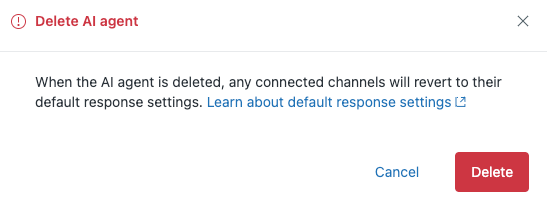
- Click the AI agent’s options menu () and select Delete.
- In the confirmation dialog, review the information and click
Delete.
The AI agent is removed from the list.