Verified AI summary ◀▼
Article multiplacement allows you to create a single article and place it in up to 10 different sections across all brands in your help center. Each placement shares the same content but has a unique ID and configuration. When you update the article, all placements are automatically updated, simplifying content management and ensuring consistency across your help center.
Article multiplacement lets you create one article and place it in up to 10 different sections across all brands in your help center.
Understanding article multiplacement
Every help center article consists of the article itself, and its placement configuration in your help center. The article includes a title, body content, and management permissions. The content of each article is unique to that article, and is carried over to each of the related placements. When you make and publish changes to article content, all related placements are also automatically updated.
Each article can include up to 10 placement configurations, each of which specifies the brand and section in which you want the article to appear in your help center. Within the placement configuration, you can also define the unique settings for that placement (for example, viewing permissions, SEO keywords, and comments).
Once you create an article and configure the sections in which you want it to appear, you can publish the article to automatically render the placement articles. From an end-user standpoint, each placement article appears as a standalone article in the help center. There are no outward indications that the article is a placement, rather than a unique, standalone article.
.png)
Creating article placements
You can create article placements to place your article in up to 10 different sections across all brands in your help center.
- In your help center, navigate to the
article to which you want to add placements, then click Edit article
in the top menu bar.

- If the Article settings panel is not displayed in the sidebar, click
the Article settings icon (
 ) to expand the panel.
 - In the Placement section, click + to create a placement.

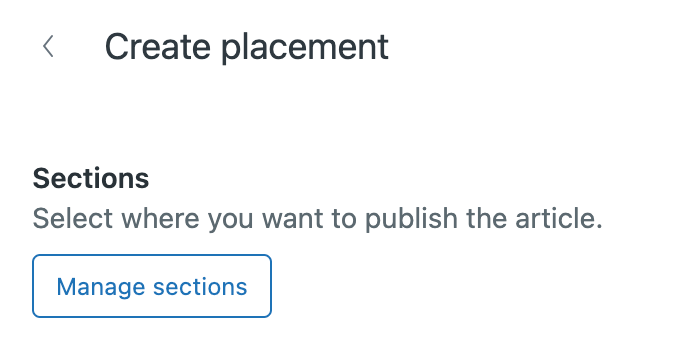
- In the Sections area, click Manage sections.
- Select a brand and section in which you want the article to live.

- Continue selecting additional sections until you've reached the maximum limit of 10 sections (including the original placement for the article).
- Click Done. The Sections area in the Placement card now shows the
sections that you added.

- Click Create placement.
The placements you created are added to the Placements list for the article.

- For each placement you created, you can click the:
- Placement card to open the Placement panel and configure settings for the selected placement. For example, you can set viewing permissions, define content tags and labels, and turn on comments.
-
Options menu (
 ) on the placement card to
edit or delete the placement, or preview the placed article in the
help center. See Working with article
placements.
) on the placement card to
edit or delete the placement, or preview the placed article in the
help center. See Working with article
placements.
- Click Update settings, then click Save.
- When you're ready to publish your article, click the drop-down arrow on the
Save button, then select Publish.
Changes to settings are effective immediately after pressing Save, while changes to the title and body content are published when you select Publish. One publish action publishes the update in all configured placements. Placements are rendered into articles in the requested sections, each with their own help center article ID.