If your customer base speaks multiple languages, you can add languages to your advanced AI agent so that it responds to your customers in the right language. You must add and activate a language to your AI agent before it can begin responding to customers in that language.
This article contains the following topics:
- Adding a supported language to an advanced AI agent
- Activating an added language
- Setting an AI agent’s default language
- Editing an added language
Related articles:
Adding a supported language to an advanced AI agent
Adding a supported language to an advanced AI agent means it can use that language (once activated) to respond to customers during conversations. For dialogue-based responses, an active reply must also exist for that language.
To add a new language
- In AI agents - Advanced, in the top-right corner, use the AI agent drop-down field to select the AI agent you want to add a language to.
- In the left sidebar, select Settings > AI agent settings.
- Select the Languages tab.
- Click Add language.
- In Languages, select the language you want to add.
- In Icon, select the icon for the new language.
- If the AI agent already has well-built replies in another language that can
be translated and reused in the language you’re adding:
- Select Duplicate replies from another language
(recommended).
For AI agents that don’t have reusable replies, such as brand-new AI agents, keep this option deselected.
- Select the language you want to copy replies from.
- Select Duplicate replies from another language
(recommended).
- In Locale info (optional), enter the same locale information you maintain in your CRM (for example, de_DE, germany, or DE).
- Click Add.
A "New language added" dialog appears.
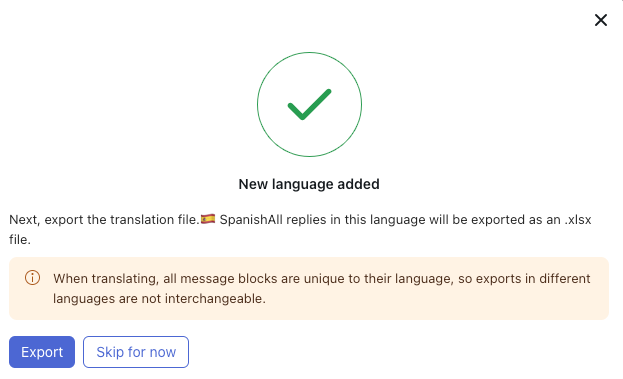
- If you opted to duplicate replies earlier in these steps, click
Export to get a file for translation.
If you didn’t, click Skip for now.
Your language is added. You can continue to add more languages, or else begin building dialogues for the new language.
Activating an added language
An added language must be activated before an AI agent can use that language to respond to customers. Activating a language publishes all active replies for that language, so make sure those replies are ready to be seen by customers before you do this.
To activate a language
- In AI agents - Advanced, in the top-right corner, use the AI agent drop-down field to select the AI agent you want to activate a language for.
- In the left sidebar, select Settings > AI agent settings.
- Select the Languages tab.
- Find the language you want to activate, click the options menu (
 ), and select Edit.
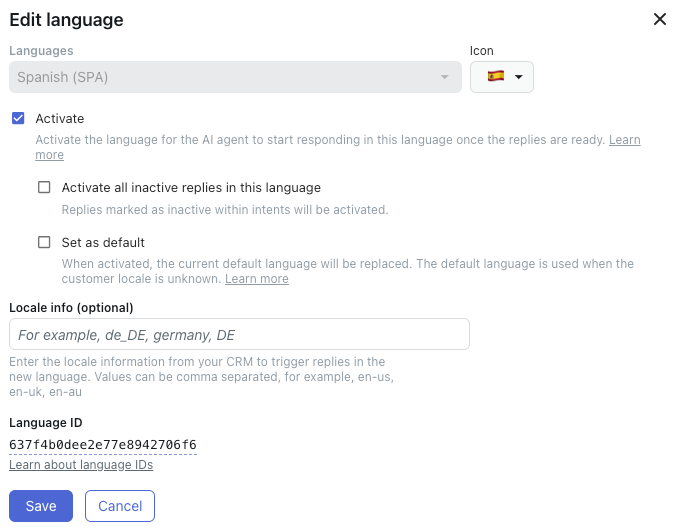
 - Select Activate.
- (Optional) Select Activate all inactive replies in this language if you want to activate any reply that’s currently marked as inactive.
- (Optional) Select Set as default if you want to set this language as the AI agent’s default language.
- Click Save.
Setting an AI agent’s default language
An AI agent’s default language is used when the customer’s locale is unknown. A language must first be active before it can be set as the default. An AI agent can have only one default language at a time.
To set a default language
- In AI agents - Advanced, in the top-right corner, use the AI agent drop-down field to select the AI agent you want to set a default language for.
- In the left sidebar, select Settings > AI agent settings.
- Select the Languages tab.
- Find the language you want to activate, click the options menu (), and select Edit.
- Select Set as default.
- Click Save.
Editing an added language
At any time, you can edit a language you added to an AI agent.
To edit a language
- In AI agents - Advanced, in the top-right corner, use the AI agent drop-down field to select the AI agent you want to edit a language for.
- In the left sidebar, select Settings > AI agent settings.
- Select the Languages tab.
- Find the language you want to activate, click the options menu (), and select Edit.
- Make changes as needed.
See Adding a supported language to an advanced AI agent for help.
- Click Save.