Summary: ◀▼
You can create unassigned shifts to offer flexible scheduling options, allowing agents to request extra shifts or be assigned later. These shifts help balance workload and improve coverage by letting agents choose preferred shifts. You manage, share, approve, edit, or delete unassigned shifts, ensuring optimal team scheduling and coverage while maintaining control over shift assignments and requests.
Admins can create shifts that they intentionally don’t assign to agents. These shifts become available for agents to request, or can be manually assigned by an admin at a later time.
Related articles
Understanding how unassigned shifts work
By allowing the creation of unassigned shifts, managers can ensure optimal coverage without focusing on specific individuals. Additionally, it helps distribute the extra work among the agents who are willing to take on additional shifts and allows agents to select their preferred shifts.
Unassigned shifts are visible only in the Week view. They are highlighted in yellow under the Unassigned shifts row in the schedule. Once these shifts are shared with agents, they will change to gray.
From the schedule, you can click on an unassigned shift to view its details, such as the number of available shift slots and the agents eligible to take them, in a panel on the right.
Shifts that remain unassigned are deleted 24 hours after the unassigned shift’s time. This helps prevent skewing the staffing panel results.
Agents can view and request available shifts. These requests are sent to their manager for approval.
Creating unassigned shifts
Admins can create new unassigned shifts from the Zendesk Workforce management (WFM) Schedule page.
To create an unassigned shift
- In Workforce management, click
 Scheduling in the sidebar, then select Schedule.
 - Click the View menu next to the date picker and select Week.
The Unassigned shifts menu will appear at the top of the search and filtering panel on the left.
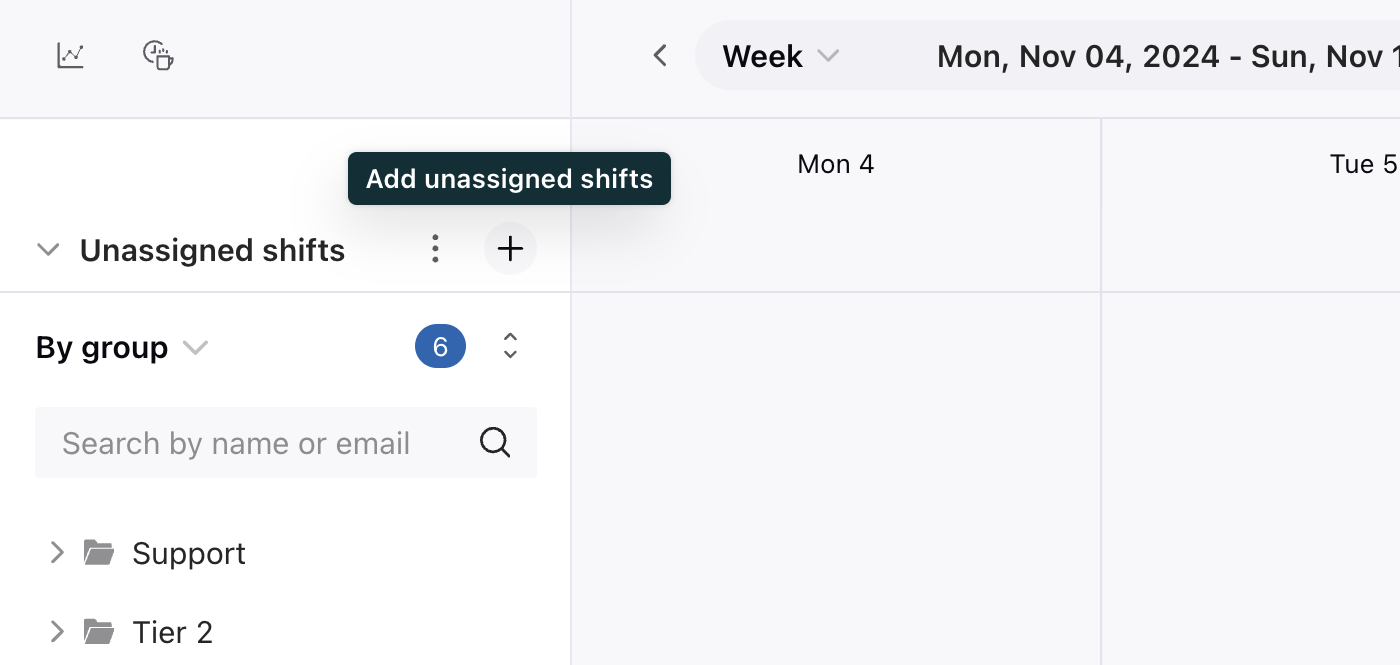
- Hover over Unassigned shifts and click the Add icon (
 ).
).
Alternatively, you can also click the Add icon (
) by hovering over the applicable day of the week on the Unassigned shifts row.
- Select the shift or intraday that you want to use.
Automatic shifts can’t be selected.

- For Shift distribution, select one of the following options:
- Identical shifts: Use the exact same shift and intraday schedule for the shifts. This means that the same shift can be taken by multiple agents.
- Optimized shifts: Creates identical replicas of the shift. Each shift has a unique intraday schedule optimized for daily coverage. This option can help prevent coverage gaps.
- Select the Workstreams you want your agents to work on during this shift.
- Select the Date range for the unassigned shifts you want to create.
- For each day in the date range, specify the number of unassigned shifts.
If you’re using identical shift distribution, the number of unassigned shifts each day defines the number of agents who can take the same shift. However, if you’re using optimized shift distribution, this value determines the number of similar, but separate shifts that are created; each of the separate shifts can be taken by a single agent.

- Click the Agent access tab and select who can view and request this shift from the shift pool.
- Click Submit.
- Share the unassigned shifts with agents so they can request them.
Sharing unassigned shifts
After creating unassigned shifts, you must share them before agents can access and request them in their My Schedule view.
To Share an unassigned shift
- In Workforce management, click
Scheduling in the sidebar, then select Schedule.
- Click the Share unassigned shifts button.
- Select a date range for the shifts that you want to share. .You may want to share only unassigned shifts created within a specific date range, which may not include all unassigned shifts you have created.
- Click Share.

Shared unassigned shifts appear in gray. Agents can now request these shifts, which must be approved by their managers.
Approving agent requests for unassigned shifts
Agents can request unassigned shifts, but these shifts do not officially become part of their schedule until their manager approves the requests.
Unassigned shifts remain available for request in the shifts pool by any agent listed in the unassigned shift's Agent access list until a manager makes a decision or the shift is deleted. It's up to the manager to identify overlapping requests and make a final decision.
Approving a request for an unassigned shift automatically rejects all other requests for that shift.
After an unassigned shift request is approved, it replaces any previously scheduled shift for that agent on that day.
To approve or deny agents' unassigned shift requests:
To approve or deny agents’ unassigned shift requests:
- In Workforce management, click
Scheduling in the sidebar, then select Unassigned shifts.
- Click Pending in the top right.
A list of unassigned shifts requests from the agents you manage is displayed.
- Hover over each request and select Deny or Approve.

When a request is approved, the schedule is updated to display the agent’s new shift.
Editing an unassigned shift
To edit an unassigned shift
-
In Workforce management, click
Scheduling in the sidebar, then select Schedule..
- Click the View menu next to the date picker and select Week.
The Unassigned shifts menu will appear at the top of the search and filtering panel on the left. If necessary, click the arrow to expand the section
- Click any unassigned shift to display its details on the right side.

- Click the options menu icon (
 ) next to the shift date and select
Edit.
) next to the shift date and select
Edit. - Edit any of the unassigned shift details.
- Click Save.
Deleting an unassigned shift
Deleting a shift permanently removes it from the schedule and the shift pool. Any existing requests for that shift will be automatically denied.
To delete an unassigned shift
- In Workforce management, click
Scheduling in the sidebar, then select Schedule.
- Click the View menu next to the date picker and select Week.
The Unassigned shifts menu will appear at the top of the search and filtering panel on the left. If necessary, click the arrow to expand the section
- Click any unassigned shift to display its details on the right side.
- Click the options menu icon () next to the shift date and select
Delete.
- Click Delete shift.