Verified AI summary ◀▼
Install the Contact Center app to provide your admins and agents with tools to manage calls and chats. After installation, configure settings like role and group restrictions to control access. The app will be accessible from your instance's top right corner. For further setup, connect to your Contact Center with an API token and configure the integration with Support.
When implementing Zendesk Contact Center, you need to install the app that has the administration interface for your admins and the user interface for your agents to make, receive, and manage calls and chats.
This article contains the following topics:
Installing the Contact Center app
To install the Contact Center app
- In Admin Center, click
 Apps and integrations in the sidebar, then select Apps > Zendesk Support
apps.
Apps and integrations in the sidebar, then select Apps > Zendesk Support
apps. - Click Marketplace.
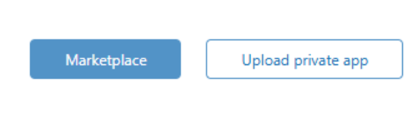
- In the Zendesk Marketplace, search for "Zendesk for Contact Center", and install the app.
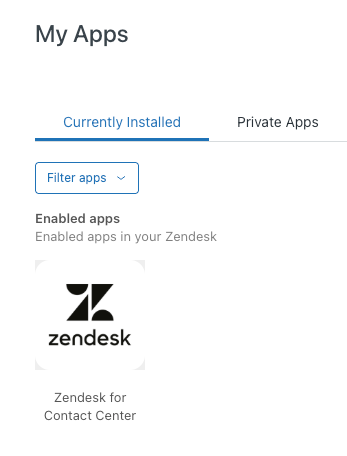
- After the Contact Center app is installed, navigate to Admin Center >
Apps and integrations > Apps > Zendesk Support apps >
Zendesk for Contact Center.
- Update the following settings using your existing Contact Center instance
URL:
- Title: Use the default name to ensure naming consistency.
-
Preload: Preloads the Contact Center call console before it's
opened in Agent Workspace. When agents reload or refresh the Zendesk
tab, the call console initializes automatically in the background, which keeps
signed in agents available to receive
calls.Note: After a Zendesk page refresh, agents might become offline in Contact Center. Turn on Preload to keep the call console active and avoid missed calls after page refreshes.
- Enable role restrictions: Grants app access only to selected roles.
- Enable group restrictions: Grants app access only to selected groups.
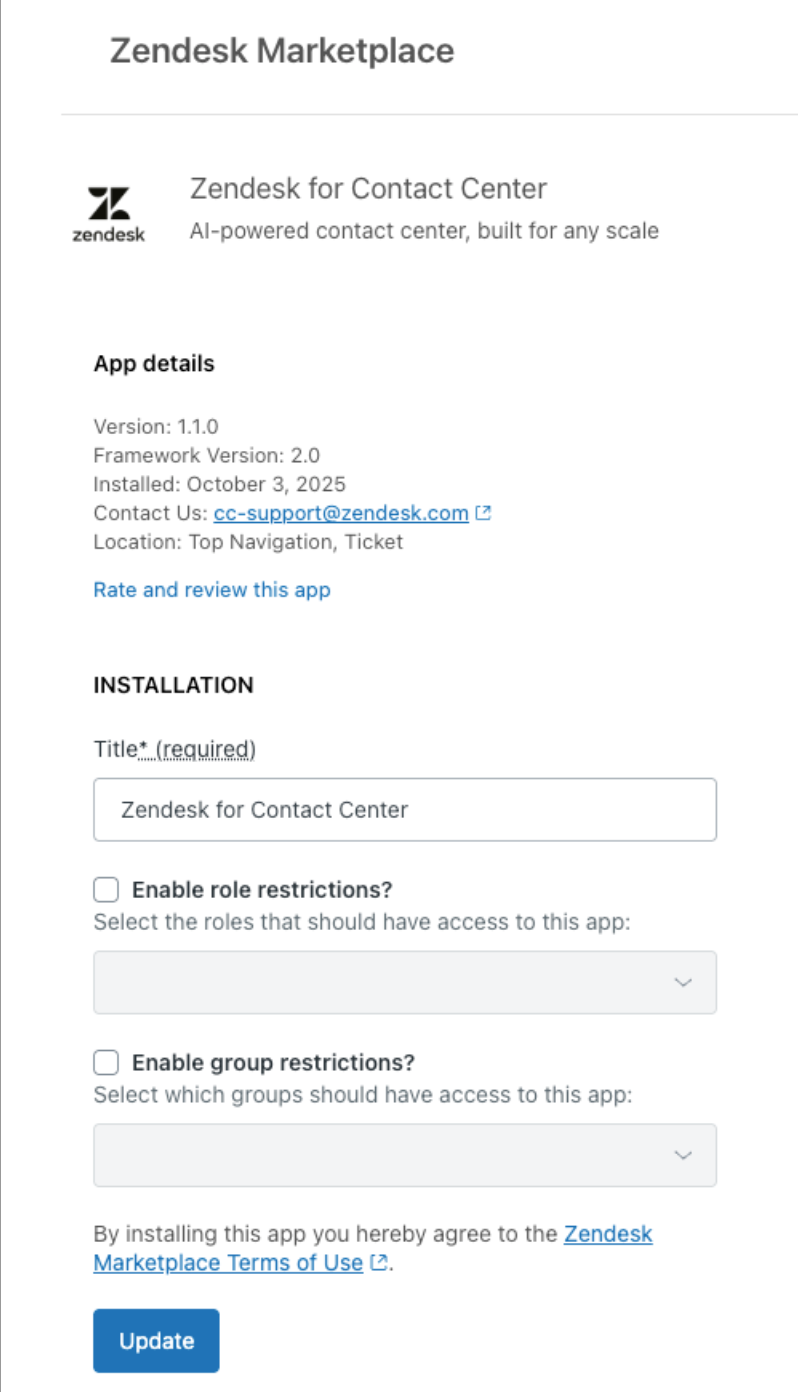
- Click Update.
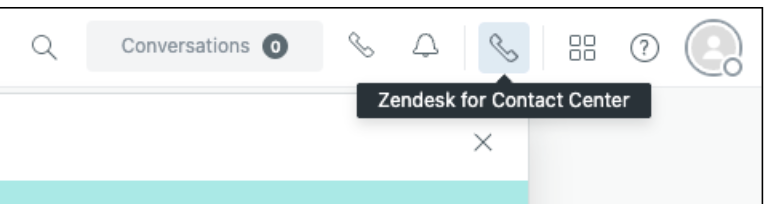
The Contact Center app will now appear in the top right corner of your Zendesk instance.
To check the installation, see Testing Contact Center.