Verified AI summary ◀▼
Discover how AI agents can automate customer support by resolving common questions across channels. Use the setup wizard to train the AI agent with your knowledge base and personalize its interaction style. Test the AI agent via email or messaging to see it in action.
Your Zendesk Suite trial provides you with a setup wizard that you can use to try out our latest AI technology. The wizard shows you how AI agents can automatically resolve common customer questions. To learn more, see About AI agents.
Setup tasks include:
Starting the setup wizard for AI agents
AI agents are the next generation of AI-powered bots that automate and resolve your customers’ issues across service channels. As AI becomes increasingly essential to customer interactions, AI agents enable you to move toward greater automation and efficiency.
To start the setup wizard
The setup wizard for AI agents opens automatically in your Zendesk Suite trial account.
- Open Zendesk home and select Try for free.
You can also start a trial by selecting Try for free on the top of the Zendesk pricing page.
When you start your trial, you’ll receive an email message asking you to verify your account.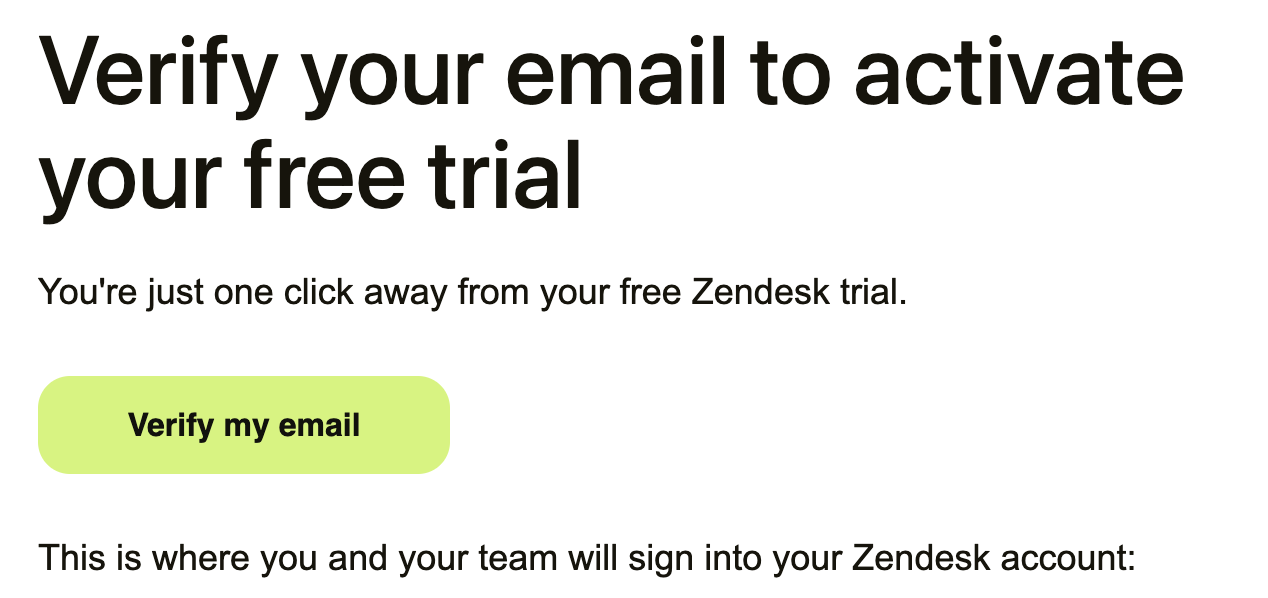
- In the email, click Verify my email.
A Welcome panel appears for the AI agent setup wizard.
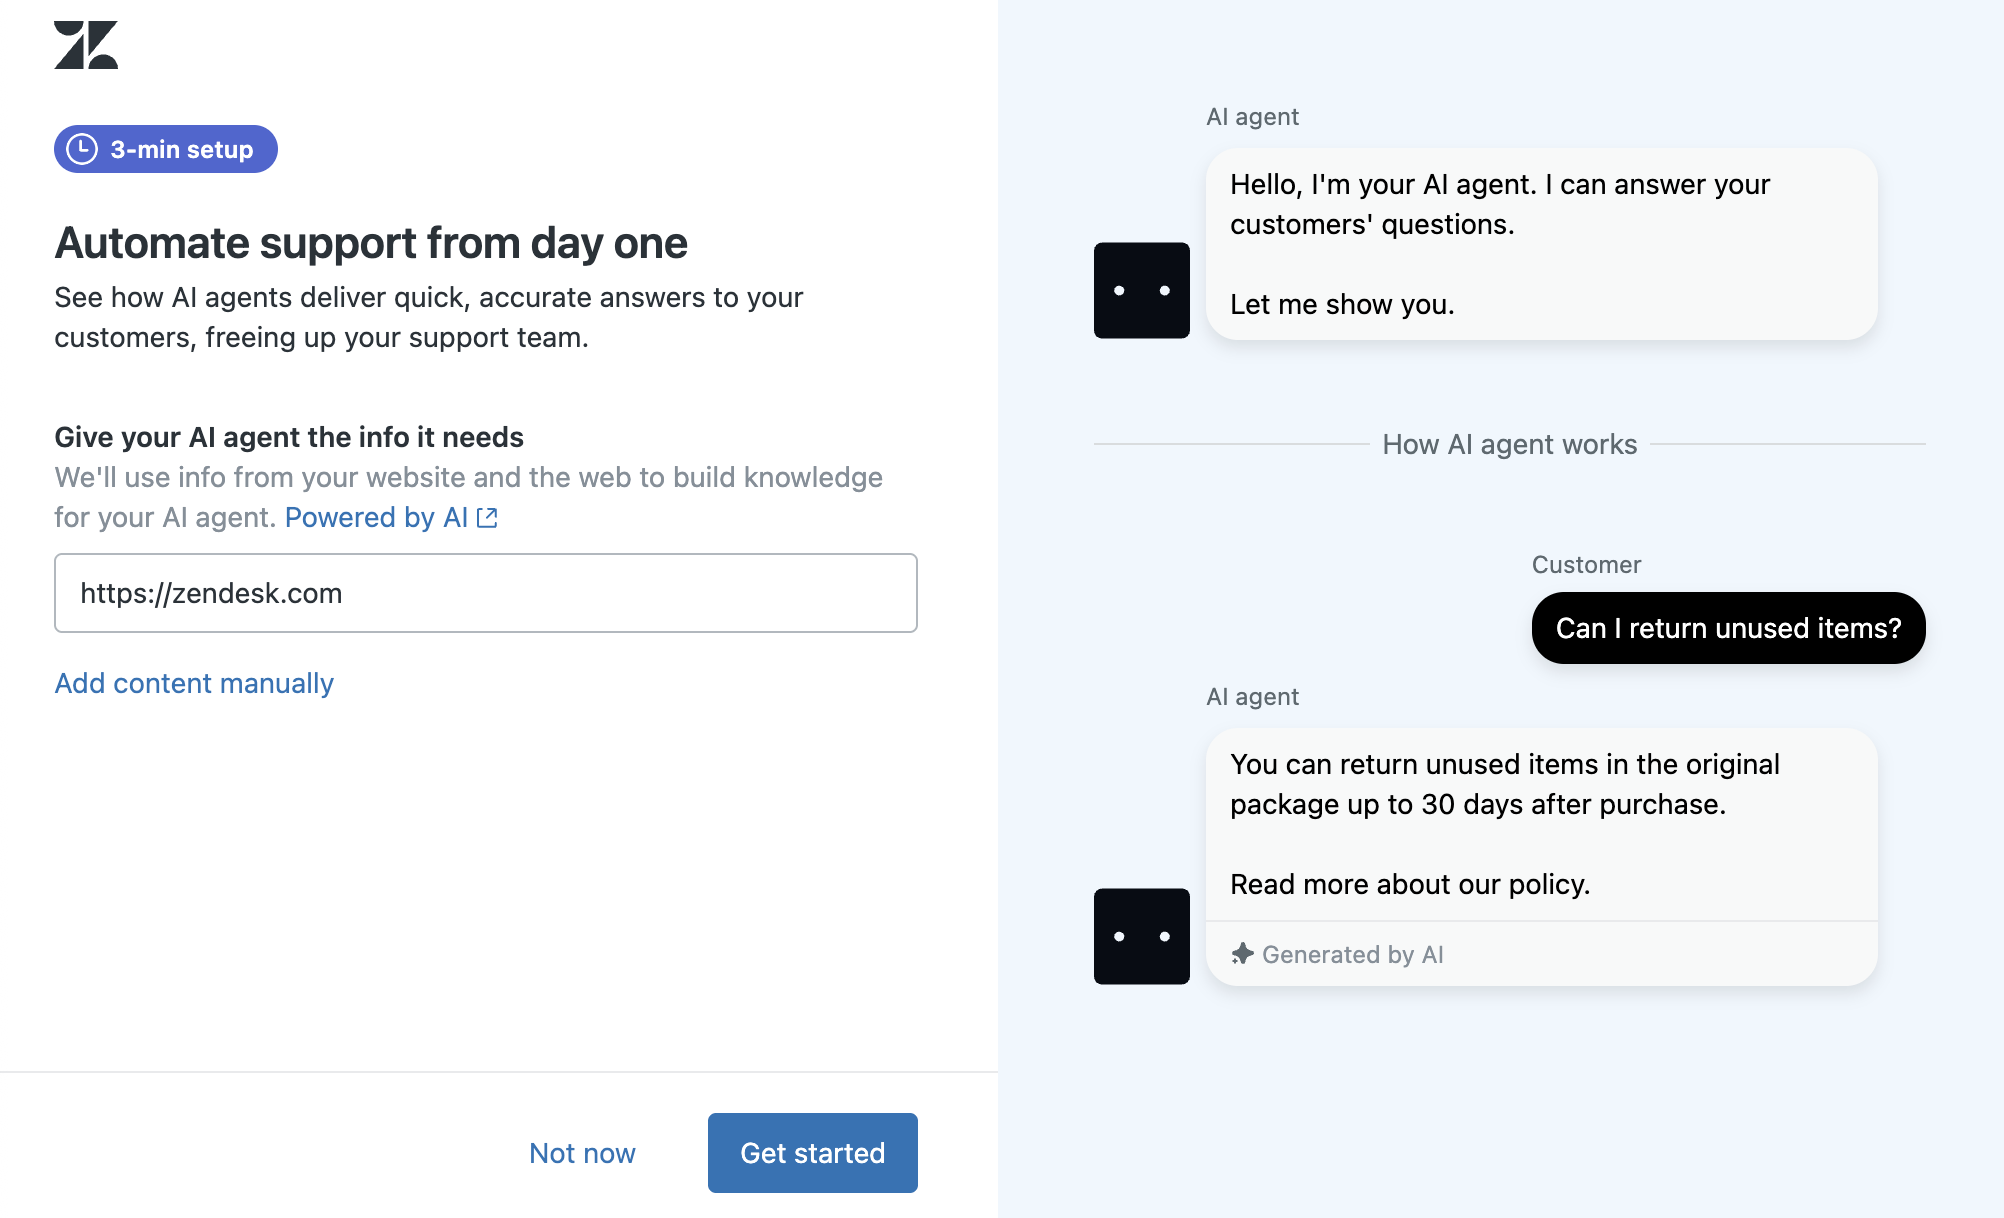
The left side of the wizard includes a text field where you can add your website. The simulator on the right side of the wizard shows you how the AI agent works with customers when they ask questions. To learn more about how Zendesk AI agents work, click Powered by AI.
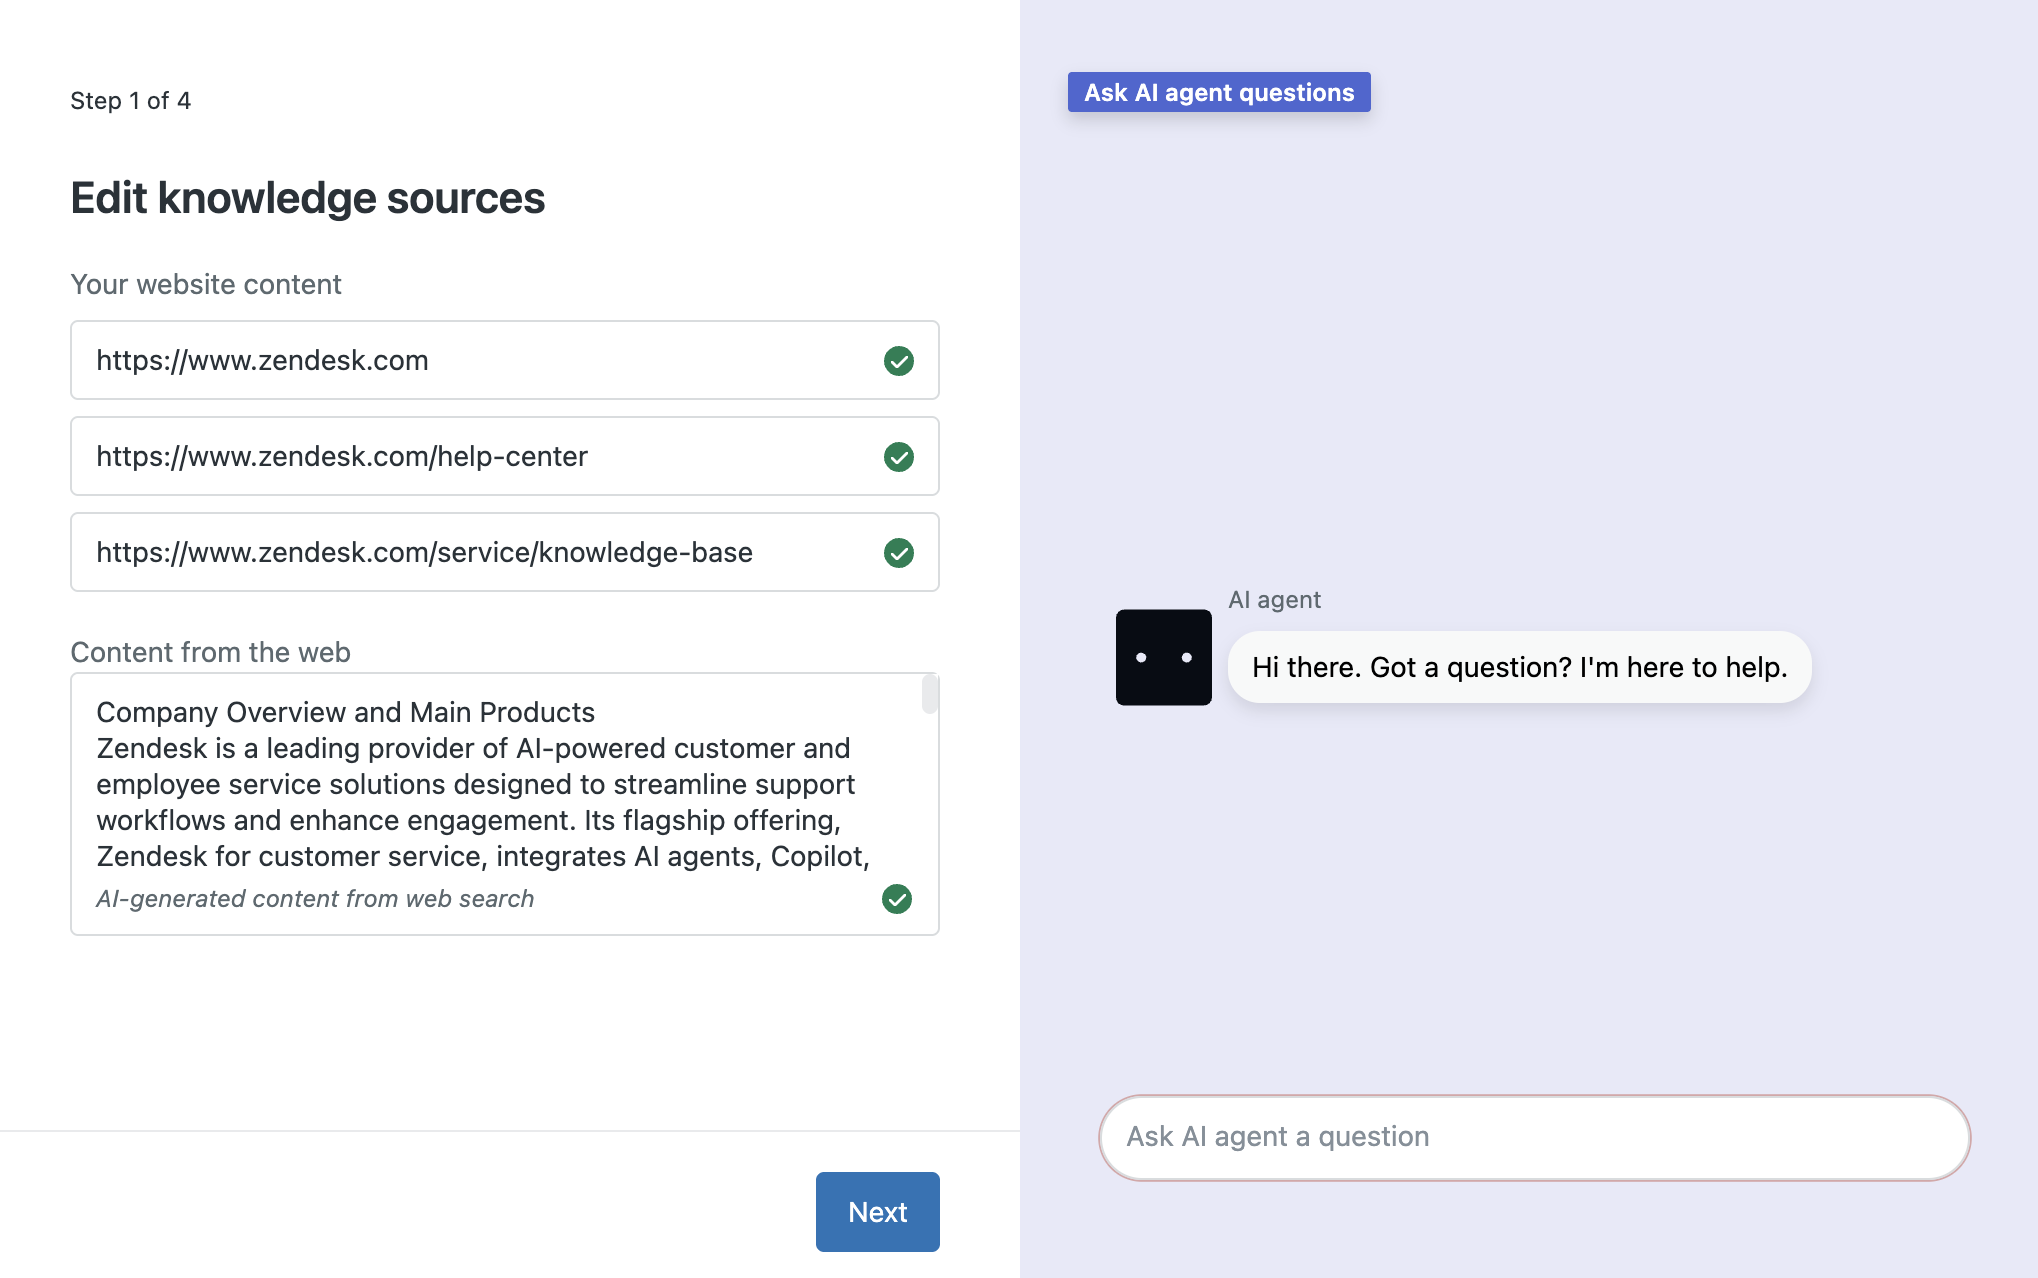
Note: If you don’t want to try out AI agents at this time, click Not now. You can skip this walk through and set up AI agents in your account later. See Getting started with AI agents - Essential. - Add your website to the wizard.
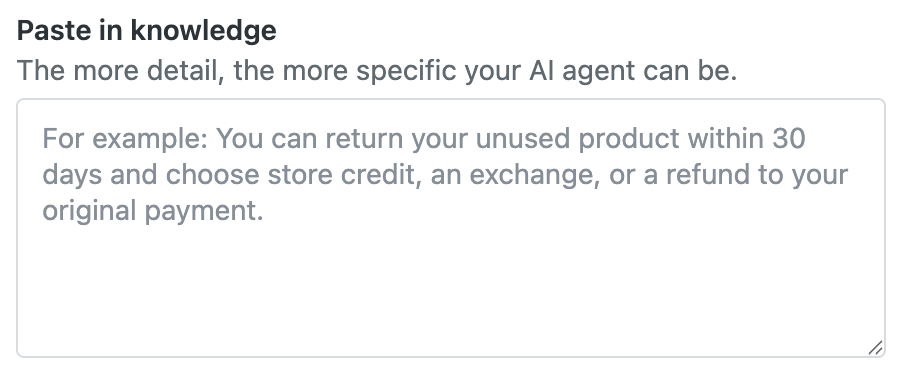
Zendesk uses the information on your website to build knowledge for your AI agent. This helps the AI agent answer questions your customer may have.
If you don't have a website, click Add content manually and paste information about your company.
- After you add information about your company, click Get started.
You see some progress messages as the wizard builds knowledge for your agent, including a list of the website URLs the AI agent will use. To learn more about providing knowledge for AI agents, see Strategies for building up your help center content for AI.

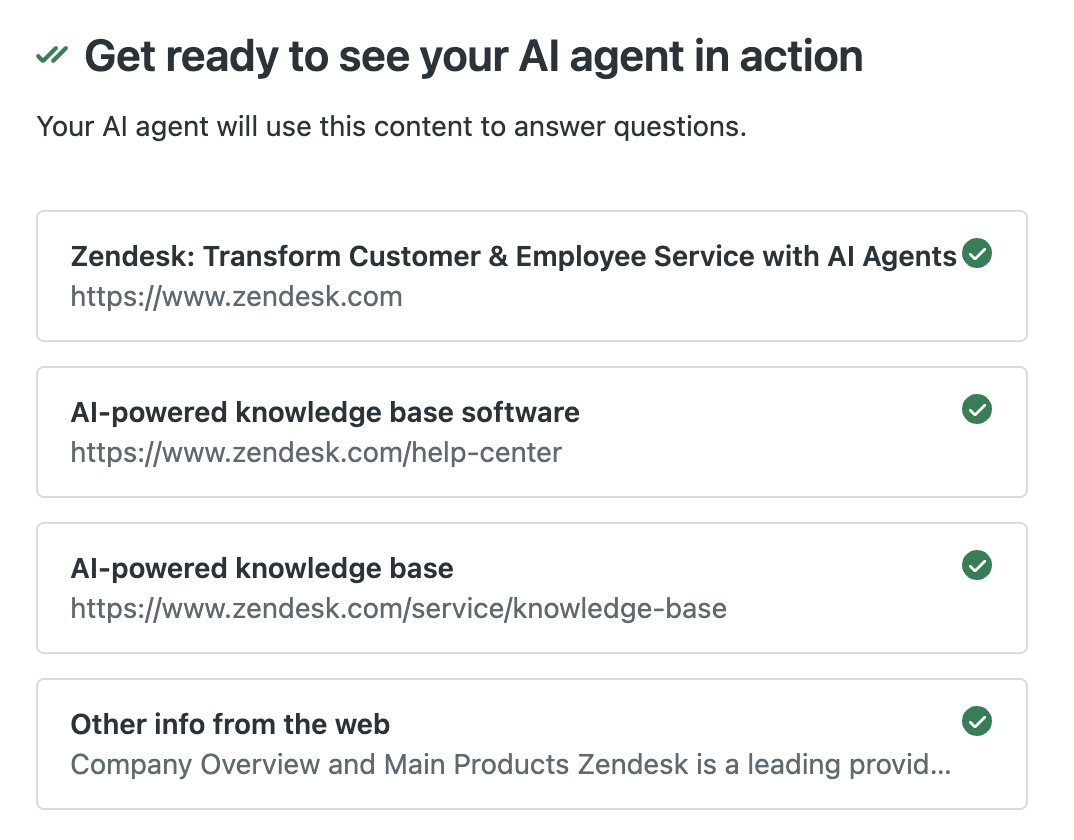
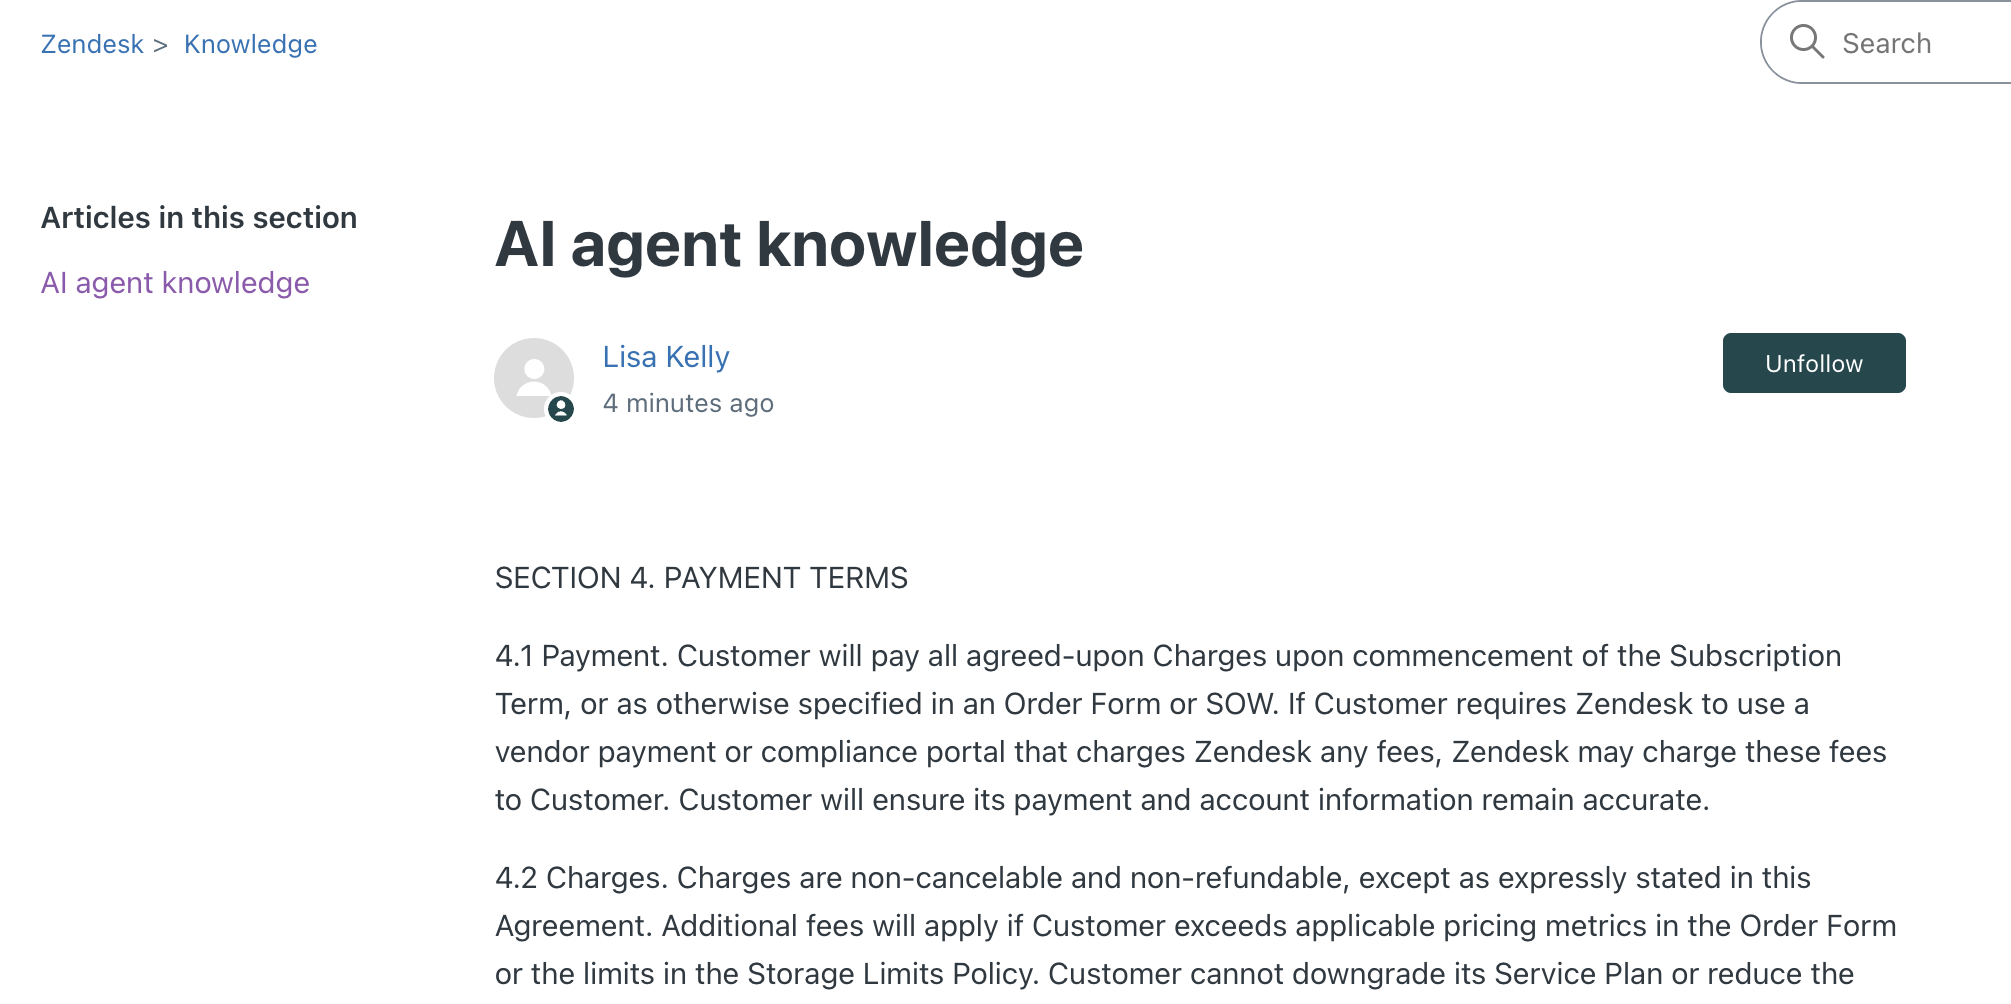
The setup wizard uses the information you provide to create an article in your help center. The AI agent refers to the content in this article to answer questions from customers and other end users. See the example below.
Step 1: Ask your AI agent questions
Now that the AI agent has some knowledge, try out its brainpower by asking it questions.
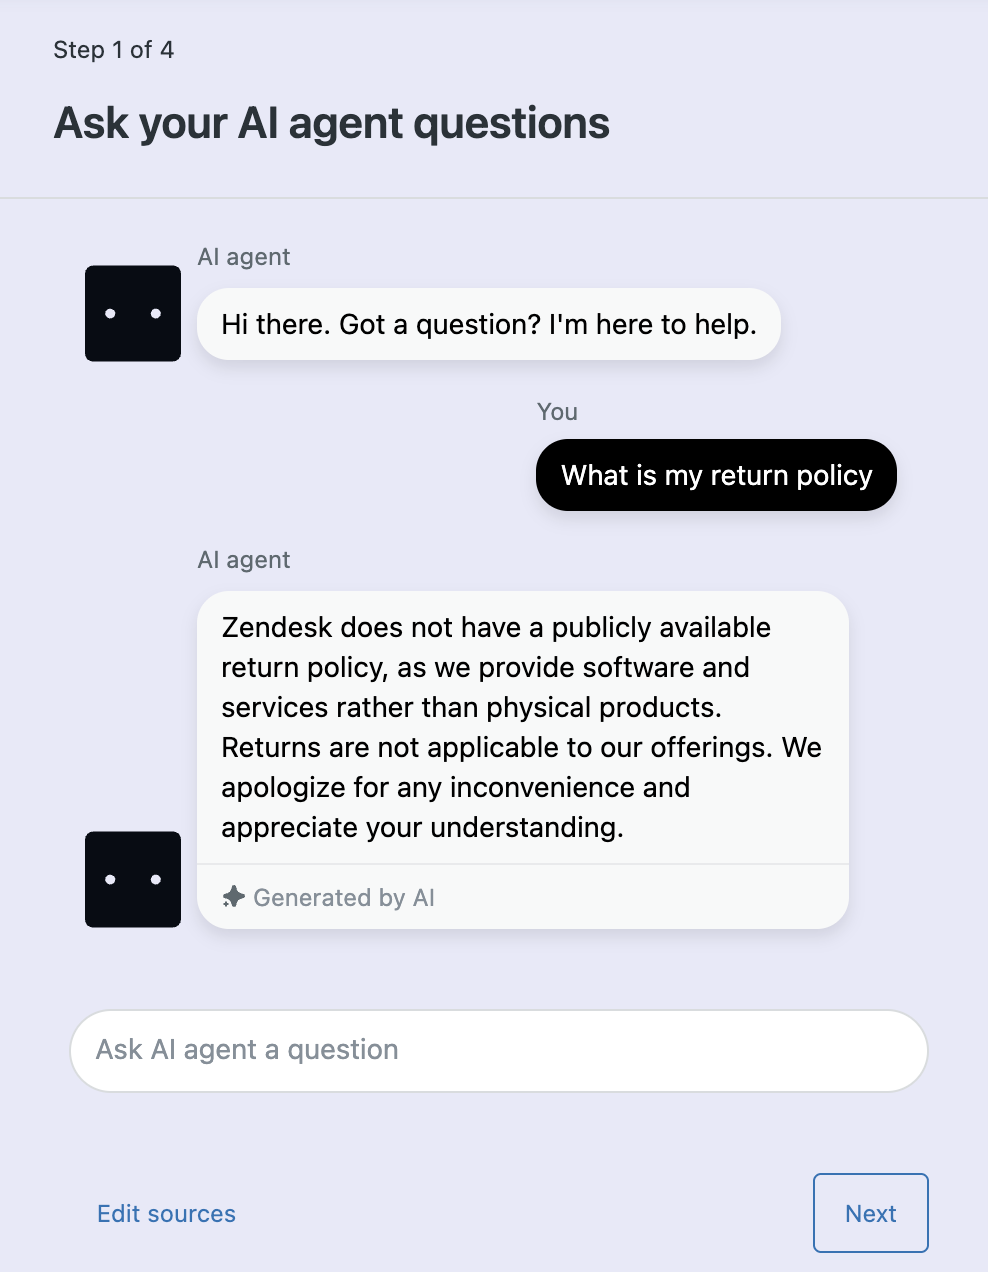
To try out the AI agent's brainpower
- Enter a question in the Ask a question field.
Try questions that your customers typically ask based on the information you provided to the AI agent.
The AI agent will reply to the question based on material from your website or the material you pasted in. If you don't get the answers you need, you can update the content to add more information.
- To update the source content, click Edit sources.
You'll see a list of website URLs and content you can update.
- When you've finished trying out some questions, click Next to continue the AI agent setup.
Step 2: Give the AI agent some personality
You can control how AI agents respond to customers by giving the AI agent a name and picking a conversation style. These elements set the tone for how you want to connect with customers. For more information, see Configuring an AI agent persona.
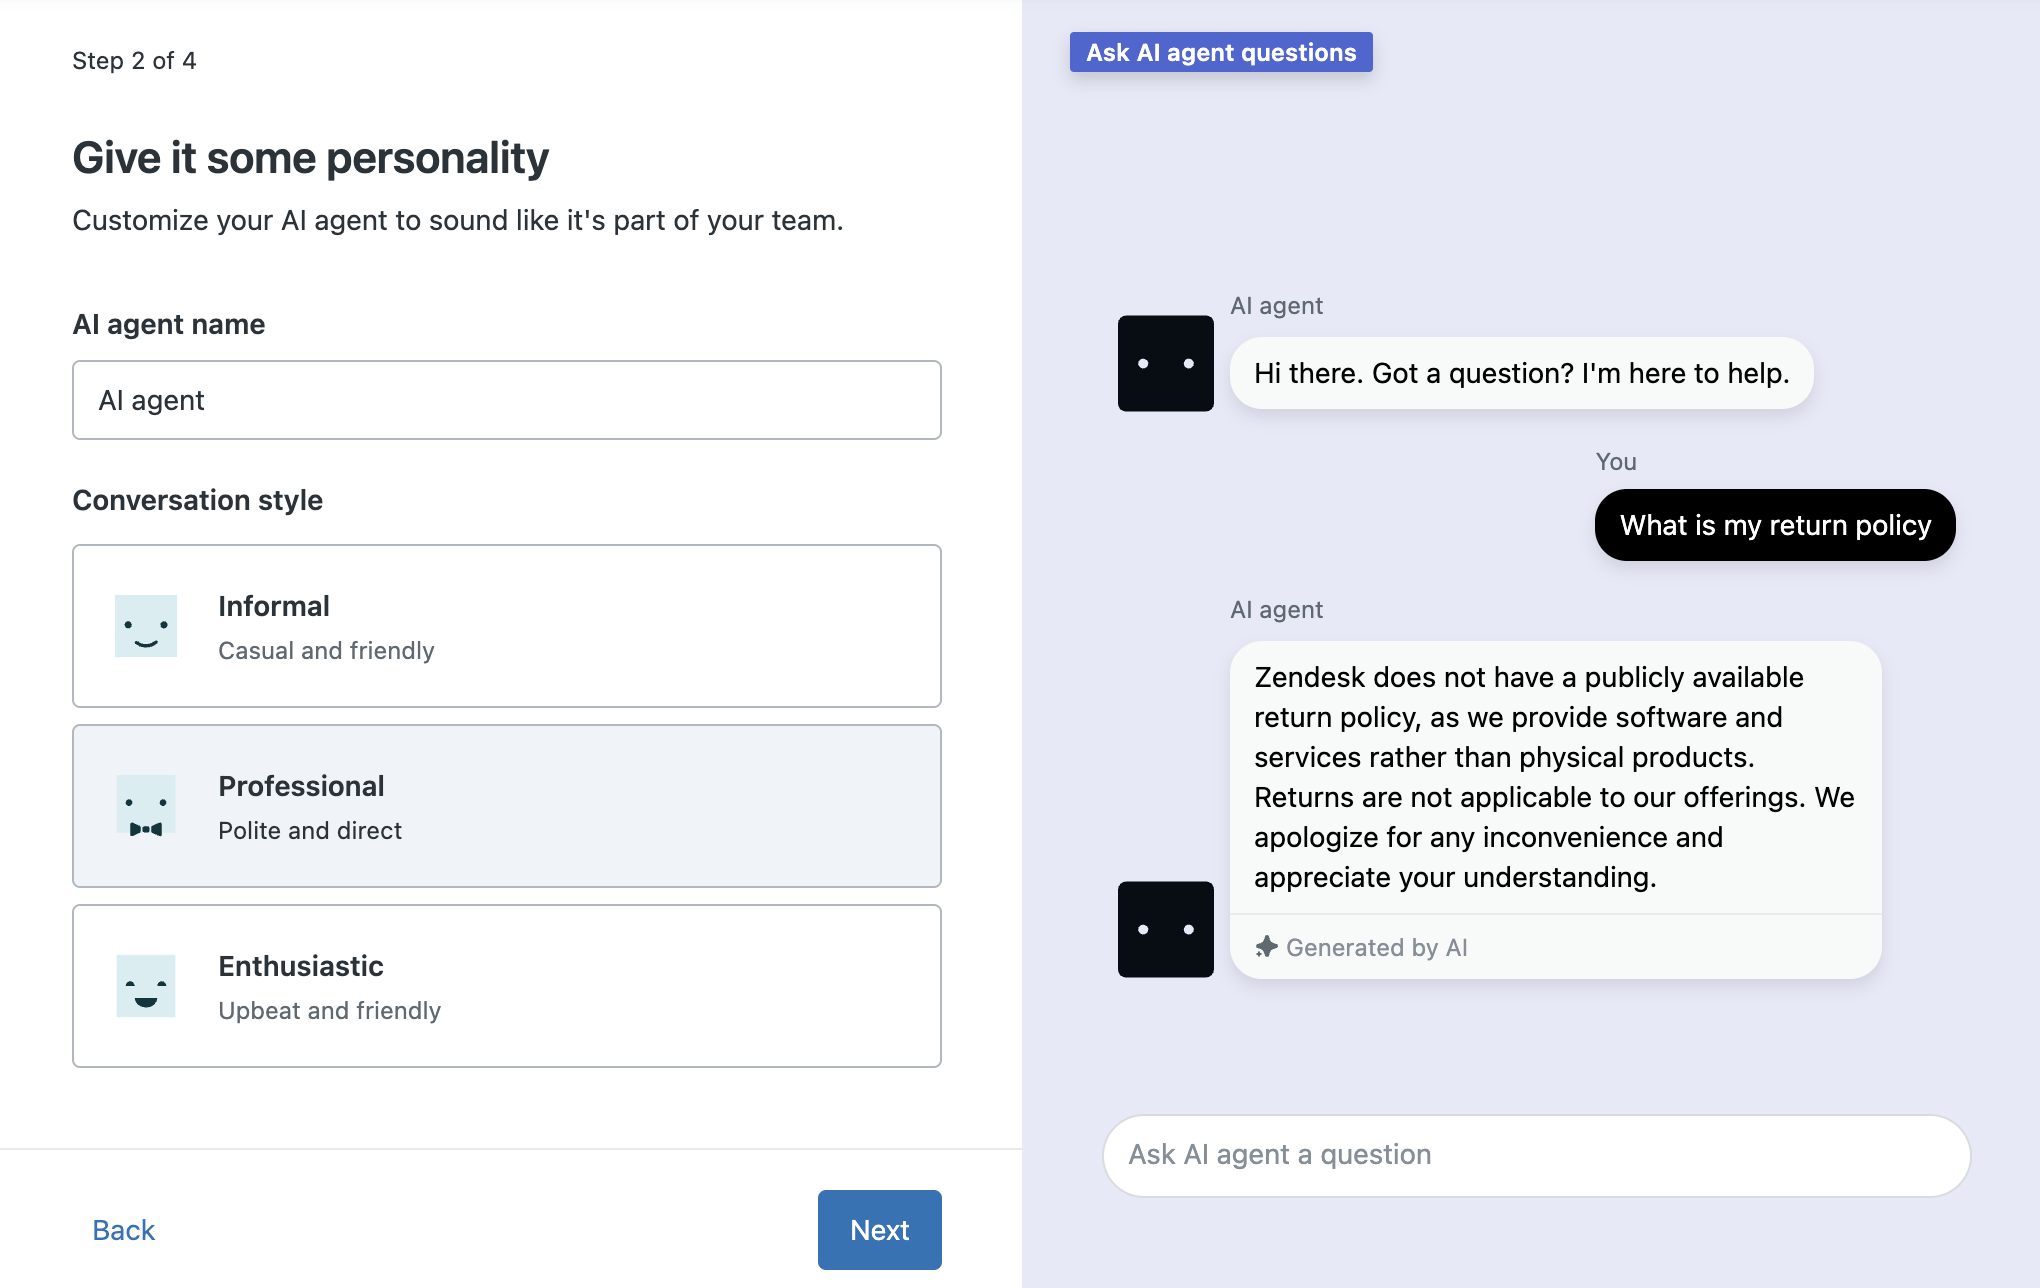
To give the AI agent some personality
- Enter an AI agent name.
- Select a Conversation style.
Choices include: Informal, Professional, and Enthusiastic.
You can ask a few questions to see how the replies vary depending on the conversation style.
- Click Next to continue the setup.
Step 3: Try out the AI agent
Now that the AI agent has some knowledge and a personality, you can try it out by sending a question by email or typing into a chat widget. You can try several variations of the question in emails and chats to see how it works. For more information, see Testing an AI agent.
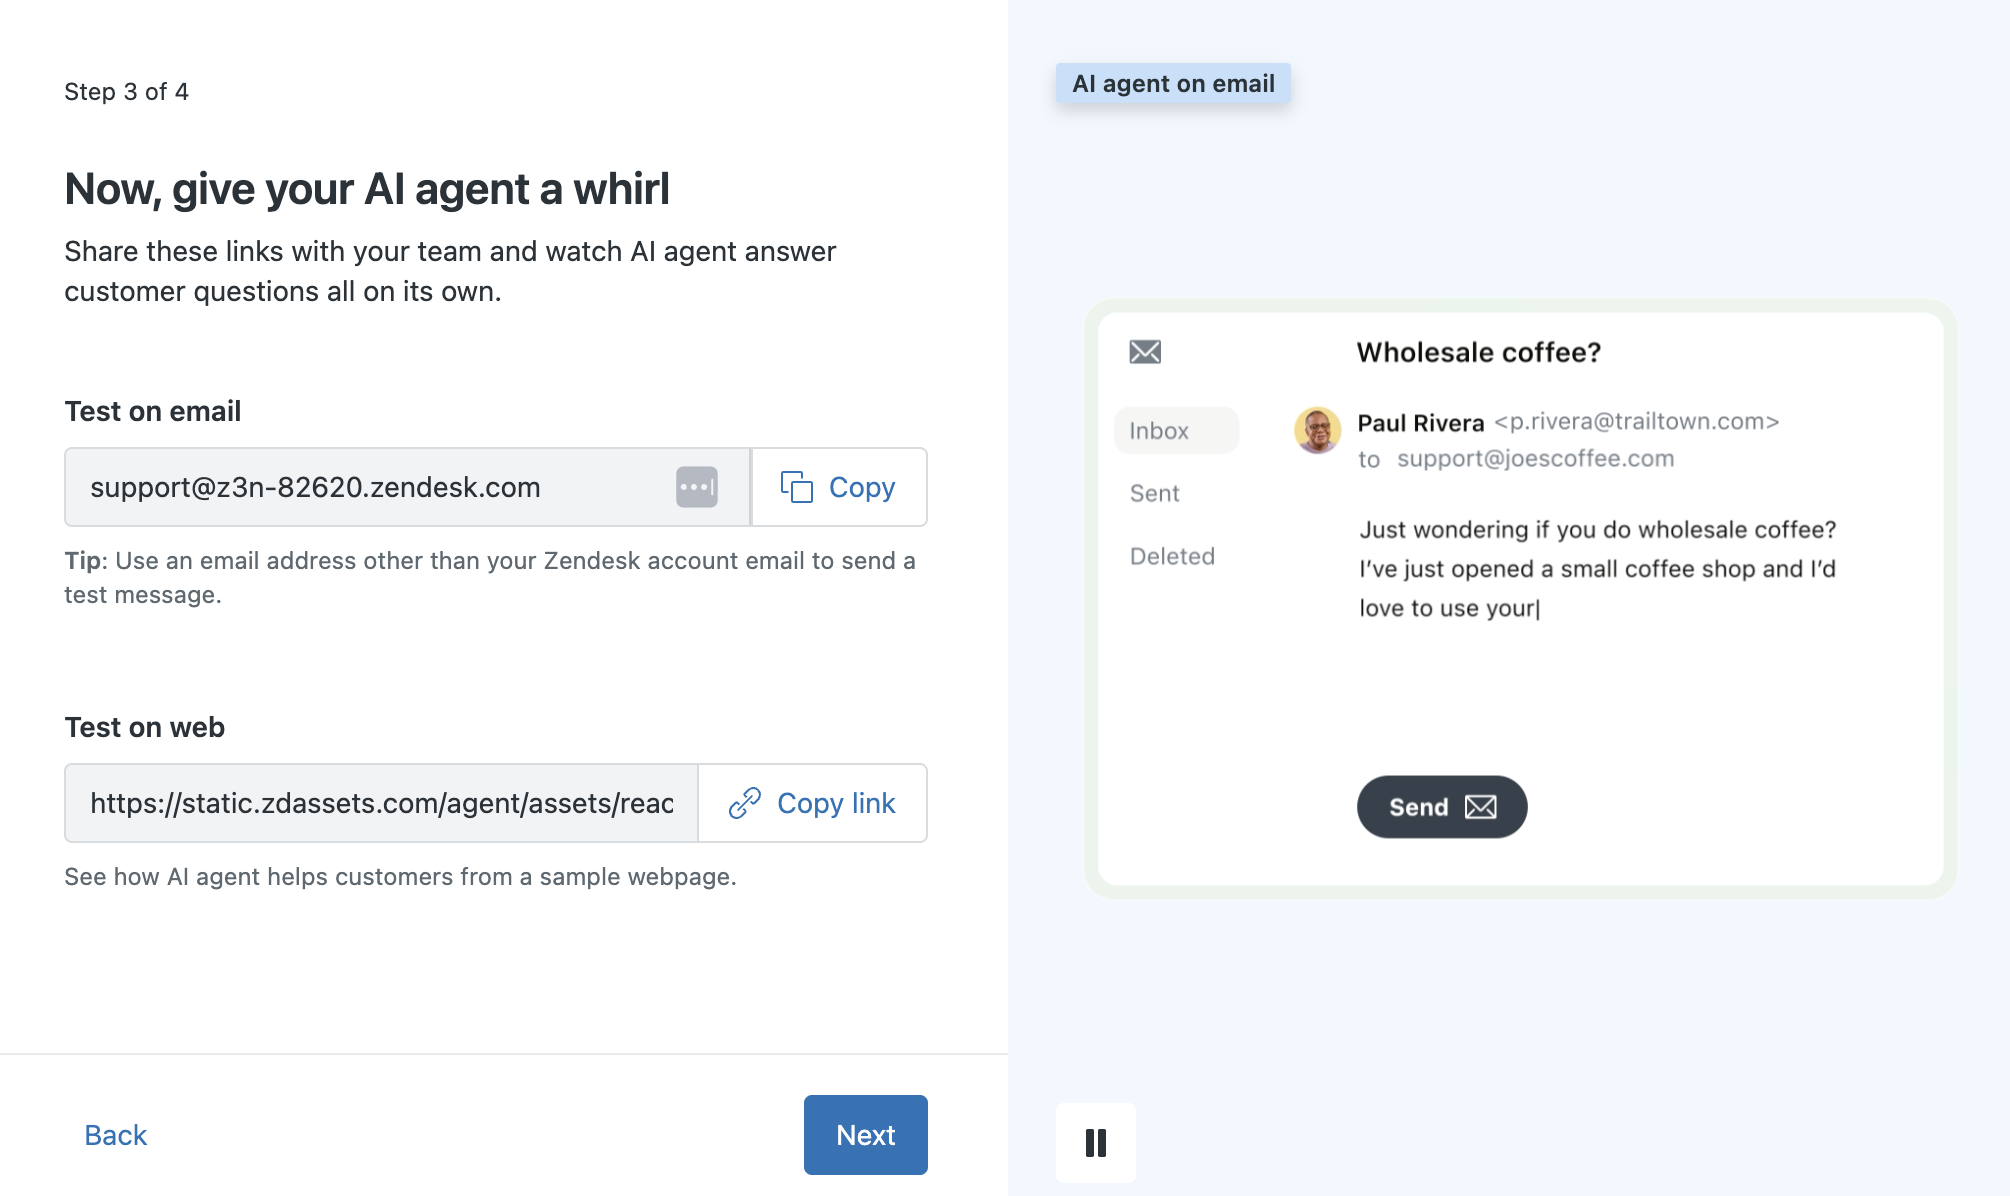
To test with an email
- Click Copy to copy the email address shown in the wizard.
- Open your mail tool and send an email message to this address.
In the email message, include a question related to the knowledge you provided to the AI agent.
Important: When you test with an email, be sure to send your question from an email address that's different from the email address you used to create your Zendesk account. Otherwise, you won't receive an automatic reply from the AI agent.After a few moments, you should receive an email reply from the AI agent that answers your question.

To test on a chat widget
- Click Copy link to copy the chat widget link.
- Open a new browser window.
- Paste this link into the browser address bar and press Return.
- When the chat widget appears, enter a question related to the knowledge you provided to the AI agent.
You should receive an reply from the AI agent that answers your question.
To complete the AI setup wizard
- When you’ve finished testing, click Next.
Step 4: Invite other team members (optional)
Inviting other team members gives them access to the Zendesk Suite trial and provides them with an opportunity to try out an AI agent. Team members act as agents and admins to help you manage support requests. You can add up to four additional team members to your trial account. To learn more about team members, see Adding agents and admins.
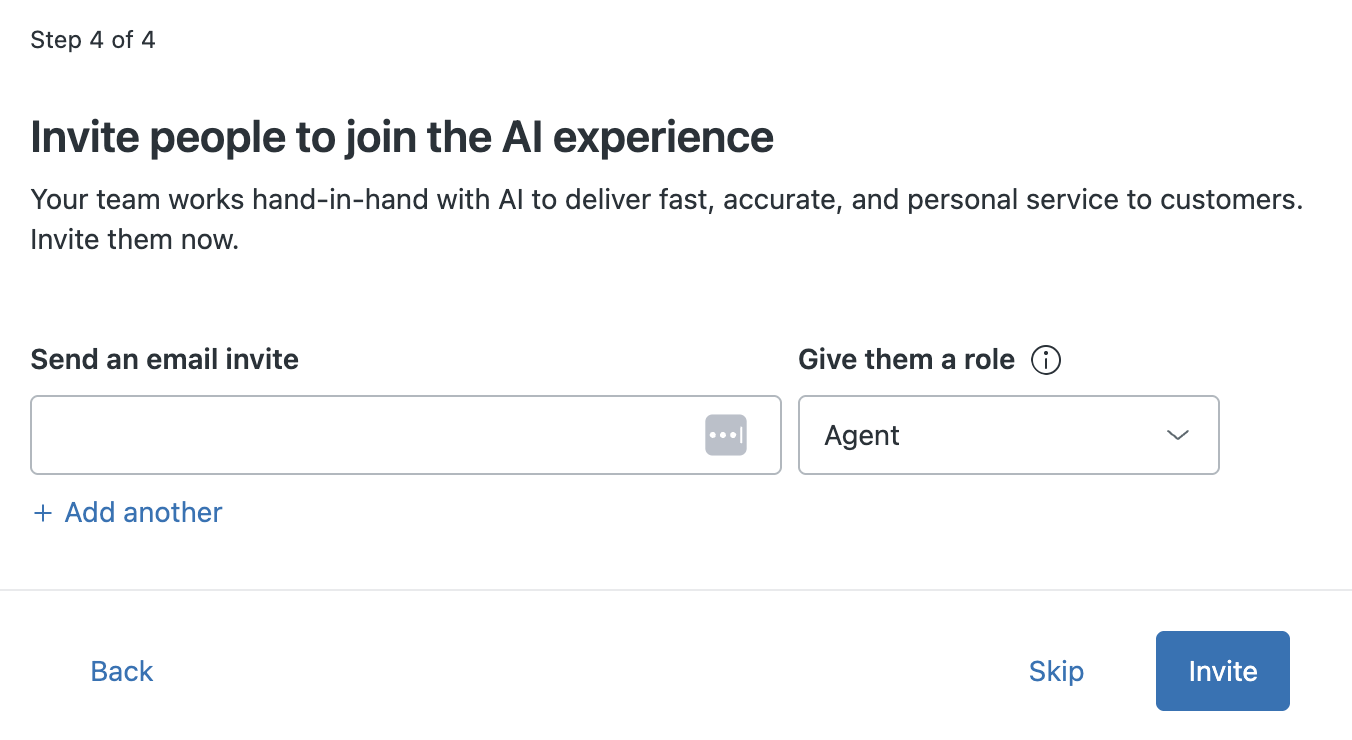
To invite other team members
- Enter an email address for your team member.
- Assign a role for the team member.
Agents work with tickets and reply to customer requests. Admins can work with tickets and also manage account settings.
- Click +Add to add additional team members.
- When you’ve finished adding team members, click Invite.
Invited team members receive an email invitation to join your Zendesk account.
Wrapping up
Congratulations! You’ve set up and tested an AI agent. Now that you’ve tried out an example AI agent, you can continue to set up your account.
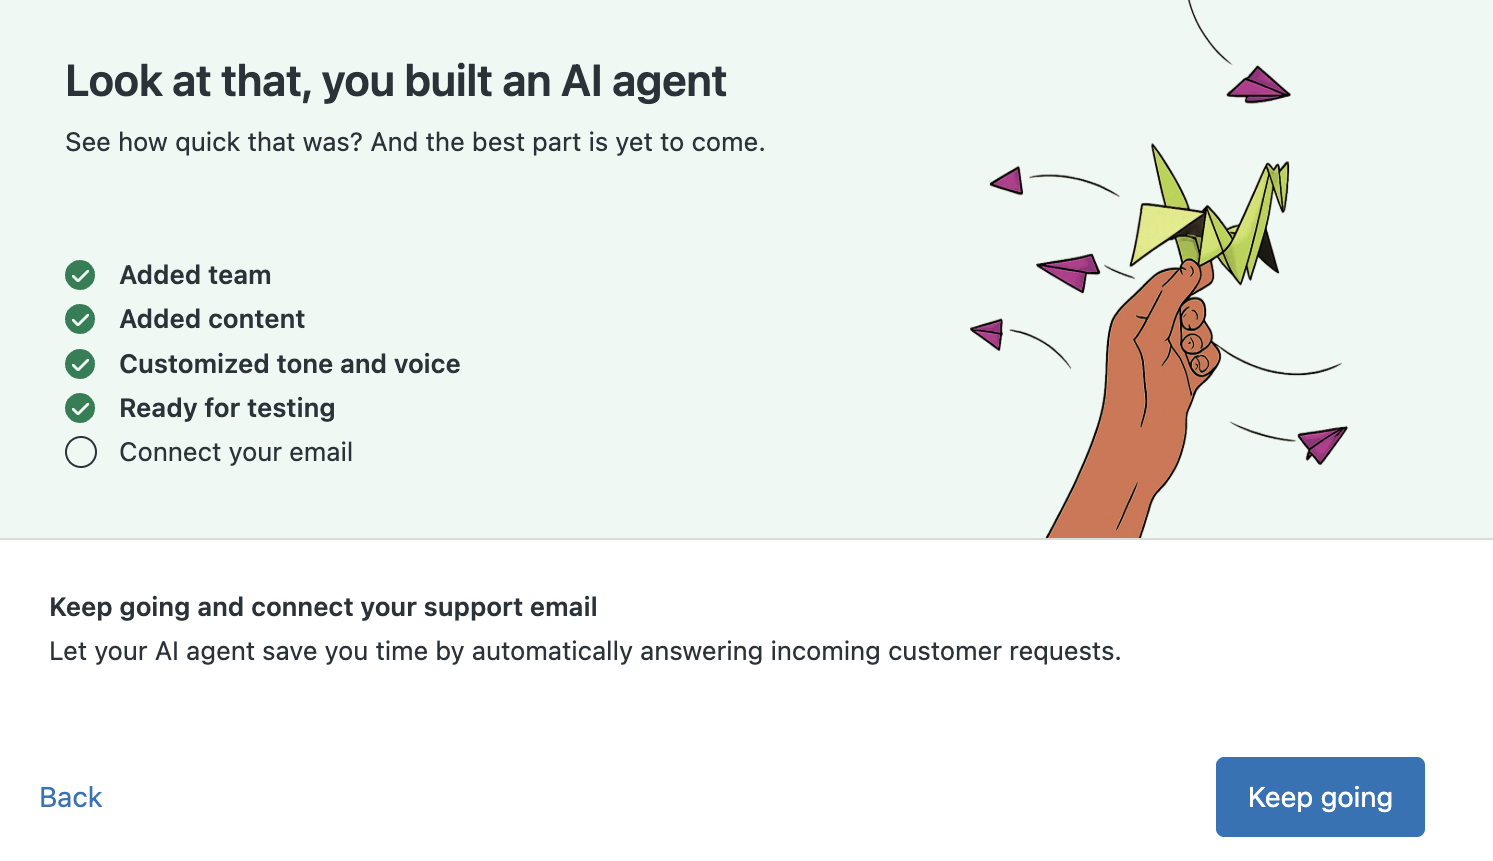
To continue setting up
- Click Keep going to continue your account setup and open the email setup wizard. For more information on connecting your email, see Connect your support email.
What's next for AI agents?
After you’ve finished connecting your support email, you can add your own permanent AI agents and knowledge articles to your account and get them working for you. For more information, see Getting started with AI agents - Essential.
When you've finished your trial, click Buy your trial at the top of the page to purchase a Zendesk Suite plan. Be sure to include the Copilot add-on as part of your purchase, so you can get the full benefit and power of Zendesk AI agents.