After you create an AI agent for messaging, you can manage settings that affect how it behaves on messaging channels.
This article contains the following topics:
Related article:
Viewing all AI agents in a messaging group
You can see which AI agents are included in your messaging group.
To view all AI agents in a messaging group
- In the AI agents workspace, select the AI agent you want to work with.
- Click
 Settings in the sidebar, then select CRM integration.
 - Select the AI agents in this group tab.
The table shows you which AI agents are part of the group. From here, you can open a specific AI agent to view its settings.

Managing messaging channel settings for an AI agent
You can manage settings that affect how an AI agent behaves on messaging channels, including:
- The Support group that an AI agent transfers a ticket to when it’s escalated to a human agent.
- The avatar the AI agent uses in conversations with a customer.
- Whether the AI agent’s messages can use HTML and Markdown formatting.
Configuring these settings affects only the individual AI agent, not the whole messaging group it belongs to.
To manage messaging channel settings for an AI agent
- In the AI agents workspace, select the AI agent you want to work with.
- Click
Settings in the sidebar, then select CRM integration.
- Click Messaging settings.
The AI agent settings panel opens.
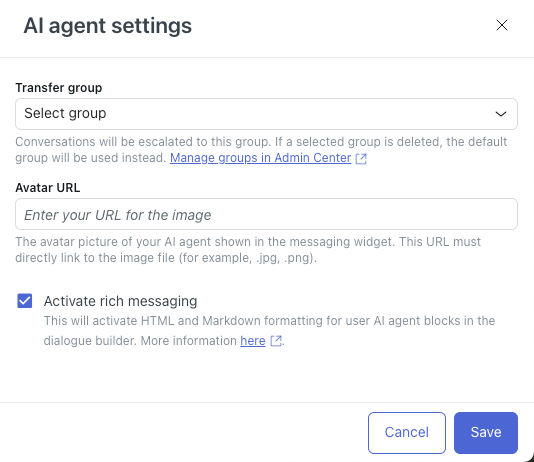
- In Transfer group, select the agent group in Support that the AI agent should send escalated tickets to.
- In Avatar URL, enter the URL of an image to be used as the AI agent’s
avatar within a conversation.
The avatar must be a JPG, PNG, or GIF format.
- (Optional) Deselect Activate rich messaging if you don’t want HTML
and Markdown formatting to apply in AI agent message blocks in the dialogue
builder.
For more information, see About rich-text formatting in messaging conversations.
- Click Save.