After you create an AI agent for messaging, you can configure which messaging channels it should be the default responder for.
This article contains the following topics:
- About a messaging channel’s default responder
- Setting an AI agent as the default responder for individual channels
- Setting an AI agent as the default responder for all channels
- Configuring which AI agent responds on specific messaging channels
- Prevent an AI agent from responding on any messaging channel
Related article:
About a messaging channel’s default responder
First, it’s important to understand that setting an AI agent as the default responder technically sets all AI agents in the messaging group, as a whole, as the default responder. If you have more than one AI agent, you need to use routing rules to define which specific AI agent should respond on each messaging channel.
When you assign the default responder role to an AI agent, it becomes the first responder in a customer conversation. This means when a customer contacts support through one of your messaging channels, the AI agent manages the interaction. It replaces any previously connected AI agent or default response configuration, which is reverted to Draft mode.
Any time a new channel is added to your instance, the AI agent with the default label is automatically assigned as the default responder for that channel. If you assign the default label to another AI agent, that AI agent becomes the responder for any channels using the default responder.
When using an AI agent as a default responder in conversations, consider the following:
- Only one AI agent can be assigned the default responder role in each instance.
- The AI agent with the default responder label can't be deleted until the label is assigned to another responder.
- If you don't want to use an AI agent as the default responder, you can assign the default responder label to an essential AI agent or a third-party bot.
- If you don't have any AI agents connected to your instance, an essential AI agent is the default responder.
Setting an AI agent as the default responder for individual channels
In Admin Center, you can set an AI agent as the default responder for one or more messaging channels.
To set an AI agent as the default responder for individual channels
- In Admin Center, click
 AI in the sidebar, then select AI agents > AI agents.
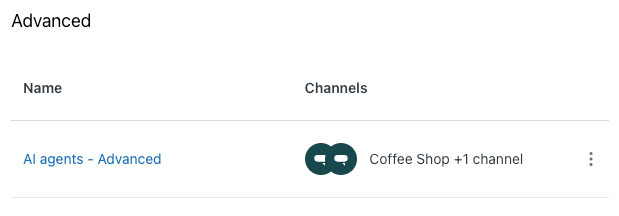
 - In the Advanced section, click AI agents - Advanced.
- In the Channels section, select the channels you want the AI agent to
be the default responder on.
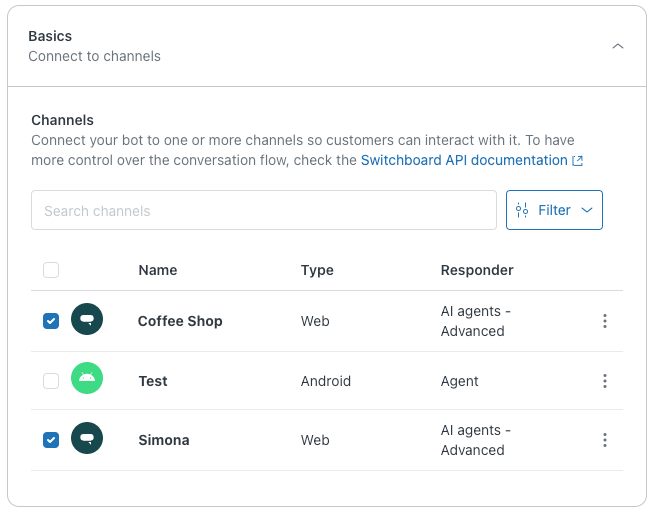
- Click Save.
Setting an AI agent as the default responder for all channels
You can also set an AI agent as the default responder for all messaging channels.
To set an AI agent as the default responder for all channels
-
In Admin Center, click
AI in the sidebar, then select AI agents > AI agents.
- In the Advanced section, click the options menu (
 ) to the right of AI agents - Advanced.
 - Select Set as default for all channels.
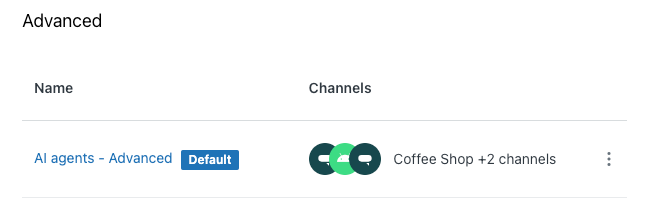
AI agents - Advanced is marked as default, and your AI agents become the default responders for all configured messaging channels according to the routing rules you configure.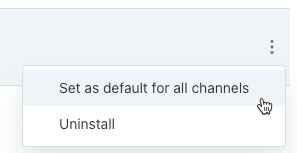
Configuring which AI agent responds on specific messaging channels
By default, the first messaging AI agent created in your account is the fallback, meaning this AI agent in particular is the default responder for any channel where the AI agents messaging group is set as the default responder.
When you have more than one messaging AI agent, you can use routing rules to configure which specific AI agent should respond on each messaging channel. A routing rule is a set of one or more conditions based on the source of the conversation, user metadata, or conversation metadata.
To configure routing rules for messaging AI agents
- In the AI agents workspace, select the AI agent you want to work with.
- Click
 Settings in the sidebar, then select CRM integration.
 - Select the Routing rules tab.
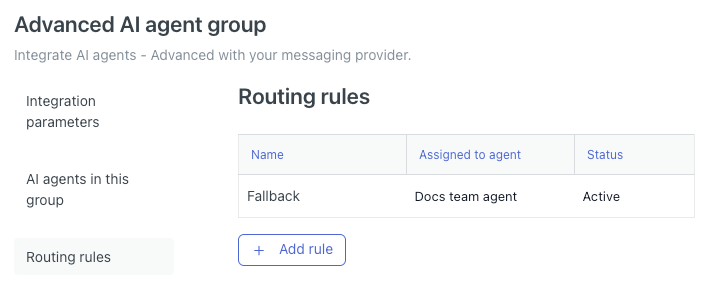
- Click Add rule.
The Create routing rule panel opens.
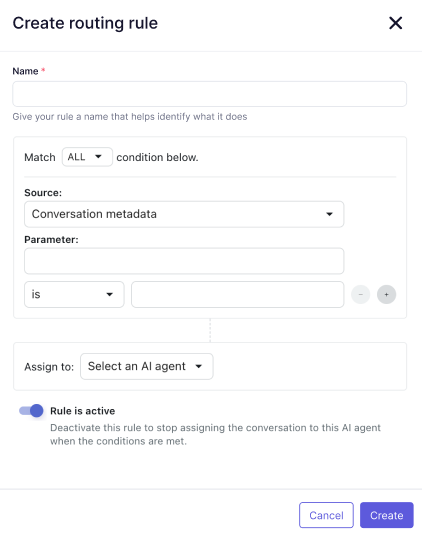
- In Name, enter a descriptive name for the routing rule.
- (Optional) Change the dropdown in Match ALL conditions below to ANY, depending on the logic of your rule.
- Define your first condition:
- In Source, select one of the following options:
- Source (of the conversation)
- User metadata
- Conversation metadata
- Under Parameter, use the parameter name, operator, and value
fields to define a parameter based on the source you selected above:
- If you selected Source above, the available parameters are
Type and Integration ID.Tip: To find the integration IDs of any Sunshine Conversations integrations, use the List Integrations endpoint of the Sunshine Conversations API.Note: If you have a custom AI agent implementation, the integration ID can't be passed when the Type parameter is set to API.
- If you selected User metadata or Conversation metadata above, define a parameter based on the condition you want to create. For help, see Using parameters in AI agents.
- If you selected Source above, the available parameters are
Type and Integration ID.
- In Source, select one of the following options:
- (Optional) Click the plus (+) icon to insert another condition, and repeat the step above.
- In Assign to, select the specific AI agent that should be the default responder to the conversation when the conditions listed above are true.
- (Optional) If you don't want the rule to be active yet, toggle Rule is
active to off.
When you're ready to make the rule active, return to this screen and toggle this setting on.
- Click Create.
Prevent an AI agent from responding on any messaging channel
You can prevent an AI agent from responding to customers on any messaging channel. You do this by deactivating or deleting any routing rules assigned to it. This allows you to configure and test the AI agent without making it live to customers.
To prevent an AI agent from responding on any messaging channel
- In the AI agents workspace, select the AI agent you want to work with.
- Click
Settings in the sidebar, then select CRM integration.
- Select the Routing rules tab.
- In the Assigned to agent column, select a rule that's assigned to the
AI agent you don't want responding to customers.
The rule's configuration appears.
- Click the Rule is active toggle to deactivate the
rule.
Alternatively, if you no longer need the rule at all, click Delete and Delete again to delete the rule entirely.
- Click Save.
- Repeat the steps above for any other rules assigned to the AI agent.