Connecting Workday to action builder
Before you can include external actions in your action flows, you must connect the action builder to the external system.
- All external actions performed by an action flow are attributed to the user who connected the external system. Therefore, it's a best practice to use a dedicated service account rather than personal credentials when connecting to each external system.
- All integrations request access to necessary scopes. However, it's important that you review and validate the scopes before authorizing the connection to the external system.
- When managing credentials for API key-based tools, such as OpenAI, it's best to store keys in a secure vault or credential manager.
- Create an OAuth client in Workday.
-
Use the OAuth client to
connect Workday to the action builder.
After you've connected to the system, you'll see an indicator that it's connected and details about the instance you're connected to, as well as the actions available for Workday.
- (Optional) Configure Workday to allow contact information to be updated through REST API requests.
Creating an OAuth client in Workday
Workday uses OAuth 2.0 for authorization. A Workday administrator must set up an OAuth 2.0 client in Workday to provide Zendesk secure access to your data in Workday.
- Sign into your Workday account as an administrator.
- In the Workday search bar, type Edit Tenant Setup - Security, then select the matching option from the search results list.
- Scroll down to the OAuth 2.0 Settings section and turn on the OAuth 2.0 configuration.
- Configure the API client:
- Search: Select Register API Client.
- Client Name: Enter a meaningful name for your client, such as Zendesk connection.
- Client Grant Type: Choose Authorization Code. See OAuth 2.0 Security Best Current Practice for more information about grant types.
-
Client Redirect URL: Enter
https://zis.zendesk.com/api/services/zis/connections/oauth/callback
- Use the API scopes field to specify the following permissions for the app to access Workday data:
SystemStaffingTime off and leave-
Home Contact Information -
Work Contact Information
- Click Save.
- After saving, securely save the following generated values that appear in Workday. These are required for connection, authentication, and token generation.
- Client ID
- Client SecretNote: The Client Secret displays only once. Copy and save it in a secure location, such as a password manager.
- Token Endpoint URL
- Authorization Endpoint URL
- Workday REST API URL
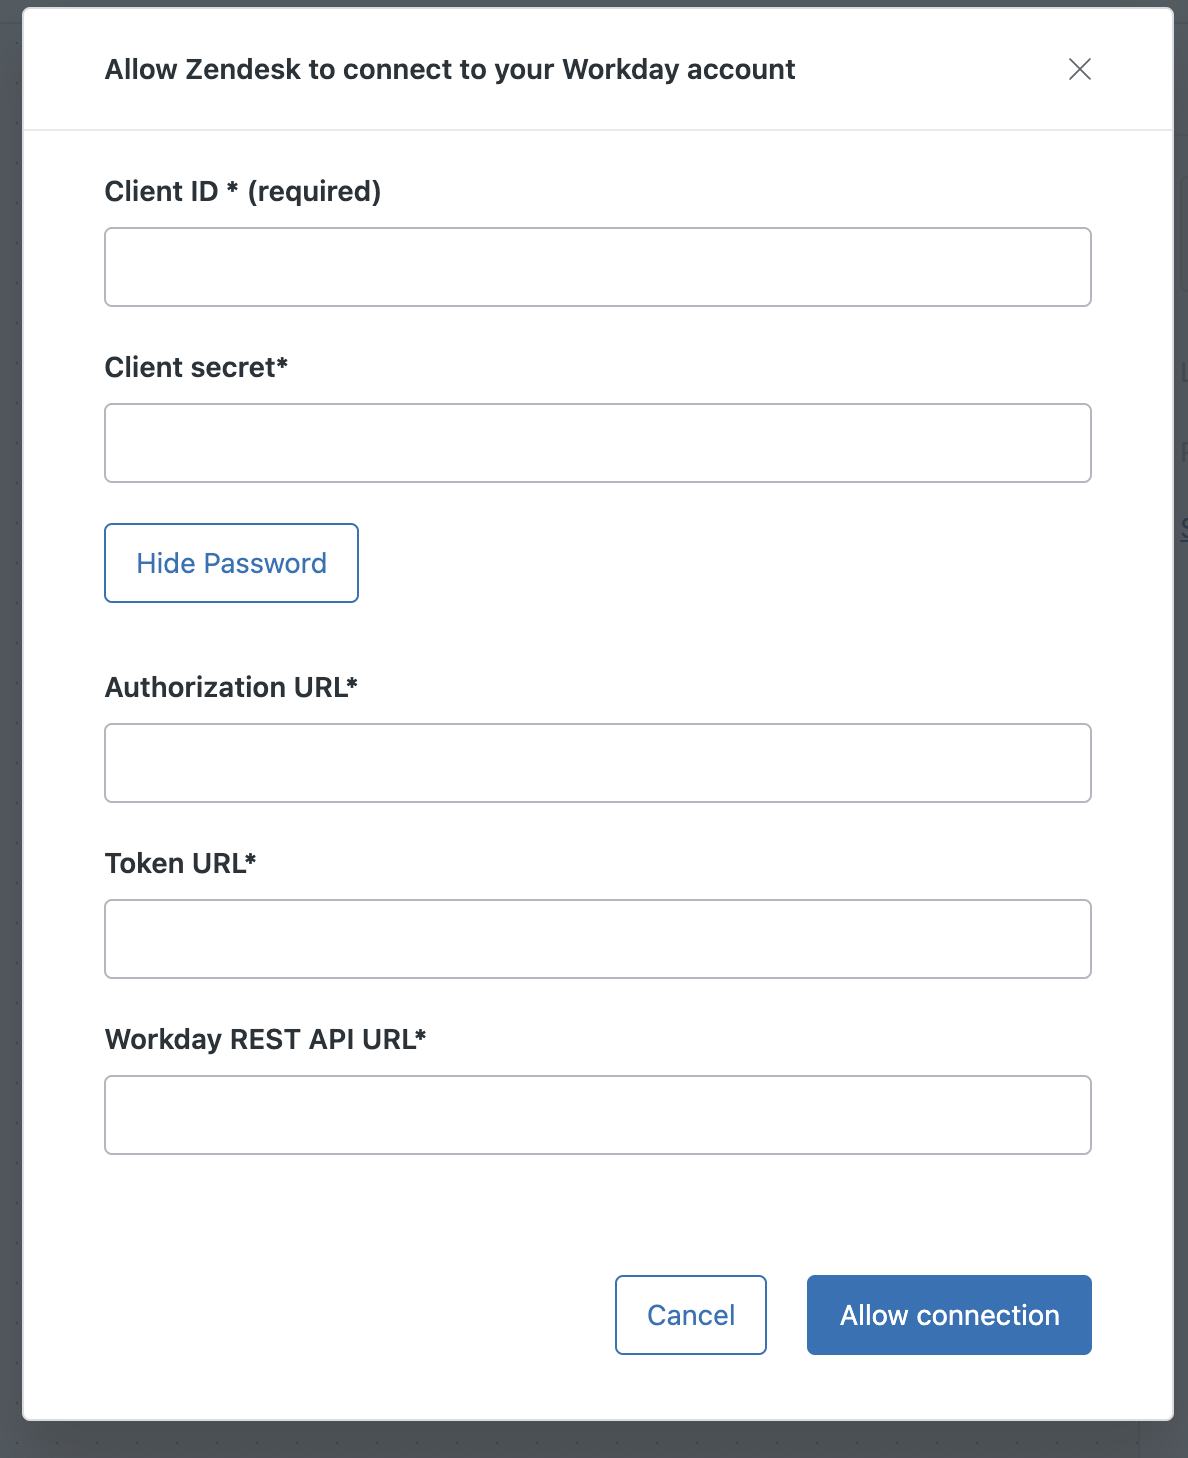
Connecting Workday to the action builder
After creating the Workday OAuth 2.0 client, you have the information necessary to connect Workday to action builder.
- In Admin Center, click
 Apps and integrations in the sidebar, then select Actions > Action
flows.
Apps and integrations in the sidebar, then select Actions > Action
flows. - Create or edit an action flow.
- Open the step sidebar.
- Under External actions, click Workday.
- Click Connect.
- Enter the following values from the Workday OAuth client in the corresponding
fields:
- Client ID
- Client Secret
- Token Endpoint URL
- Authorization Endpoint URL
- Workday REST API URL
- Follow Workday's prompts to authenticate and complete the
connection.Note: All external actions performed by an action flow are attributed to the user who connected the external system. Therefore, it's a best practice to use a dedicated service account rather than personal credentials when connecting to each external system.
Configuring Workday to allow REST API updates to contact information
Before you can use the Contact information action, you must configure Workday to allow users' contact information to be updated by the API. To do this, grant permission to a security group to update employee contact information using the Workday REST API.
- Admin-level access to Workday security and business process policies
- A security group exists or is created for the service account
- All changes are tested in a sandbox environment first
- In Workday, run the Maintain Permissions for Security Group task.
- Select the security group you want to allow to use the API to update contact information.
- For the Person Data: Home Contact Information and Person Data:
Work Contact Information domains, add the following
permissions:
- View and Modify
- Get and Put
- Run Activate Pending Security Policy Changes to publish the domain-level permission updates.
- Open your Business Process Security Policy for Work Contact Change to edit it.
- Under Initiating Action > Change Work Contact Information (REST Service), add the security group you just granted permission to use the API to update contact information.
- Click Save.
- Open your Business Process Security Policy for Home Contact Change to edit it.
- Under Initiating Action > Change Home Contact Information (REST Service), add the security group you just granted permission to use the API to update contact information.
- Click Save.
- Run Activate Pending Security Policy Changes to publish the updates.
Using Workday actions in action flows
Workday action steps can be used to look up employee details and submit time off requests.
Looking up an employee
Use the Look up worker action to retrieve the personal and employment data for an individual employee.
This action has the following inputs and outputs:
| Variables | |
|---|---|
| Inputs |
Worker ID or Work email
address
|
| Output | The employee's personnel data |
Requesting time off
Use the Request time off action to submit time off requests in Workday on behalf of employees.
This action has the following inputs and outputs:
| Variables | |
|---|---|
| Inputs |
Worker ID, Request
date, Time off type, Daily
quantity
Note: Dates must be formatted as
YYYY-MM-DD or YYYY-MM-DDhh:mm and in the Workday
account's timezone.
(Optional) |
| Output | Request ID |
Managing a user's primary home email address
Use the Manage primary home email action to update a user's primary home email address.
This action has the following inputs and outputs:
| Variables | |
|---|---|
| Inputs |
Worker ID, Home
email(Optional) |
| Output |
Request status, Updated primary
home email
|
Managing a user's primary home phone number
Use the Manage primary home phone action to update a user's primary home phone number.
This action has the following inputs and outputs:
| Variables | |
|---|---|
| Inputs |
Worker ID, Home phone
number, Country,
Device type(Optional) |
| Output |
Request status, Updated primary
home phone number
|
Managing a user's primary work email address
Use the Manage primary work email action to update a user's primary work email address.
This action has the following inputs and outputs:
| Variables | |
|---|---|
| Inputs |
Worker ID, Work
email(Optional) |
| Output |
Request status, Updated primary
work email
|
Managing a user's primary work phone number
Use the Manage primary work phone action to update a user's primary work phone number.
This action has the following inputs and outputs:
| Variables | |
|---|---|
| Inputs |
Worker ID, Work phone
number, Country,
Device type(Optional) |
| Output |
Request status, Updated primary
work phone number
|
Recipe: Notifying managers when a request for hardware is approved
The following example action flow automatically sends an email notification to an employee's manager when a Zendesk ticket requesting new hardware, such as a laptop, is approved.
-
Add an action flow trigger with
the following details:
- Click Add trigger.
- In the step sidebar, under Zendesk, click Tickets.
- Click Properties and select Ticket tags changed.
- Click Add condition.
- Under Variable, click Ticket tags changed and select Tags (added).
- Set the Operator to Contains at least 1 of.
- Under Value, enter approved.
- Add a step to look up user details in
Zendesk:
- In the action builder, beneath the action flow trigger, click the
Add step icon (
 ).
). - In the step sidebar, under Zendesk actions, click Look up user.
- Under Ticket ID, click into the field and then click Select a variable instead.
- Within the variable menu, select Ticket tags changed as the step that outputs the variable you want to use, and then select Requester ID.
- In the action builder, beneath the action flow trigger, click the
Add step icon (
- Add a step to look up details about the ticket requester in Workday:
- In the action builder, click the Add step icon ().
- In the step sidebar, under Zendesk actions, click Look up worker.
- Under User ID type, select Zendesk user ID.
- For User ID, click Add variable.
- Within the variable menu, select Ticket tags changed as the step that outputs the variable you want to use, and then select Requester ID.
- In the action builder, click the Add step icon (
- Add a step to retrieve the employee's data in Workday:
- In the action builder, click the Add step icon ().
- In the step sidebar, under External actions, click Workday and then select Look up worker.
- Under Employee email, click Add variable .
- Within the variable menu, select Look up user as the step that outputs the variable you want to use, and then select Work email.
- In the action builder, click the Add step icon (
- Add a step to send an email notification to the
employee's manager:
- In the action builder, click the Add step icon ().
- In the step sidebar, under External actions, click Microsoft Outlook and then select Send email.
- Under Recipient email, click Add variable.
- Within the variable menu, select Look up worker as the step that outputs the variable, and then select Supervisor's email.
- Under Subject, enter the subject of the email. For example: "Update: Laptop request for Employee Name" where Employee Name is a variable from the Look up user step.
- Under Body, enter the message you want to send to the
employee's supervisor. Include relevant information as variables
from the Look up user and Look up worker steps, respectively, to
streamline their ability to solve the ticket. In the following
example, all variables are
italicized:
Hi Look up worker > Supervisor Name,
Your team member, Look up user > Name (employee ID: Look up worker > ID), will be issued a
(Ticket tags changed > Laptop make) laptop in the next five days.
Note: To make the laptop information available for use as variables in the action flow, that information must be configured as a ticket field.
- In the action builder, click the Add step icon (
- Add a step that updates the ticket with a copy of
the email sent to the supervisor:
- In the action builder, click the Add step icon ().
- In the step sidebar, under Zendesk actions, select Update ticket.
- Under Ticket ID, click Add variable.
- Within the variable menu, select Ticket tags changed as the step that outputs the variable, and then select Ticket ID.
- Under Additional fields, select Comment and Comment is public.
- Under Comment, copy and paste the Body value from the send email step.
- In the action builder, click the Add step icon (
- Under Comment is public, select False.
The comment is added to the ticket as an internal note.
- Click Save.
- Click Test to test the action flow.
- Click the options menu (
 ) and select Activate to begin using the
action flow to automatically send an email to employees' supervisors when a
request for hardware is approved.
) and select Activate to begin using the
action flow to automatically send an email to employees' supervisors when a
request for hardware is approved.