Verified AI summary ◀▼
Generate and publish your WFM schedule to align staffing with forecasted workloads. Create schedules for all agents or specific groups, and publish them so agents receive notifications of changes. You can revert to the last published version if needed. This process helps manage staffing needs effectively, ensuring agents are aware of their tasks and shifts.
After configuring your organization structure, you can generate a schedule based on your active forecasts. Your forecasted workload, combined with your organizational setup, allows you to automatically generate a detailed schedule complete with breaks, channel specific assignments, and more.
Automatically generating the schedule based on your active forecast helps you create better schedules. You can still edit your schedule to optimize your staffing requirements further.
When you publish the schedule, agents see any change to their schedule on their Agent Schedule app in Zendesk.
Related articles
Understanding how the schedule is generated
The schedule is generated based on the active forecasts. If there's no forecast for a workstream, the schedule is based on coverage and location requirements.
A schedule can’t be generated if the forecast fails to generate. For example, the forecast won’t generate if a workstream has no data.
If a workstream has data but displays zero inbound volume when you're generating the schedule, then the automatic schedule will randomly assign a workstream to an agent.
Generating the schedule for a single agent in day view always ignores the agent’s location settings.
Generating the schedule
You must be an admin to generate the schedule. You can generate the schedule for all agents in your account or choose to generate it for a single agent, by group, location, or team.
You can generate a schedule up to 90 days in the future.
To generate the schedule for all agents
-
In Workforce management, click
 Scheduling in the sidebar, then select Schedule.
The schedule opens in the day view.
- (Optional) Click the Day menu to switch to week or month view, or select a
specific date or date range from the date picker.

- Click Generate.
- Select the date range for when you want a schedule to be created, then click
Run.

The schedule begins to generate. Depending on how many agents you have, it may take a few minutes to complete.
When the schedule generation is complete, you'll see an assigned shift next to each agent. The shift contains the tasks they need to work on at a particular time as well as any general tasks or unified agent statuses configured in the shift.

Agents’ shifts are highlighted and a yellow dot appears next to their names, indicating that the shifts are unpublished (see Distinguishing unpublished shifts).
Next, you must publish the schedule so that agents will see the updated schedule in their Agent schedule app in Zendesk.
To generate the schedule for a single agent, group, location, or team
You can generate a shift for a single agent or for a group, location or team instead of generating a schedule for your entire roster.
-
In Workforce management, click
Scheduling in the sidebar, then select Schedule.
The schedule opens in the day view.
- Hover over an agent, group, location, or team then click the plus sign (
 ) icon.
Publishing the schedule
After you've generated the schedule, you must publish it so that agents can see their schedule in the Agent schedule in Zendesk.
To publish the schedule
- After generating the schedule, click Publish.
- Select the Date range you want to publish the schedule for. You can publish your
schedule up to 90 days in the future.

- Click the Agents tab and select which agents to publish the schedule for. You can publish the schedule for all agents, individual agents, by group, team, or location.
- Click Publish schedule.
Whenever an agent’s schedule change is published, they receive a Zendesk push notification.

Clicking the notification’s hyperlink takes the agent directly to their agent schedule view.
They also receive a push notification five minutes before the scheduled start time of a new task.

Reverting published changes
You can revert the schedule to the last published version. This action applies to a specific period and a selected set of agents, giving you control over which changes to revert.
You can revert your schedule up to 90 days at once.
To revert a published schedule
- In Workforce management, click
Scheduling in the sidebar, then select Schedule.
- Click the Revert schedule to last published icon (
 ) in the top right.
 - Select the Date range you want to revert the published schedule for.
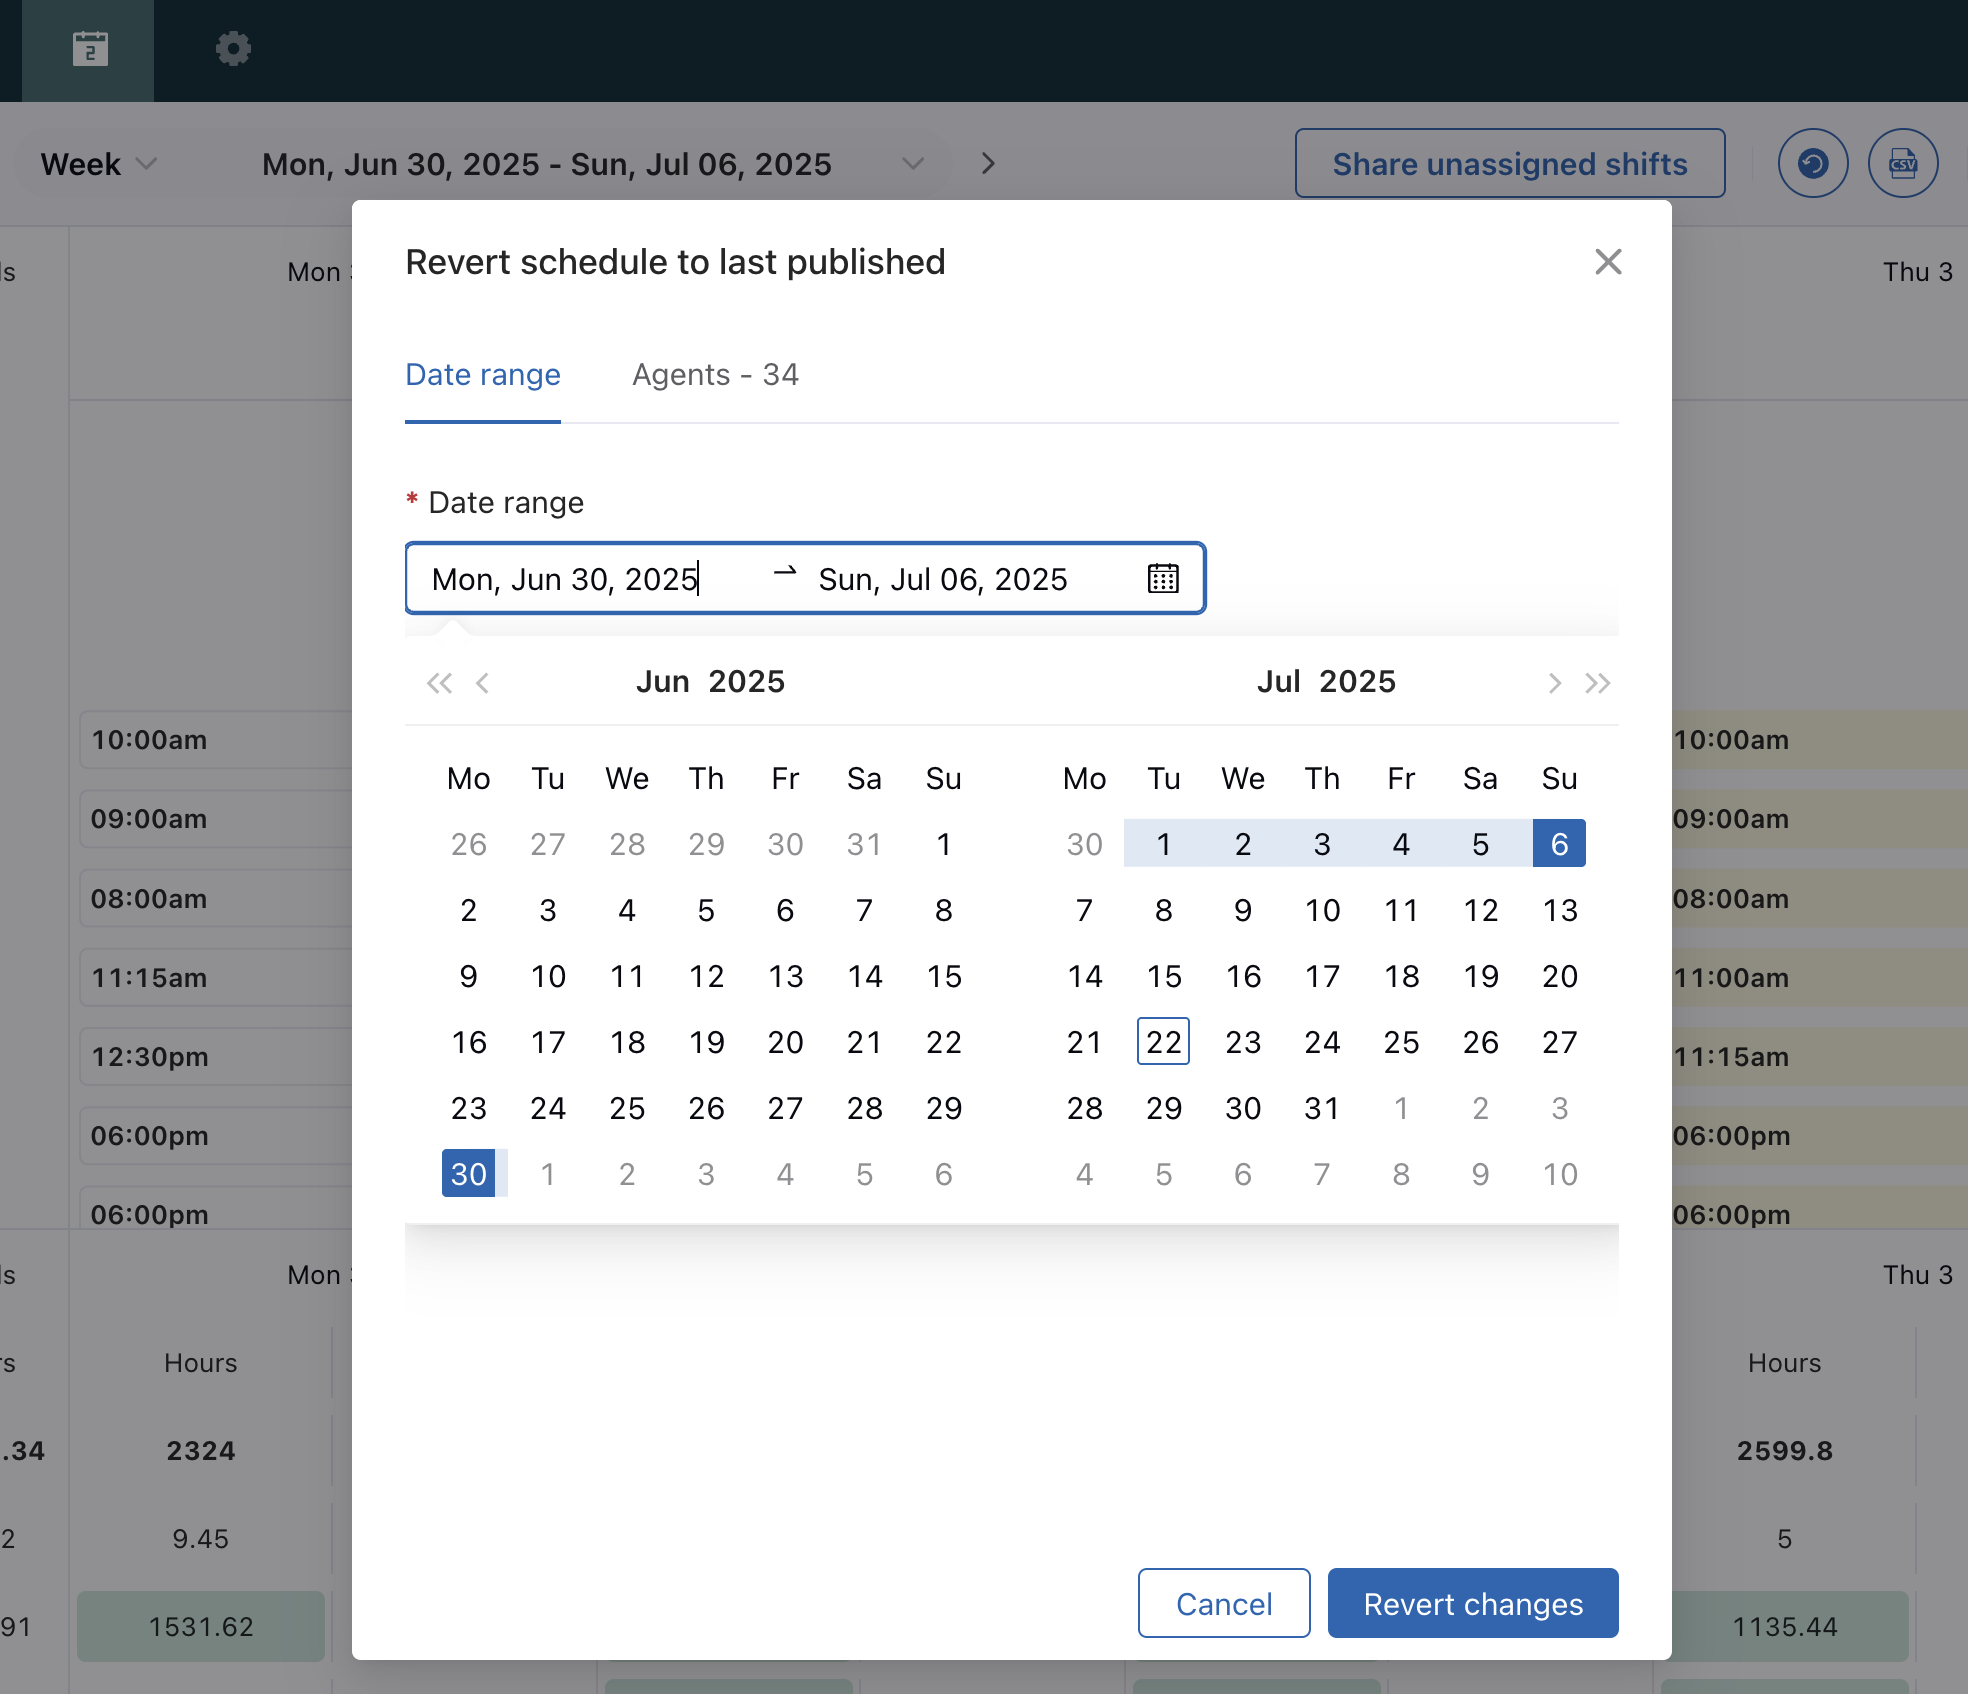
- Click the Agents tab and select which agents to revert the published schedule for. You can revert a published schedule for all agents, individual agents, a group, team, or location.
- Click Revert changes.