Verified AI summary ◀▼
Importing historical volume data for WFM forecasts allows you to enhance forecasting accuracy by using your own data. You need at least two weeks of data, but two years is recommended. Ensure your data is in UTC, follows the template format, and includes 15-minute intervals. After preparing your CSV file, upload it and save your settings to improve your forecast precision.
While setting up your WFM forecasts and selecting the historical volume period in Zendesk Workforce management (WFM), you have the option to import your historical volume into your forecast.
Related articles
Importing historical volume
For imports, a minimum of two weeks of data is required for forecasting. For best results, import two years worth of data.
After the data is uploaded, Zendesk WFM only uses the available data in your import and will not combine it with your historical Zendesk data. You can always switch back to using Zendesk data.
To import historical volume
- In Workforce management, click
 Forecasting in the sidebar, then select Forecast scenarios.
 - Select a workstream.
- In the Historical volume panel, select use Imported data as your Data
source.
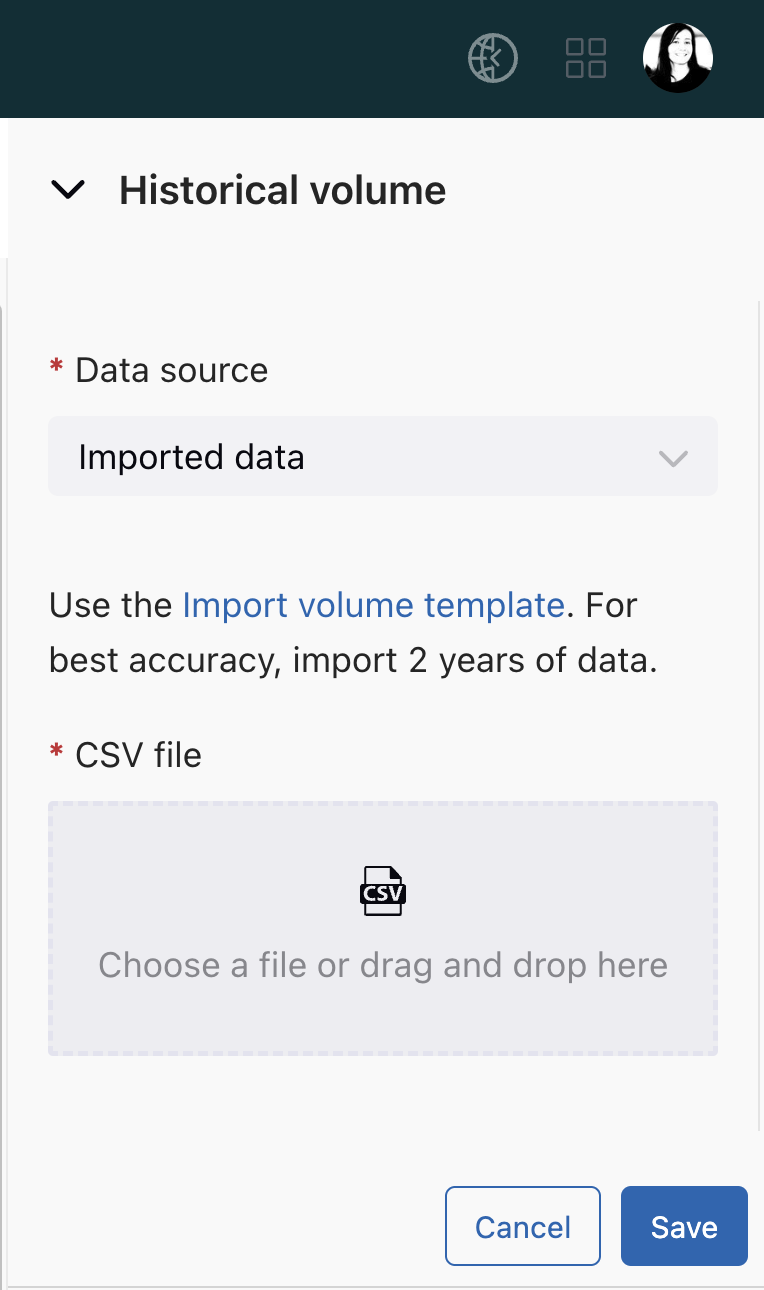
- Download and use the Import volume template. For best accuracy, import 2 years of data.
- Open the spreadsheet and edit it to include your own historical data.
To avoid errors when uploading your CSV file, ensure the following aspects are taken into consideration:
- The first row of the example must be deleted
- The data's timezone must be UTC
- Ensure that no special characters are used that are not on the template spreadsheet.
- Data must be uploaded with 15-minute increments starting at 00:00:00 on the first day. Entries like 09:10 will result in errors.
- Fill in any 15-minute period without volume with zeros in the CSV file, as intervals cannot be skipped (e.g., 00:00-00:15-00:30-00:45-01:00).
- Check that ' : ' has not been accidentally replaced with ' ; '.
- Check that ' . ' has not been accidentally replaced with ' , '.
- Ensure that the days are in chronological order.
- Upload your new historical volume CSV file.
- Click Save.