Access to the AI agents workspace is controlled in Admin Center, where an admin must first create an account for a user and assign them an appropriate user role.
Users with the client admin role can then control which specific AI agents an individual user can access. How this AI agent access is controlled depends on whether the user is a client user, client editor, or another client admin.
This article contains the following topics:
- Managing access to the AI agents workspace
- Managing AI agent access for client users
- Managing AI agent access for client editors and client admins
Related articles:
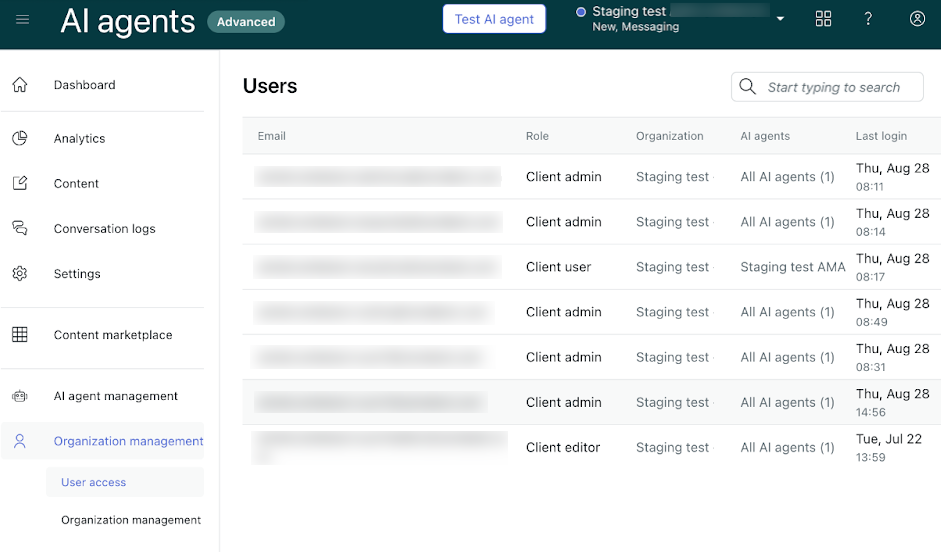
Managing access to the AI agents workspace
Access to the AI agents workspace is controlled in Admin Center. By default, any user with the Admin role for Support has the Client admin role for AI agents.

Client admins can change the AI agents role for other users as needed. For more information about permissions for each role, see AI agents roles.
Managing AI agent access for client users
Client admins can control which AI agents can be accessed by client users.
To manage AI agent access for client users
-
In the AI agents, click
 Organization management in the sidebar, then select User
access.
Organization management in the sidebar, then select User
access.The Users page appears.
- Hover over the user you want to manage AI agent access for and click the
Edit icon (
 ).
).The Edit user pane opens. All fields except AI agents are read-only.
- Click Select AI agents.
- Select the AI agents that the user should be able to access.
You can select more than one. You can also start typing to filter the results of the drop-down list.
When you select an AI agent, it’s added above the AI agents field. You can click the X next to an AI agent to remove the user’s access to it.
- Click Save.
Managing AI agent access for client editors and client admins
By default, client editors and client admins have access to all AI agents. However, a client admin can contact Zendesk customer support to request that Zendesk restrict the AI agents that another client admin has access to.
When this happens:
- Client admins with restricted AI agent access can give other users access only to the AI agents they themselves have access to.
- If a client admin with restricted AI agent access is downgraded to a client editor or client user, they continue to have the same restricted AI agent access.