Verified AI summary ◀▼
Admins and workspace managers can manage user permissions within workspaces, allowing you to add or remove members. This flexibility helps tailor access and responsibilities according to team needs. Note that default workspace permissions are fixed, but additional permissions can be set. Ensure you understand permission impacts as changes apply immediately, affecting workspace access.
Zendesk admins can update Zendesk QA user roles in Admin Center. Zendesk QA role permissions apply only to the default workspace, and users cannot be removed from the default workspace. Additional workspace permissions can be added on the Zendesk QA side.
Admins and workspace managers can manage user workspace permissions using both the Users page and the Members page within each workspace. Workspace leads can only add and remove users using the Members page within each workspace.
This article contains the following topics:
Related articles:
Adding workspace members
You can add one or more users to a workspace at the same time.
To add workspace members
- In Quality assurance, click your profile icon in the top-right corner, then select Users, bots, and workspaces.
- Under Workspaces, click the name of the workspace you want to edit, and then click Members.
- On the workspace’s Members page, click Add members.
- Select the users you want to add to this
workspace.

- Click Add members.
Removing workspace members
You can remove a single member from a workspace, or remove multiple members at the same time.
Removing a single workspace member
You can remove a single member individually.
- In Quality assurance, click your profile icon in the top-right corner, then select Users, bots, and workspaces.
- Under Workspaces, click the name of the workspace you want to edit, and then click Members.
- Hover over the name of the user you want to remove and click the
X that appears.
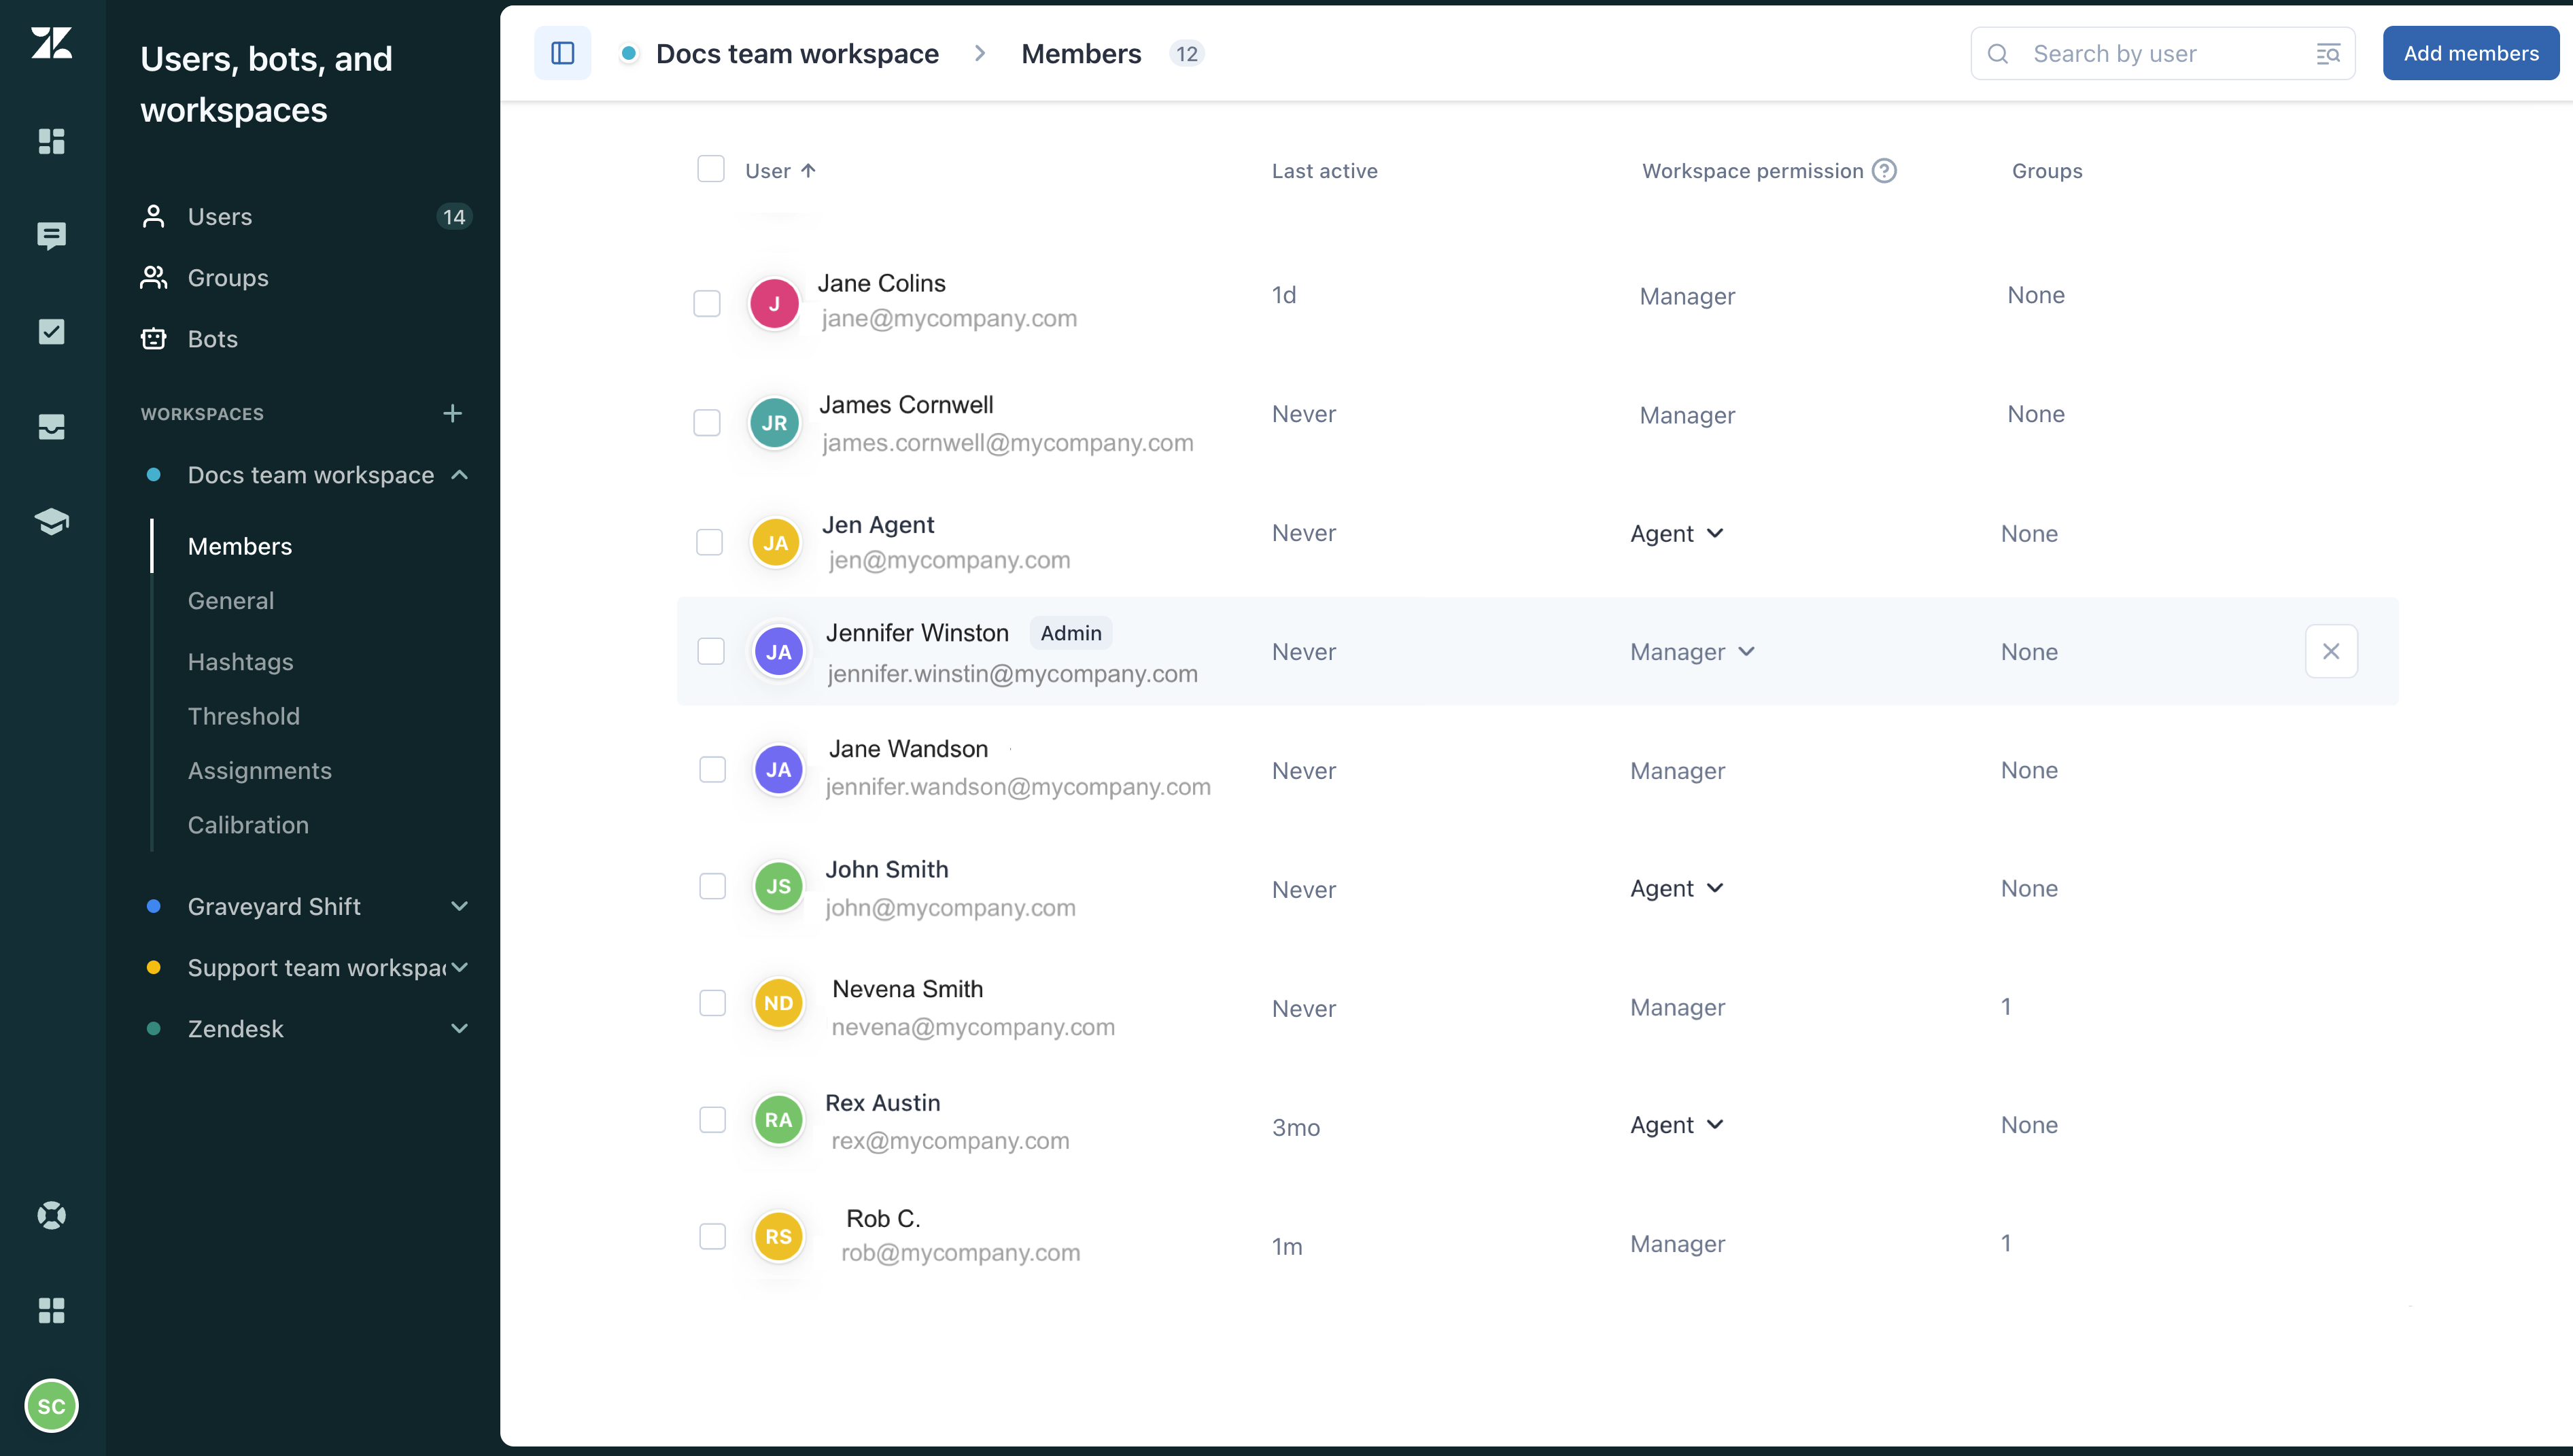
- In the confirmation dialog, click Remove member.
Removing multiple workspace members
You can remove multiple members from workspaces at the same time.
To remove multiple members at the same time
- In Quality assurance, click your profile icon in the top-right corner, then select Users, bots, and workspaces.
- Under Workspaces, click the name of the workspace you want to edit, and then click Members.
- Select the workspace members you want to remove.
- In the toolbar at the bottom of the list, click Remove
members.
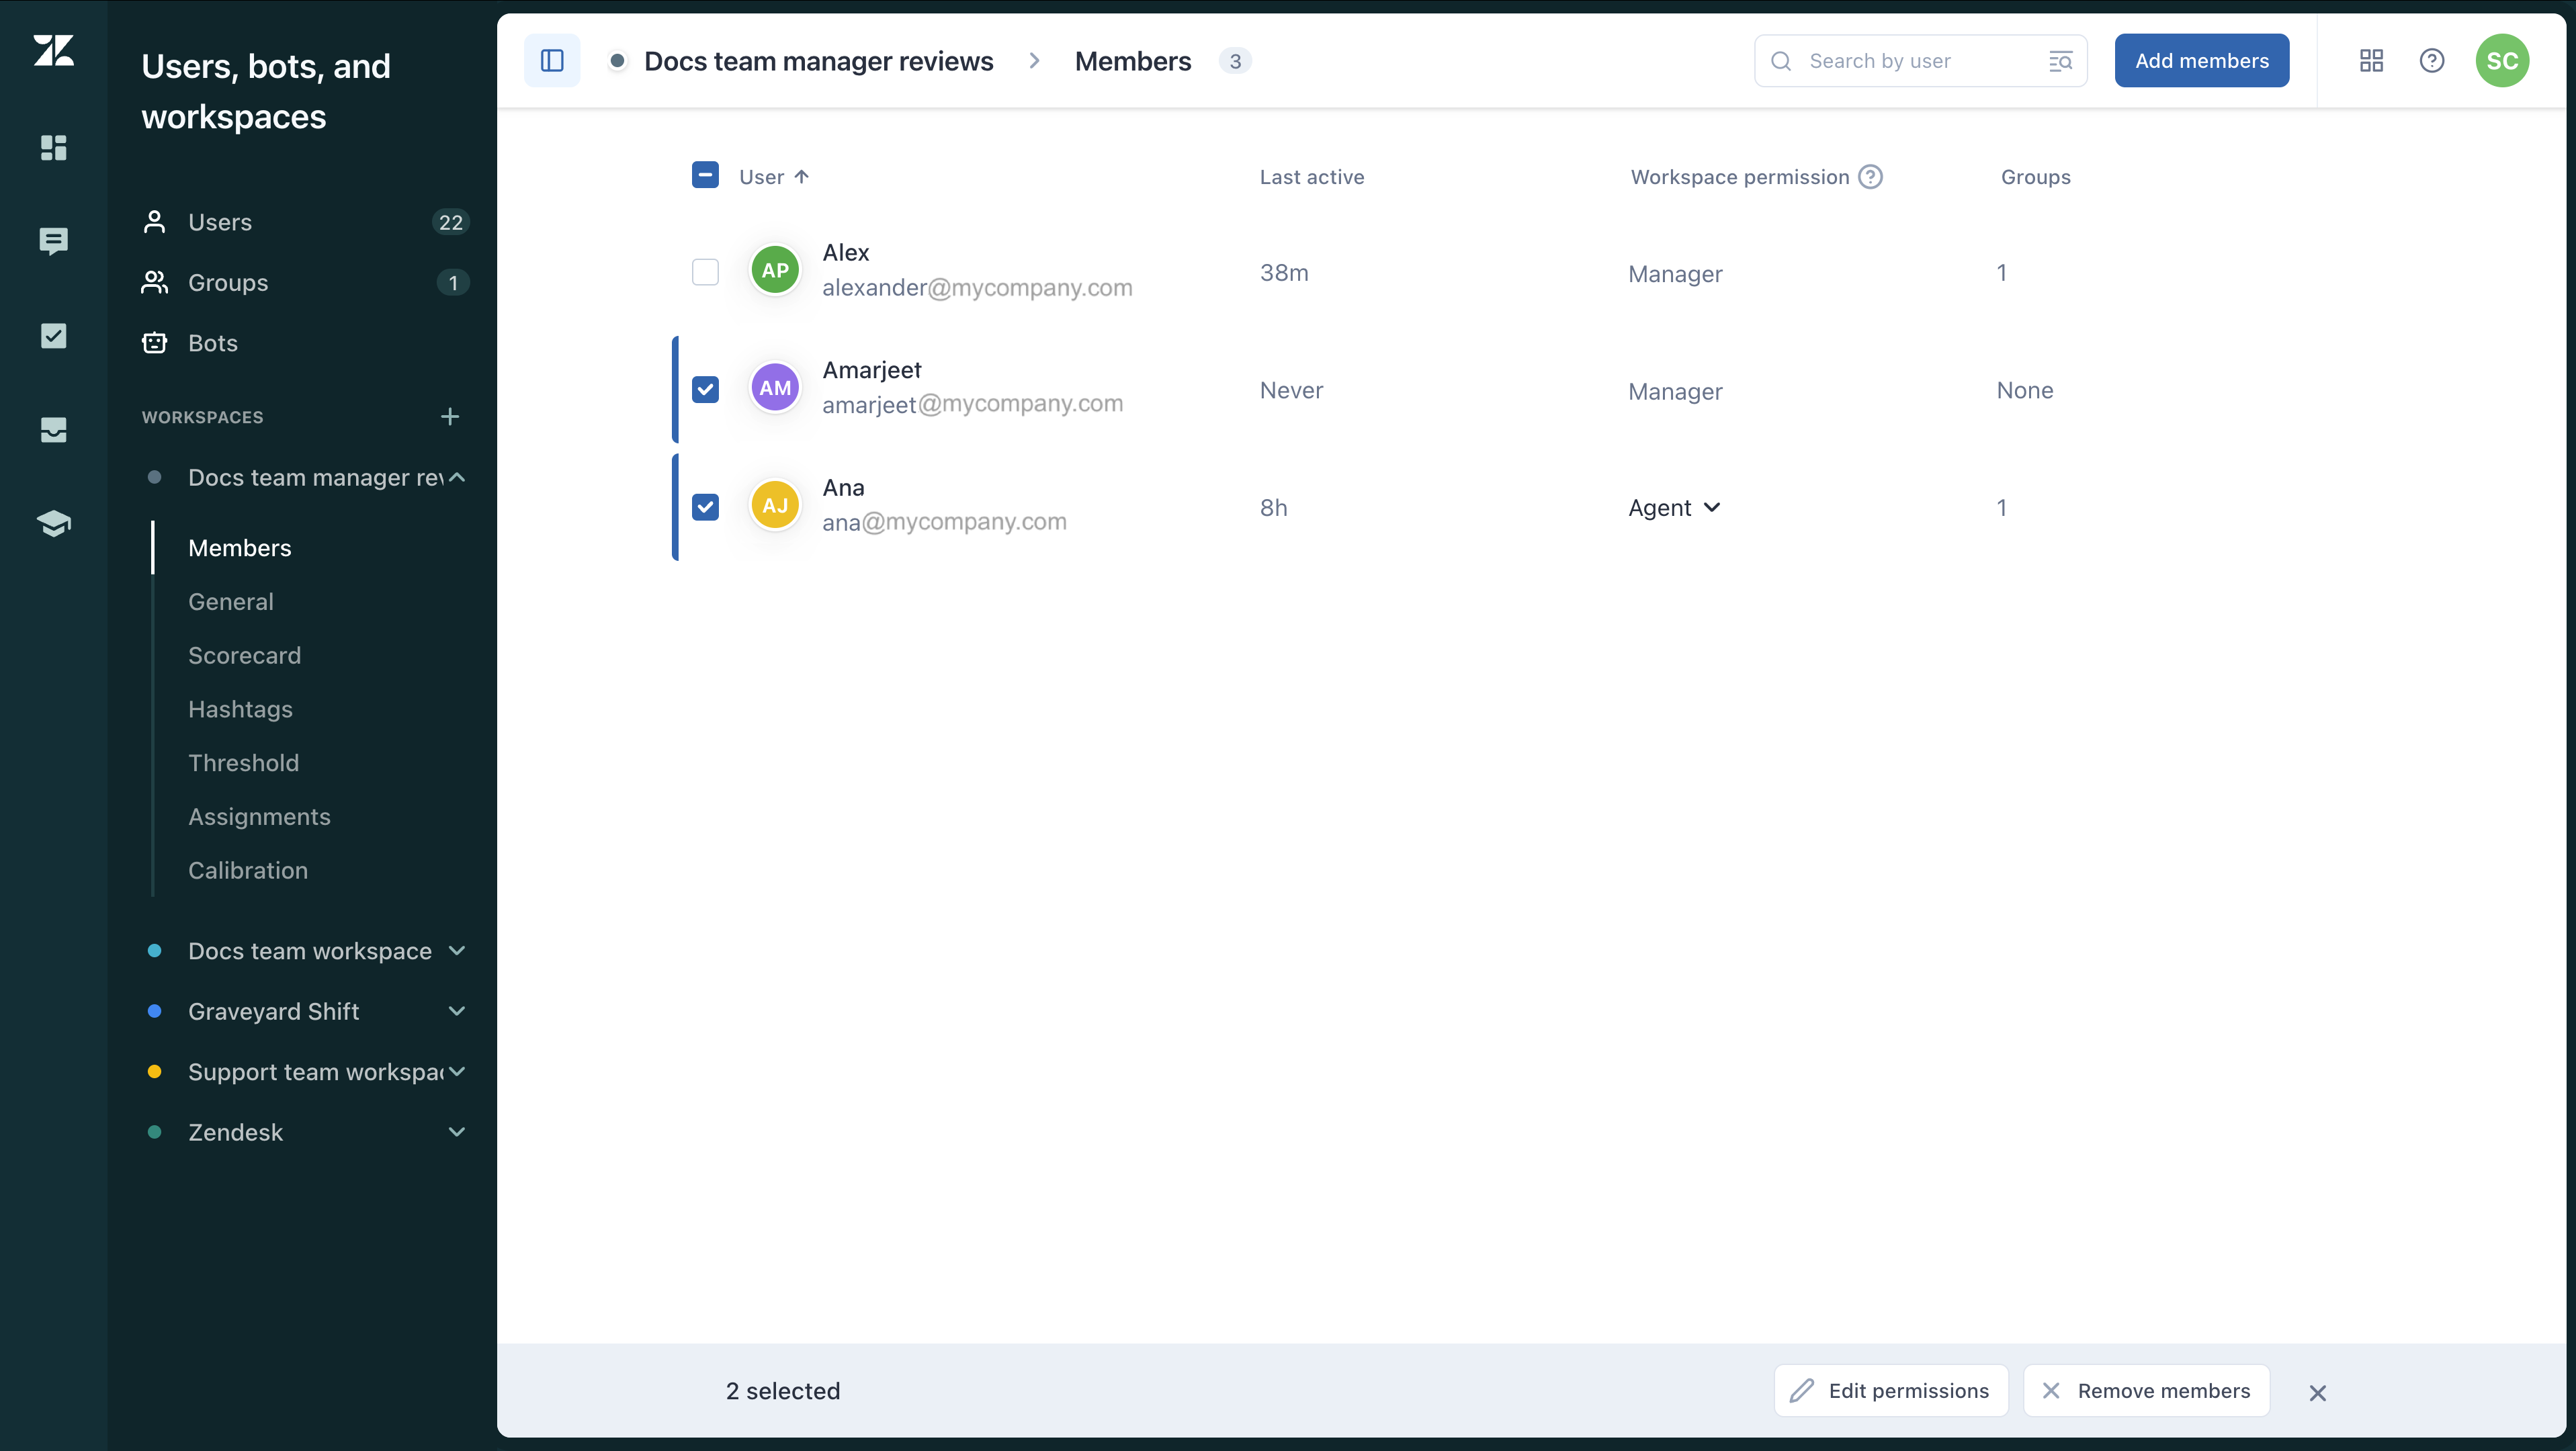
- In the confirmation dialog, click Remove members.
Editing workspace permissions for members
Editing a single member’s workspace permissions
To edit a single member’s workspace permissions
- In Quality assurance, click your profile icon in the top-right corner, then select Users, bots, and workspaces.
- Under Workspaces, click the name of the workspace you want to
edit, and then click Members.

- Find the user whose permissions you want to edit.
- Click the name of the user's permissions in the Workspace permissions column and select the correct permissions: Manager, Lead, Reviewer, or Agent.
Editing workspace permissions for multiple members
You can change workspace permissions for multiple members at the same time. However, if you include a user who is an admin, their workspace permissions do not change because their account permissions supersede it.
To edit workspace permissions for multiple users at the same time
- In Quality assurance, click your profile icon in the top-right corner, then select Users, bots, and workspaces.
- Under Workspaces, click the name of the workspace you want to
edit, and then click Members.
- Select the members whose workspace roles you want to change.
- In the toolbar at the bottom of the list, click Edit permissions.
- Select the correct workspace permissions for the users: Manager, Lead, Reviewer, or Agent.
- Click Save changes.