Verified AI summary ◀▼
Use article multiplacement to create a single article and place it in up to 10 different sections across all brands in your help center. When you update the article, all placements are updated too. You can preview, edit, or delete article placements to manage where and how your content appears, ensuring consistent information across various sections and brands.
Article multiplacement lets you create one article and place it in up to 10 different sections across all brands in your help center.
Article placements share the same title and body but have a unique article ID and placement configuration that tells your help center where the placement article should appear. As a result, when you update the content of an article, the content of related placements are also updated and published. This powerful feature makes it possible to create content once and share it between multiple sections and brands.
Previewing an article placement
You can preview an article placement to see how the rendered placement will appear in the help center before you publish.
- In your help center, navigate to the
article that contains the placement you want to preview, then click Edit
article in the top menu bar.

- If the Article settings panel is not displayed in the sidebar, click
the Article settings icon (
 ) to expand the panel.
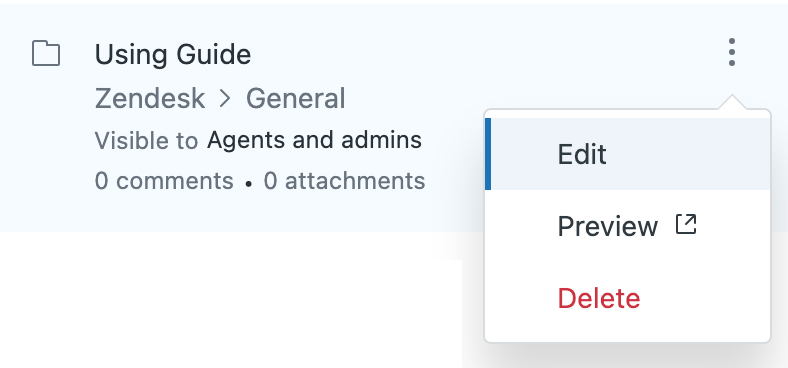
 - In the Placement section, click the options button (
 ) on the placement card that you want
to edit, then select Preview.
) on the placement card that you want
to edit, then select Preview.The article appears in Preview mode, allowing you to view and interact with it as it will appear in your configured placement.
Editing an article placement
You can edit an article placement to change the sections in which it appears in your help center, or modify placement settings such as viewing permissions, content tags, and labels.
- In your help center, navigate to the
article to which you want to add placements, then click Edit article
in the top menu bar.
- If the Article settings panel is not displayed in the sidebar, click
the Article settings icon () to expand the panel.
- In the Placement section, click the options button () on the placement card that you want
to edit, then select Edit.
-
Use the settings available in the Placement panel to change the section the article is placed in, or edit other placement settings. See Configure article settings.
- Click Update settings.
Deleting an article placement
If you no longer want an article placement, you can remove it from the article placements list.
- In your help center, navigate to the
article to which you want to add placements, then click Edit article
in the top menu bar.
- If the Article settings panel is not displayed in the sidebar, click
the Article settings icon () to expand the panel.
- In the Placement section, click the options button () on the placement card that you want to
edit, then select Delete. Click Delete
placement.
