Verified AI summary ◀▼
To set up user access for Contact Center, configure Amazon Cognito for agent authentication using SSO with SAML providers. This keeps agent data secure in your AWS account. If not using SSO, manually add users in Cognito User Pools. For admins, add them to the LMAdmin group after their first login. Resources are available for setting up SSO with AWS, Azure AD, Okta, and Google Workspaces.
If you are not using SSO, you can use the Cognito UserPool itself as the identity provider. The Cognito UserPool is the one that was created using the Contact Center CloudFormation template.
If you want to use SSO, see Setting up single sign-on for Amazon Connect.
- Log in to the AWS account where the Contact Center CloudFormation stack was created.
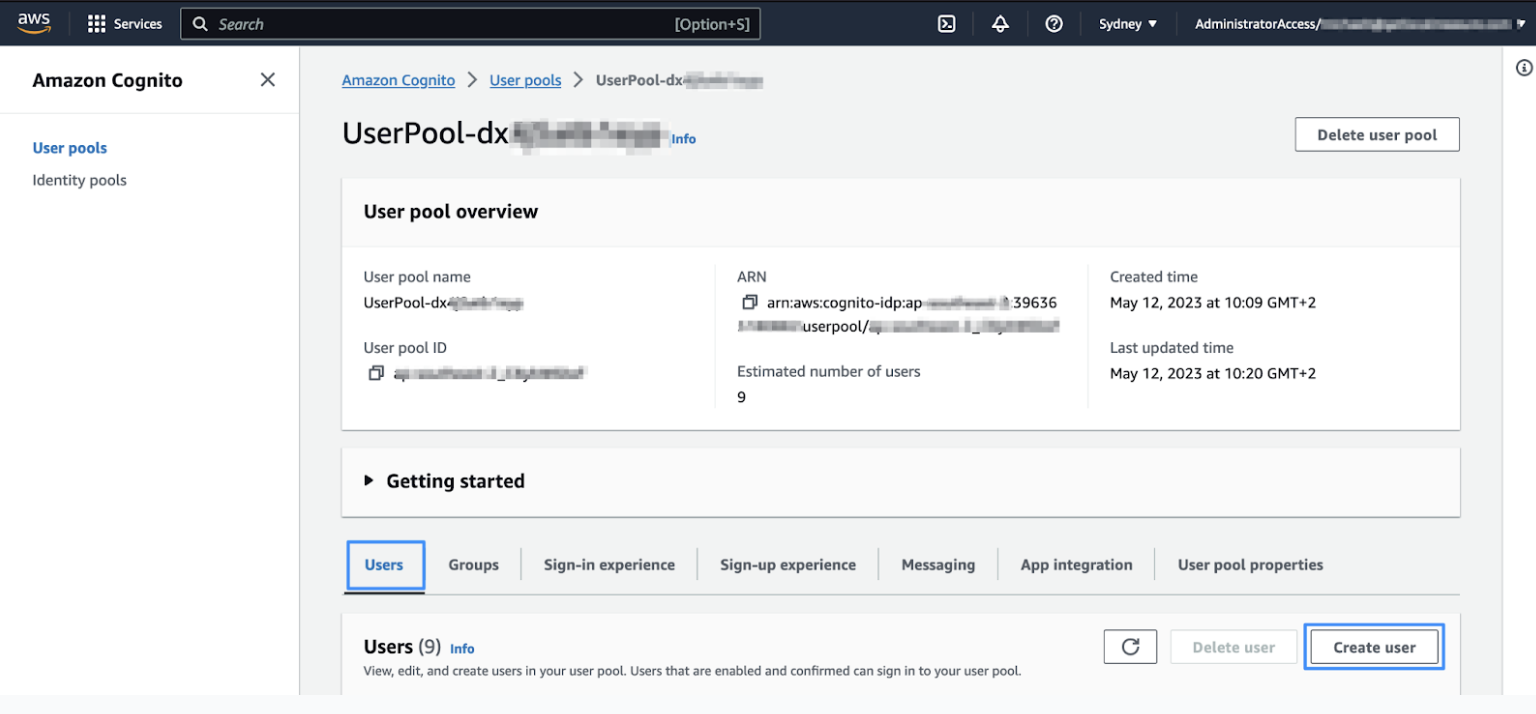
- In the Cognito service (ensure that you are in the correct region), open the UserPool that was created when the Contact Center CloudFormation stack was created.
- On the Users tab, click Create User.
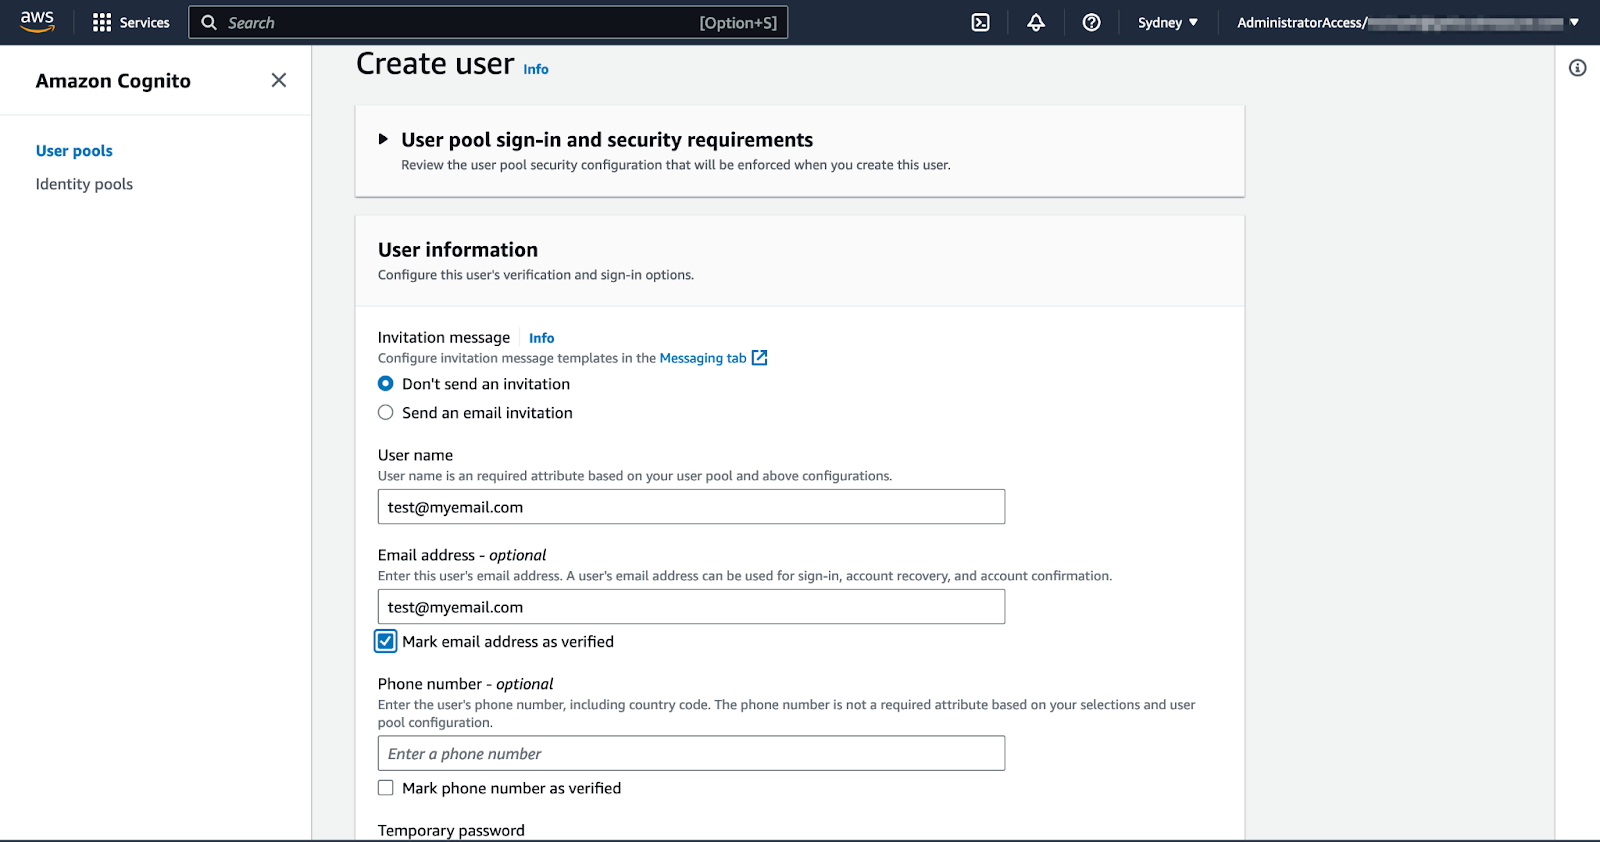
- Enter a user name and email address.Tip: It's a good idea use the agent's email address as their user name, so that it matches the user name in Amazon Connect.
- Click Mark the email address as verified, then enter a temporary password.
The user will be required to change the password when they log into Contact Center. You don't need to enter a phone number.
- Create additional users, as needed, for all agents who need access to Contact Center.
- Click the App Integration tab, then click app-client at the
bottom.
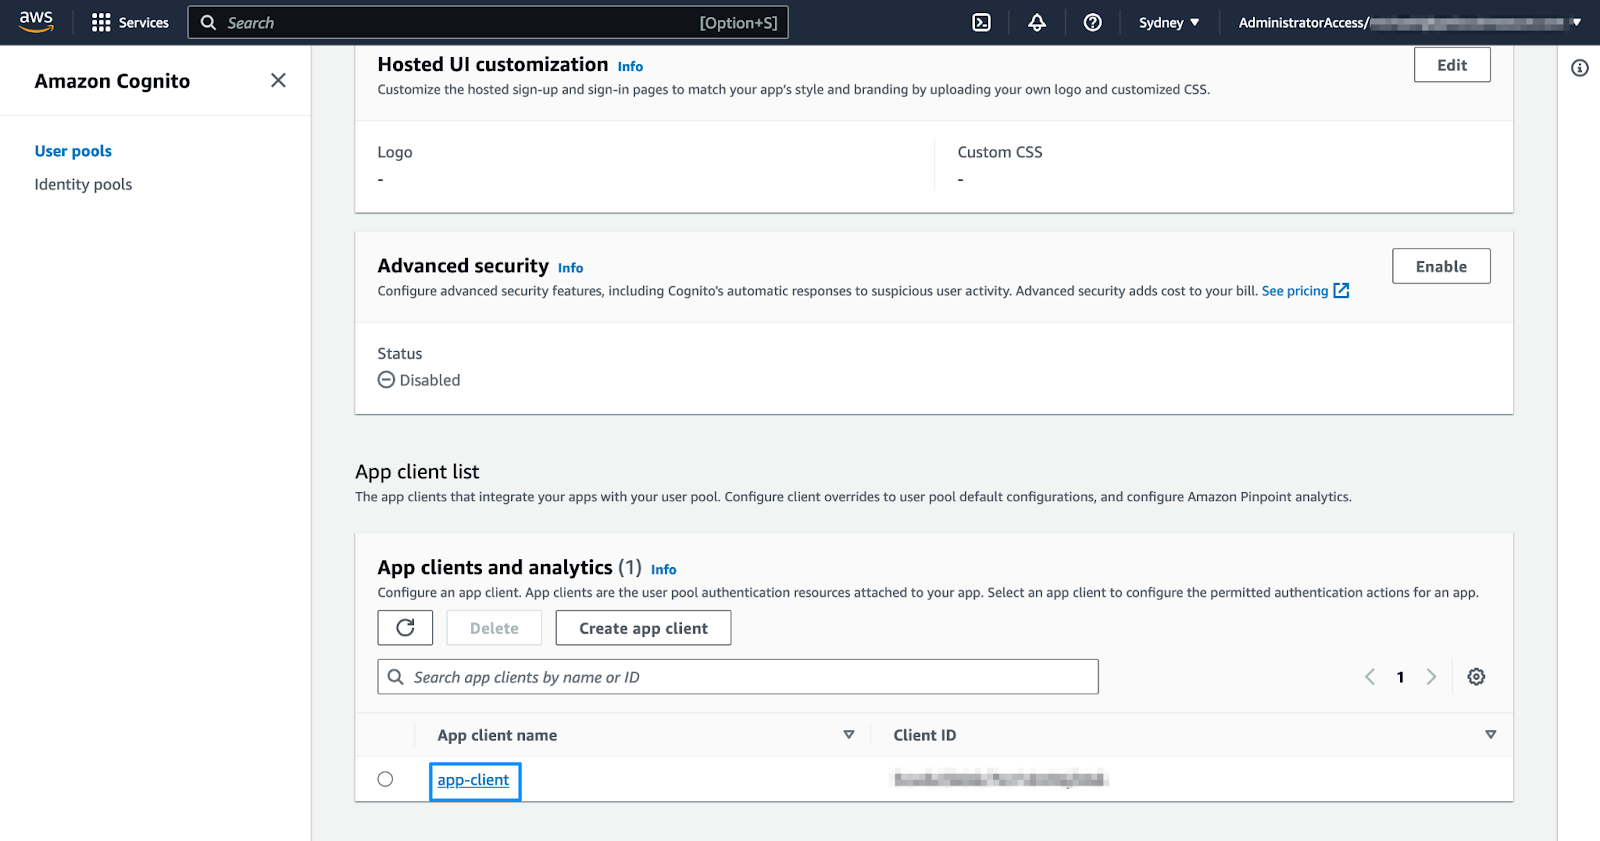
- In the Hosted UI section, click Edit.
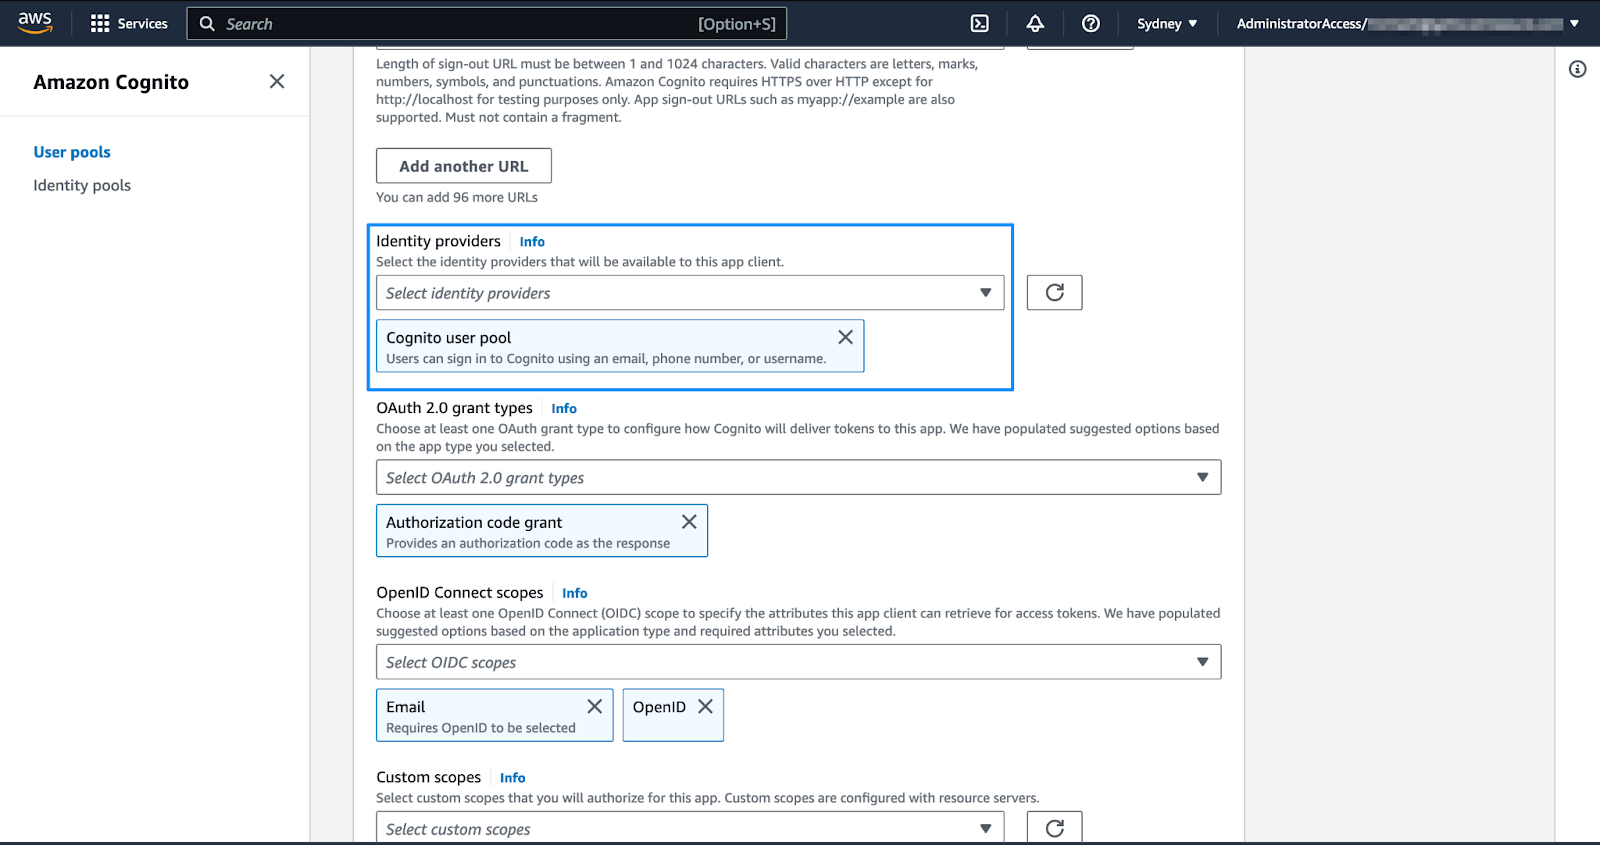
- In the Identity providers section, select Cognito user pool from the
dropdown list.
This tells Cognito to use the user pool, with the manually created users, as the identity provider.
- Click Save changes.
The Cognito configuration is complete.