Verified AI summary ◀▼
ARCHIVED AS IT CONTAINED DUPLICATE INFORMATION
Set up your account to use the Contact Center by configuring Amazon Connect, adjusting general settings, and setting up API configurations. Install the app and configure its settings, including entering your subdomain and API key. Finally, enable Contact Lens Writeback to complete the setup. These steps ensure a smooth integration and enhance your customer support capabilities.
In this article, you'll learn about the things you'll need to set up before you can use Zendesk for Contact Center.
This article contains the following topics:
Setting up your Zendesk account
Setting up your Zendesk environment to align with your business needs is an important initial step. For detailed guidance on configuring your Zendesk account, see Zendesk's getting started documentation.
Configuring Amazon Connect
Before you start configuring Contact Center, you'll need to get Amazon Connect set up.
To configure Amazon Connect
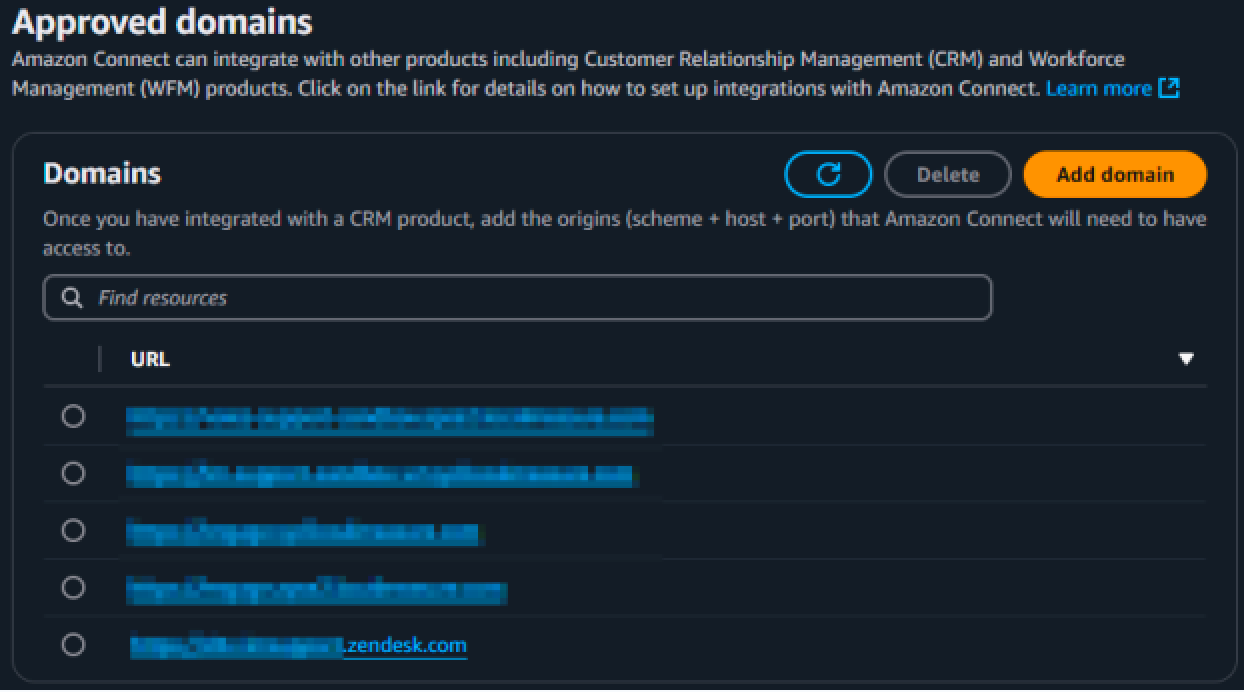
- From your Amazon Console, navigate to your Connect instance and then, the Approved origins page.
- In the Domains section of the Approved domains page, click Add domain and add the URL of your Zendesk subdomain.
- Click Save.

Configuring Contact Center general settings
To configure general settings
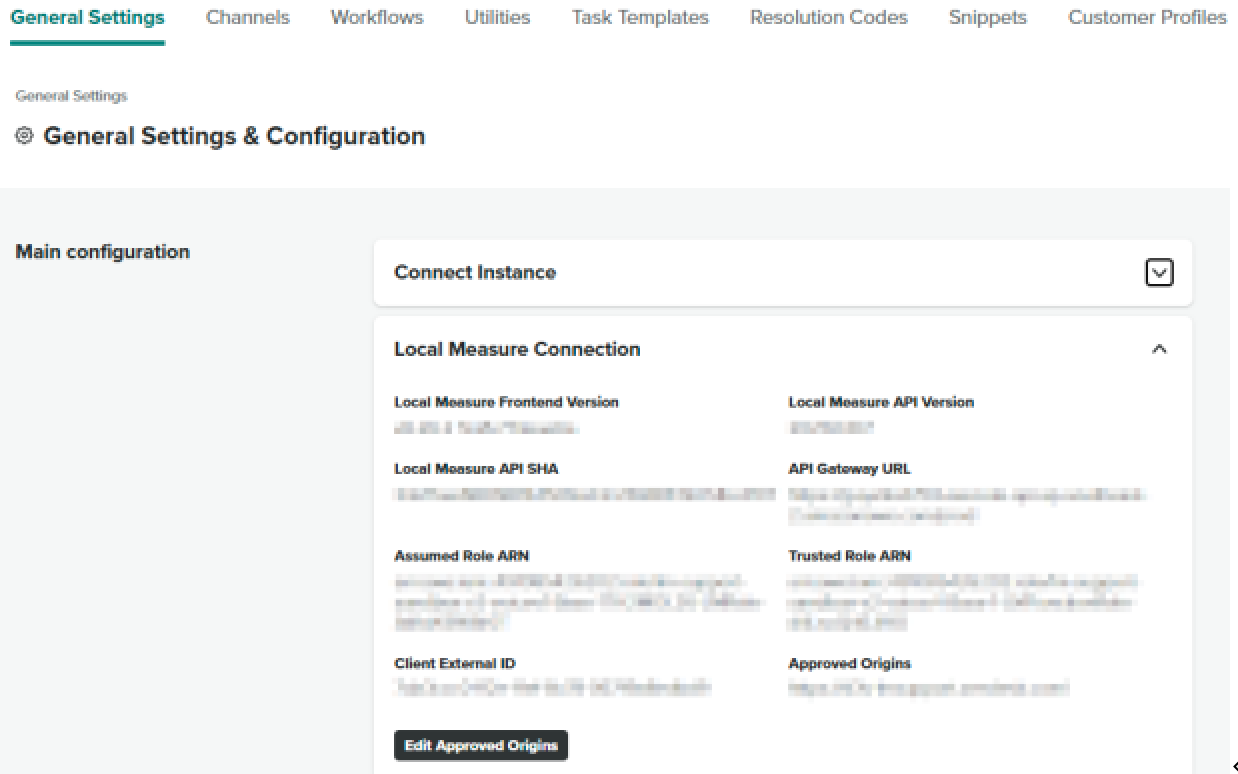
- In Contact Center, open settings.
- Add the URL of your Zendesk instance as an approved origin for Contact Center.
- Save your changes.

Setting up the Contact Center API configuration
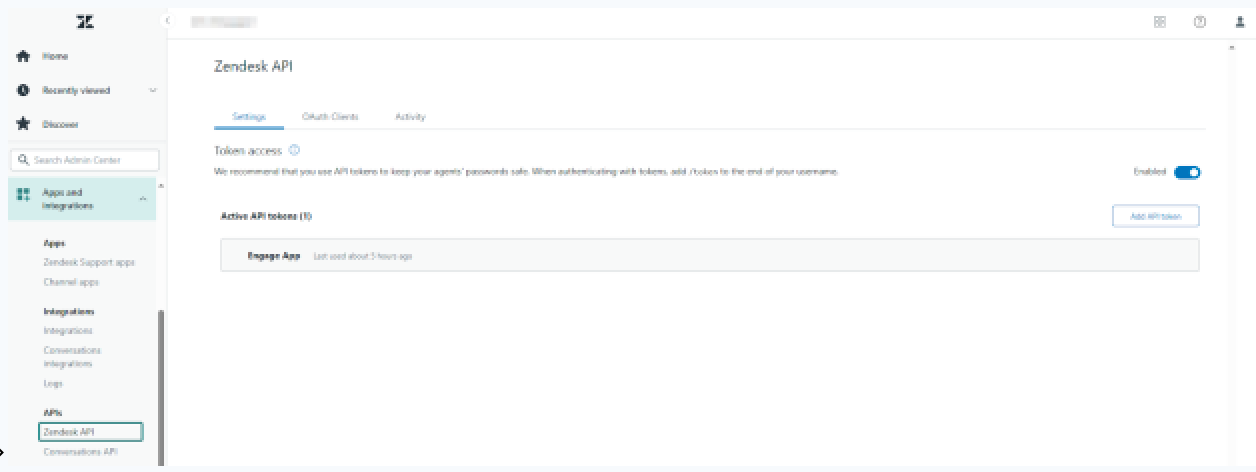
- In Zendesk Admin Center, go to Apps and integrations > APIs > Zendesk API.
- On the Zendesk API Settings page, click Add API Token.
- Give the token a description like "Zendesk for Contact Center".
- Copy the API key and keep it secure. It cannot be retrieved after saving the new key. If you lose the key, you will need to create a new one and link it again.
- Save the new key.

Installing the Contact Center app
Once all the steps on this page are completed, you're ready to install the Zendesk for Contact Center app.
Configuring Contact Center app settings

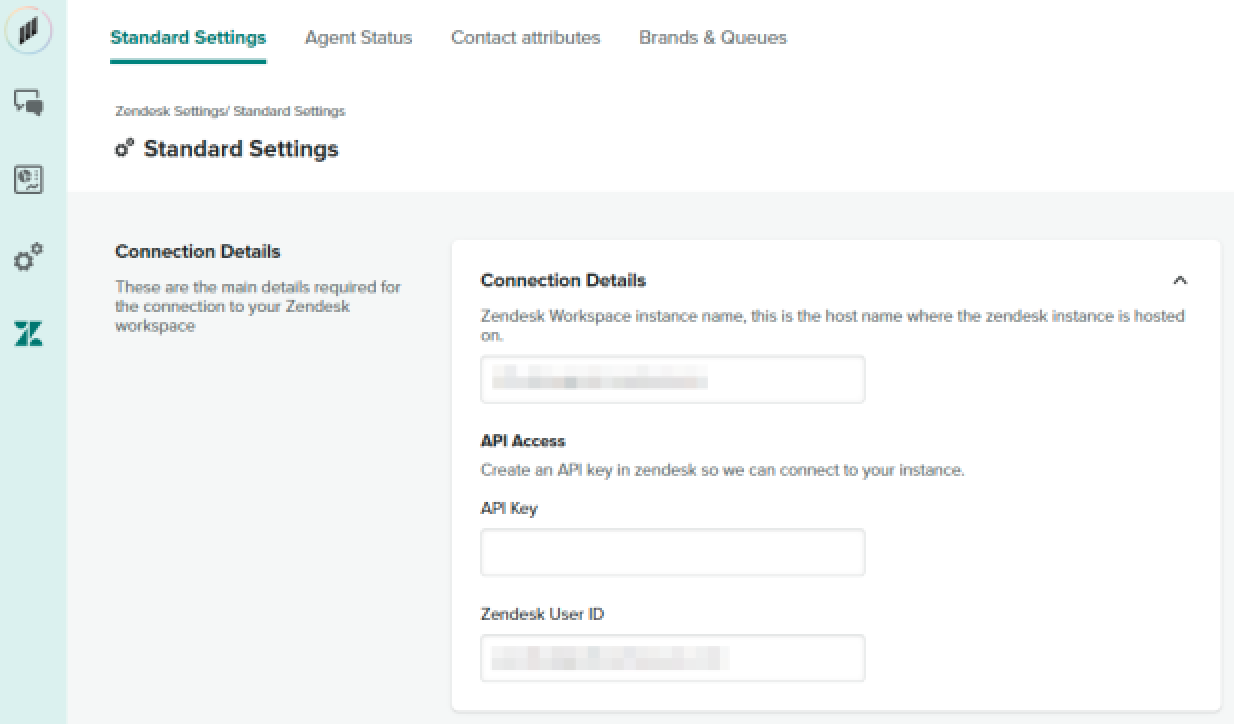
- In the Contact Center app, open the Zendesk settings page.
- In the Standard settings section, under Connection details, enter the Zendesk subdomain, for example, exampleworkspace.zendesk.com).
- Paste the API key generated by Zendesk into the API key field.
- In the Zendesk user ID field add the Zendesk user ID for a user with API access.
- Save your changes
Enabling Contact Lens Writeback
To complete your setup, see Configuring Contact Lens Writeback for Contact Center.