
As described in About views and lists in Zendesk Sell, you can save the changes you make to the views of your leads, contacts, and deals data (your working lists), as smart lists. Smart lists are saved views of your data that you can access at any time without having to repeatedly customize a view with filters, select specific leads/contacts/deals, and so on.
This article covers the following topics so you can create and use smart lists:
- Defining a smart list
- Saving your working list as a smart list
- Accessing your smart lists
- Editing smart lists
- Duplicating smart lists
- Deleting smart lists
- Using Table view
Related articles:
Defining a smart list
To begin customizing the views of your Sell lead, contact, or deal data, use the views and filters that are available on the Leads, Contacts, and Deals tabs. This is described in Changing how your Leads, Contacts, and Deals data is displayed.
These views contain lists of your data, which are referred to as working lists.

Your working list displays your data, (for example the list of your leads). As you apply filters to your lists, your working lists reflect those modified views of your data.

Saving your working list as a smart list
When you’ve created a view of your data (a working list), that you want to save for future use, you can save the working list as a smart list.
To save your working list as a smart list
- On the sidebar, click Leads, Contacts, or Deals to define the view of data you want to save.
- At the top of the working list, click Save as Smart List.

- Enter a name for your smart list, then click Save.
Accessing your smart lists
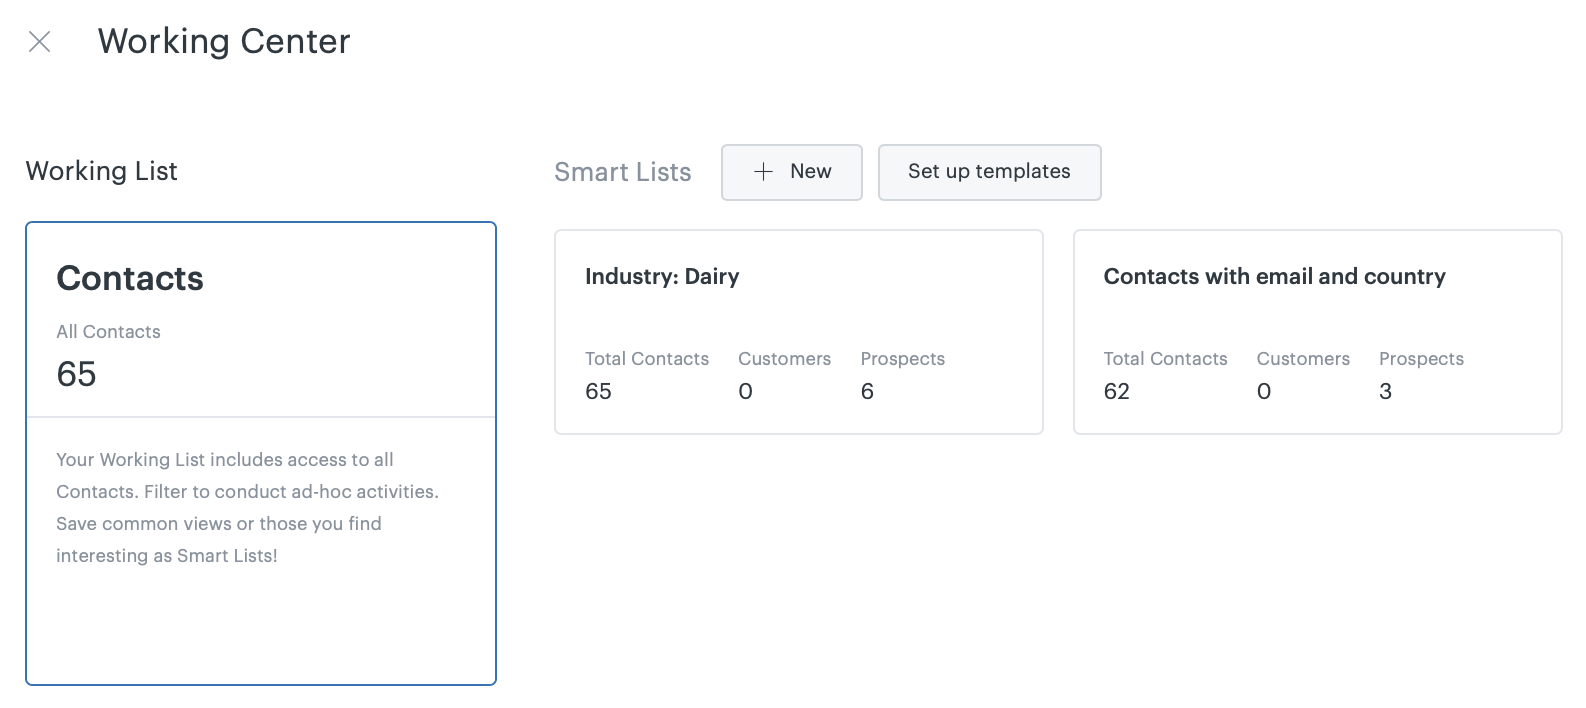
The Working Center is a view of your lists. Each Working Center contains a link to the complete (uncustomized, unfiltered), list of your data. For example, if you open the Contacts Working Center, you’ll see the base working list, plus any smart lists you’ve created.
To access your smart lists in the Working Center
- On the sidebar, click Leads, Contacts, or Deals.
- Click Working Center (
 ).
).

In the Working Center you can click open your lists, create a new smart list, or set up smart list templates.
To create a new smart list in the Working Center
- On the sidebar, click Leads, Contacts, or Deals.
- Click Working Center ().
- Click New.
- An uncustomized, unfiltered working list opens. Customize and filter the list as you want, then click Save.
- Enter a name for the smart list.
- Click OK.
Your new smart list is immediately available in the Working Center (see Creating and using smart list templates).
Editing smart lists
Editing a smart list is as simple as opening it, making changes to it (for example, adding or removing a filter), and then saving the update.
To edit a smart list
- Select the smart list you want to edit.
- Make changes to the smart list, then at the top of the list, click Save.

If you don’t want to save the changes you made to your smart list, click Undo all changes.
Duplicating smart lists
You can duplicate a smart list if you want to base a new smart list on an existing one. For example, if you wanted a list of your premium leads for a specific lead owner.
To duplicate a smart list
- Select the smart list you want to duplicate.
- To the right of the smart list name, click Settings (
 ).
).

- Click Duplicate.
- Enter a name for the smart list.
- Click OK.
- The duplicate smart list displays.
- Make any changes that you need to, then click Save.
For more information, see Exporting a smart list.
Deleting smart lists
When you delete a smart list, it does not delete any of the data in the list. This is because it is a view of your data, based on filters that you have applied.
Deleting a smart list only deletes the saved view of filters and columns that you have created. It does not delete the data in the list. If you want to delete leads, contacts, and deals completely from your account, and not just the list, see Deleting leads and contacts or Deleting deals.
To delete a smart list
- To the right of the smart list name, click Settings ().
- From the drop down menu, click Delete.
- You are prompted to confirm that you want to delete the list. If yes, then click Delete.
Using Table view
You can make it easier to view your lists by using filters and adding only the fields that you want to see in Table view. You can also edit directly inline and drag and drop the order that you view the items in your list.
To switch to Table view and add fields and filters to your list
-
To switch to Table view
- On the sidebar, click Contacts, Leads, or Deals.
- In the top right corner, click on the Table view (
 ) icon.
-
To add fields
- In the top right corner of your Contacts, Leads, or Deals list, click + Field.
- Search for the field that you want to add.
-
To sort by type
- Click the dropdown menu arrow next to the column title.
-
To apply filters
- Hover over the name of the column you want to filter.
- Select the check box/es that apply or choose a filter from the drop down list.
Your choices vary depending on the column that you're applying a filter to.
