We know you can't wait to get up and running with Explore. This article shows you how to get started as quickly as possible. When you're ready to dig deeper, we'll give you resources to take things to the next level.
This quick start guide contains the following sections:
- Step 1: Activate Explore
- Step 2: Give users access
- Step 3: Look at reports
- Step 4: Take things to the next level
Step 1: Activate Explore
These instructions assume you're setting up Explore for the first time. Activating Explore needs to be done by an admin only once for the subdomain, not for each user.
To activate Explore
- Click the Zendesk Products icon (
 ) in the top bar, then select Analytics.
- Click Activate Explore.

Explore begins preparing your data. Depending on how many tickets you have, this process might take some time.
When the process is complete, Explore sends you a notification email. Explore is now ready to use.
Step 2: Give users access to Explore
On Professional plans or below, you need to give yourself and other users access to Explore. Access to Explore is controlled at the user level.
On Enterprise plans, you already have access to Explore, but you need to give other users access. Access to Explore is controlled at the role level.
To give users access (Professional and below)
- In Admin Center, click the People icon (
 ) in the sidebar, then select Team > Team members.
 - Search for and select your profile or another user's profile to open it.
- On the Roles and access tab, select the Access checkbox next to Explore.
- In the Role drop-down, select the appropriate role.

- Click Save.
To give users access (Enterprise)
- In Admin Center, click
 People in the sidebar, then select Team > Roles.
 - From the list of roles, select the one you want to configure Explore access for.
Alternatively, you might want to create a new role. - In the Analytics section, select the appropriate level of access in the Explore permissions setting.

- Click Save.
For additional details, see Giving users access to Explore.
Step 3: Look at reports
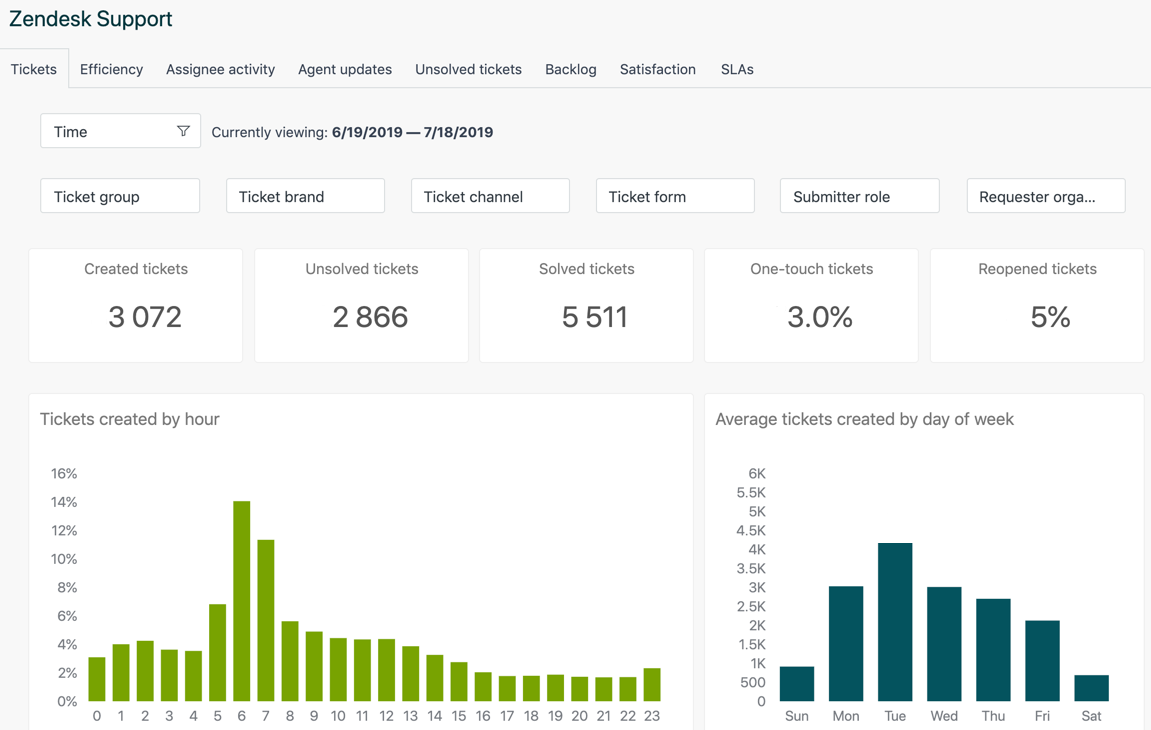
Explore includes many prebuilt reports for common business scenarios. Here's how to dive in and start looking at them right away.
To look at reports
- Click the Zendesk Products icon (
 ) in the top bar, then select Explore. Explore opens in the Dashboards library, which shows the available dashboards for the Zendesk products you own.
 - From the list of dashboards, select the one you want to view (like Zendesk Support).

Step 4: Take things to the next level
Learn even more about Explore with the following resources:
- Getting started with Zendesk Explore for reporting and analytics: Includes more details and linked resources for getting started with Explore.
- Explore recipes reference: (Professional and above) A list of articles that include step-by-step instructions for reporting on a wide range of business scenarios using Explore.
- Zendesk Explore resources for reporting and analytics: A useful map of all available Explore documentation.