Summary: ◀▼
You can create automations to manage agent activities like ending shifts when agents forget to clock out. Automations can target all or specific agents and trigger based on clock-in events, adherence to schedules, or early/late shifts. Actions include shifting tasks or sending notifications to agents, managers, or teams. This helps maintain accurate agent activity tracking and improves workforce management.
Zendesk Workforce management (WFM) automations allow you to manage certain agent activities automatically, such as ending agents' days when they forget to clock out. You can create multiple automations in your account to manage and perform actions for different types of agent activity. When you create automations, they can apply to all agents in your account or to only specific agents or teams.
Creating WFM automations
You must be a WFM admin or have permission to create an automation. Make sure you understand how automations work before you start creating them. See About WFM automations.
To create a WFM automation
- In Workforce management, click
 Settings in the navigation bar, then select Automations.
 - Click Create automation.
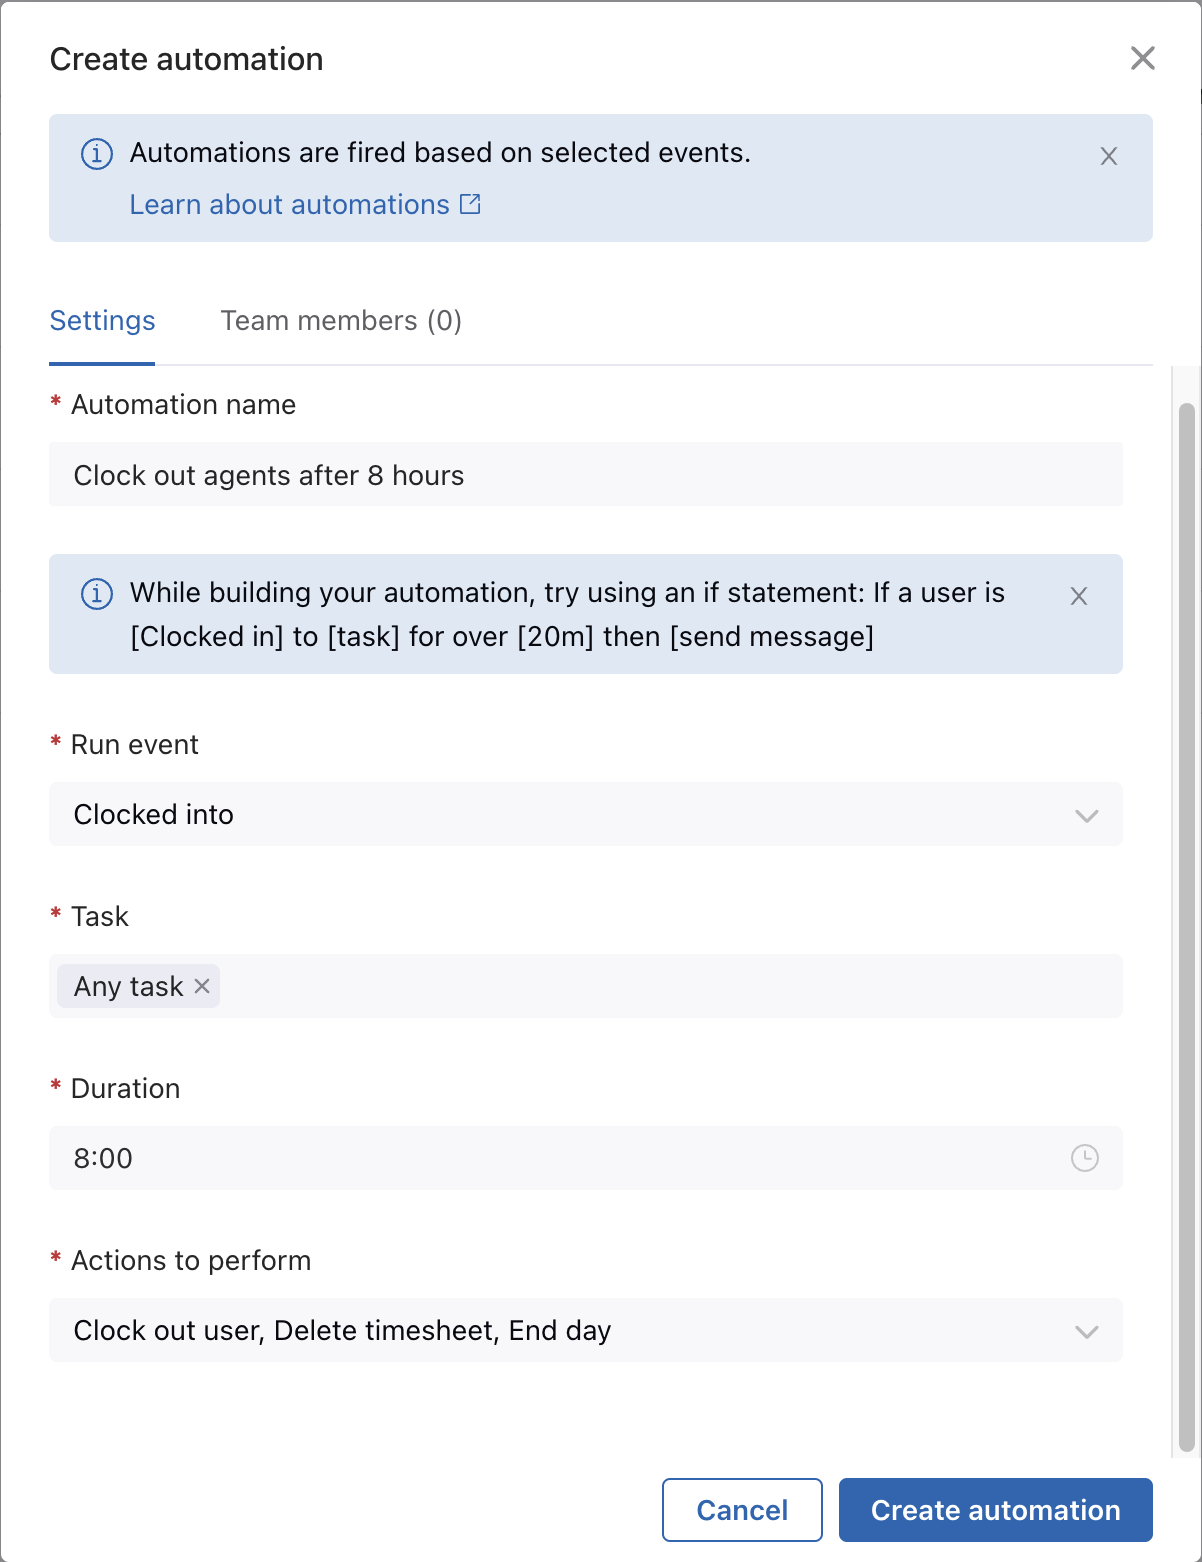
- Enter a unique Automation name.
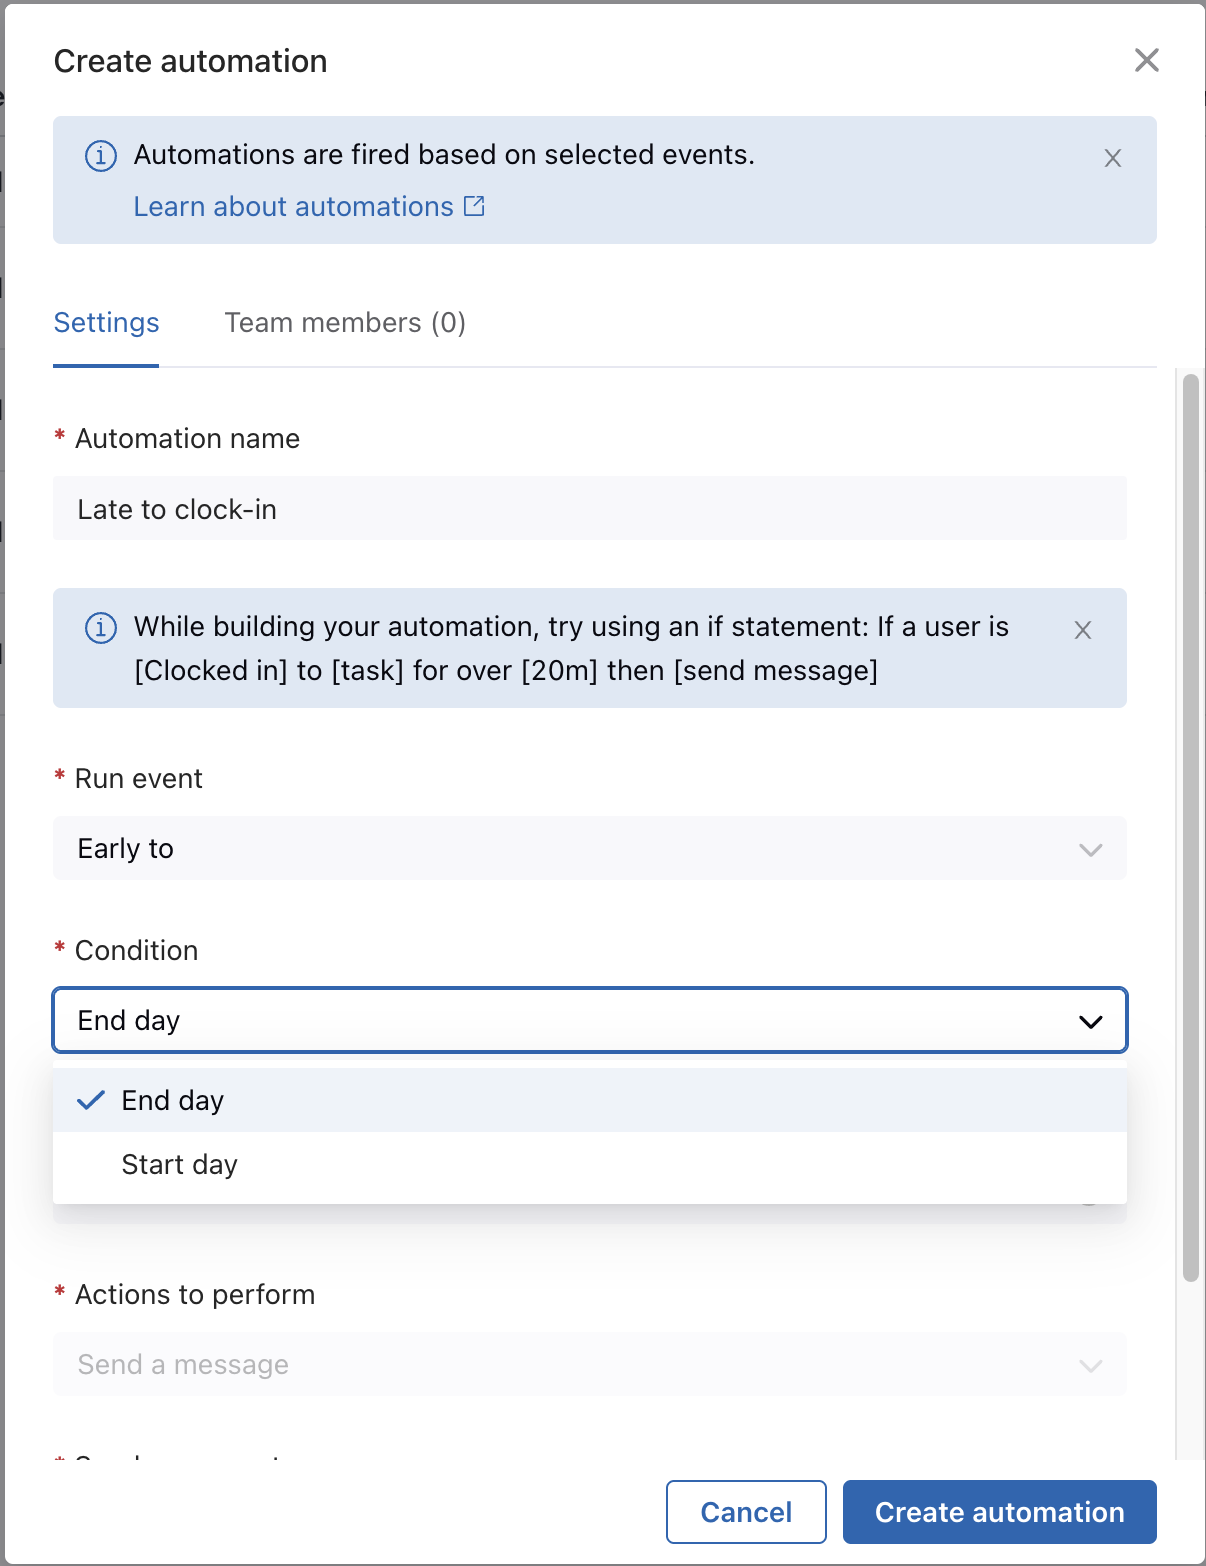
- Select a Run event.
The default event is Clocked into, but it can be changed to Early to, Late to, or Out of adherence.
The Clocked into event means that the automation will run after a specified duration since an agent clocks into a task or workstream.
The Early to and Late to events consider the agent’s adherence to their scheduled start and end times. The Early to event runs on a specified duration before an agent’s scheduled start or end time. The Late to event runs on a specified duration beyond an agent’s scheduled start or end time. The Out of adherence event checks if an agent’s activity deviates from their schedule for a set duration. To learn more, see Structure of a WFM automation.
- (Optional) If you selected Clocked into, click the Task field and
choose the general tasks, agent statuses, and workstreams it applies to, or select
Any task for all.
- (Optional) If you selected Early to or Late to, click the
Condition field and choose between End day or Start
day.
- In the Duration field, specify the minimum time, in minutes, that the agent must be clocked into a task or workstream before the automation runs, or the minimum time the agent is out of adherence before a message is sent. The Early to event runs on the specified duration before an agent’s scheduled start or end time. The Late to event runs after a specified duration beyond an agent’s scheduled start or end time.
- Select the Actions to perform from the predefined list. To learn more,
see Structure of a WFM automation.

- (Optional) If you selected to shift a user to a general task, select the task
from the General task menu that appears. Note: Changes in activity related to general tasks run by automations do not affect your agents' talk states.
- (Optional) If you select Send a message, choose who to send the message
to.
You can select from the following options:
- All team members in your scope: Send the notification to everyone in your defined scope. See Understanding WFM roles and permissions.
- Affected agent: Send the notification directly to the impacted agent.
- Manager: Send the notification to the manager of the impacted agent.
- Specific users: Send the notification only to the WFM users you select.
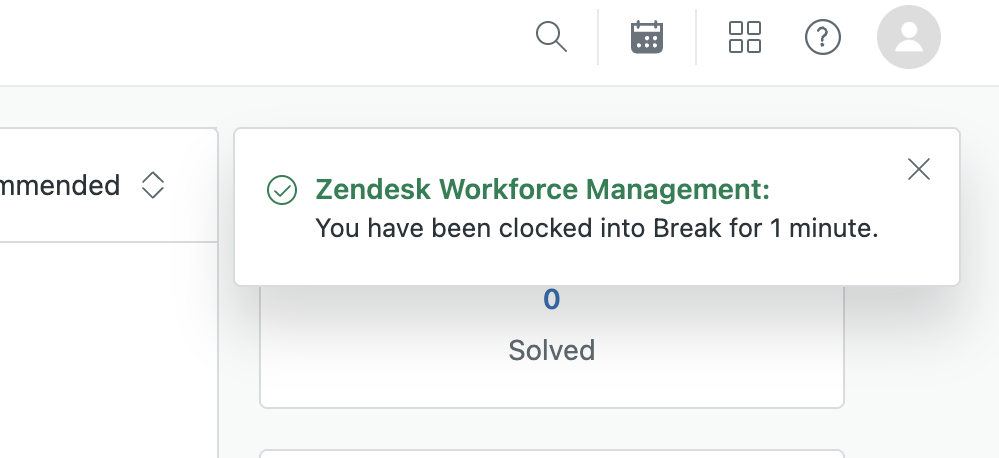
The users you select will receive a push notification in their Agent Workspace in Zendesk Support.
- Click the Agents tab, then select which agents the automation applies to. You can apply the automation to all agents in your account or specify certain agents.
- Click Create automation.