As part of the Copilot add-on, entities allow you to define and automatically classify unique information in tickets and messaging conversations. You can then use that information to populate associated custom ticket fields and power automated workflows and reports. For more information, see About entity classification.
To help you get the most out of Zendesk's AI Copilot features, this article provides an overview on how admins can get started with adding entities.
This article contains the following sections:
Related articles:
Step 1: Create an entity
An existing custom ticket field represents the piece of information (entity) you care about. The values in the custom ticket field represent details about the entity.
For example, create an entity with a drop-down custom field named Product Line that contains values such as Camera Model A, Camera Model B, and so on.
To create an entity
- In Admin Center, click
 AI in the sidebar, then select Intelligent triage > Entity.
 - Click Create entity.
- Under Select field type, click either Drop-down, Multi-select, or Regex.
- Under Select custom field, select a custom field.
- Deselect Detect entity if you don't want to detect and highlight this entity in tickets yet. This option is selected by default.
- Click Create entity.
The entity's settings page opens. The options on the page will differ depending on which type of custom ticket field your entity is associated with:
- If you created an entity associated with a drop-down or multi-select custom field,
the page displays the entity's values.
From this tab, you can optionally add synonyms to the field values.
- If you created an entity associated with a regex custom field, then the regular
expression (regex) appears under Validation.
You can enter text in the Test detection field in the right panel to check if the entity will be classified.
- If you created an entity associated with a drop-down or multi-select custom field,
the page displays the entity's values.
- Click Manage settings.
- Set the Extraction rules. Under Update ticket field with
classified values, configure the behavior of the ticket field associated with the
entity.
Values in all messages is selected by default.
- Under Agent tools, select Highlight entity values in all messages if you want entities to be highlighted in blue in tickets and messaging conversations. This option is selected by default.
- Under Detection settings, select Detect misspelled values if you want to allow the system to find misspelled entity values. This option is selected by default.
- Click Save.
When the entity is classified in tickets, the associated custom ticket field is populated or updated. You can use the associated custom ticket field's tag and value to help you build triggers, automations, and reporting.
Step 2: Create workflows based on entities
You can use ticket triggers and other business rules to automate workflows based on entities classified in tickets.
To create a trigger based on entities
- In Admin Center, click
 Objects and rules in the sidebar, then select Business rules >
Triggers.
Objects and rules in the sidebar, then select Business rules >
Triggers. - On the Triggers page, click the Ticket tab, then click Create trigger.
- Enter a Name, Description, and Category for your trigger. See Creating ticket triggers for details.
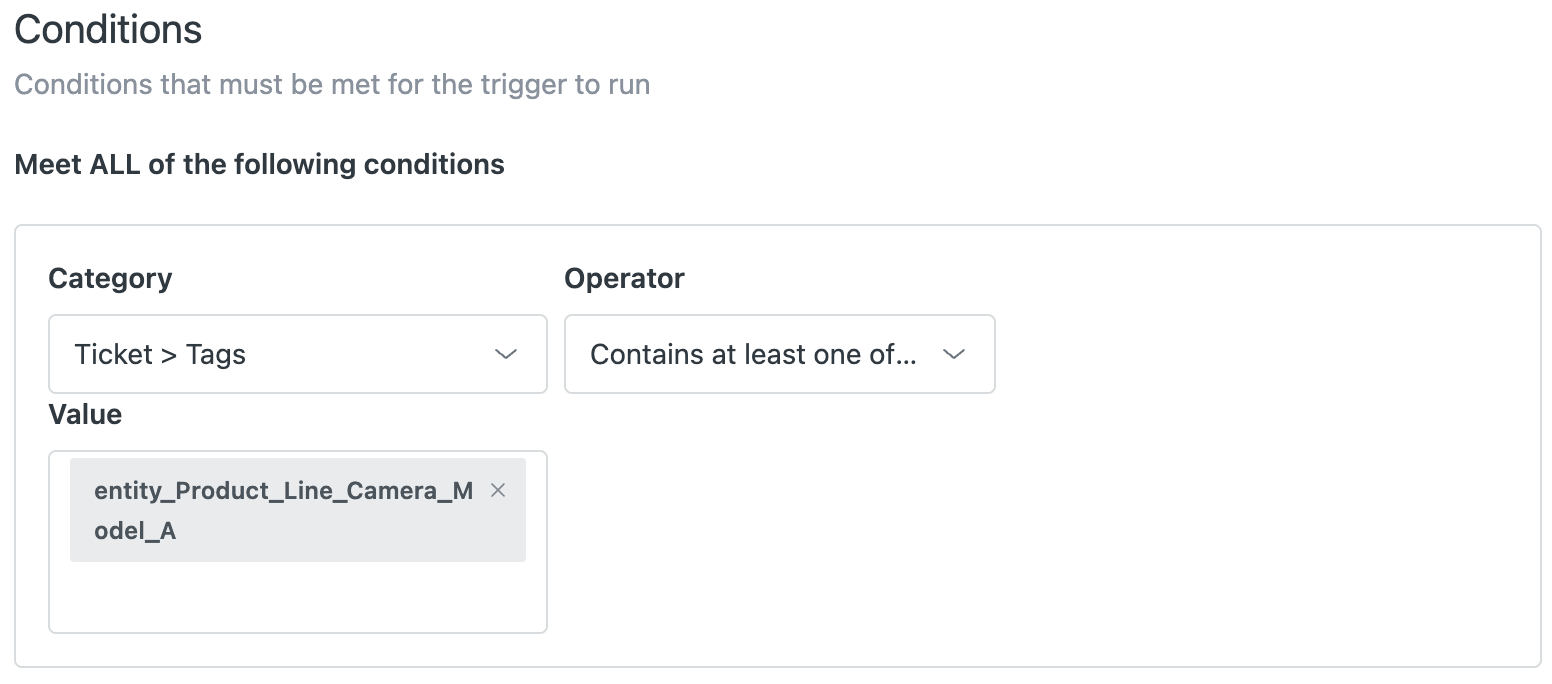
- In trigger Conditions, add the entity you want to use as part of the trigger
condition.
You can use the ticket tag related to value in the custom field that's associated with entity,
For example:
Ticket > Tags | Contains at least one of... | Product_Line_Camera_Model_A
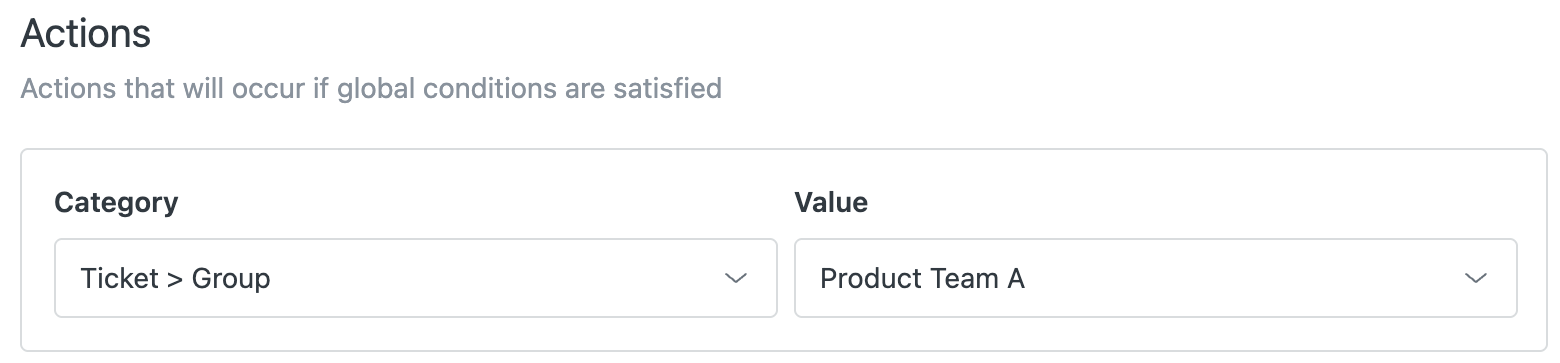
- In trigger Actions, add the actions you want to perform when the condition
applies.
For example:
Ticket > Group | Product Team A
For more information on trigger conditions and actions, see Ticket trigger conditions and actions reference and Zendesk chat and messaging triggers conditions and actions reference.
- Click Create trigger.