Summary: ◀▼
You can connect Amazon S3 to sync .docx, .xlsx, and .md files as external knowledge sources. Manage content by adding or removing files in your S3 bucket, set viewer permissions for user segments, and manually resync or remove connections. Syncs update every 24 hours but can be triggered anytime. This integration helps you keep external content accessible within your workflows and knowledge base.
Setting up an Amazon S3 connection
You can set up an Amazon S3 connection to connect and sync content from your Amazon S3 bucket. After you connect an S3 bucket, you can configure workflows to use this external content.
- In Knowledge admin, click Manage articles
(
 ) in the sidebar.
 - Click External content > Connections.
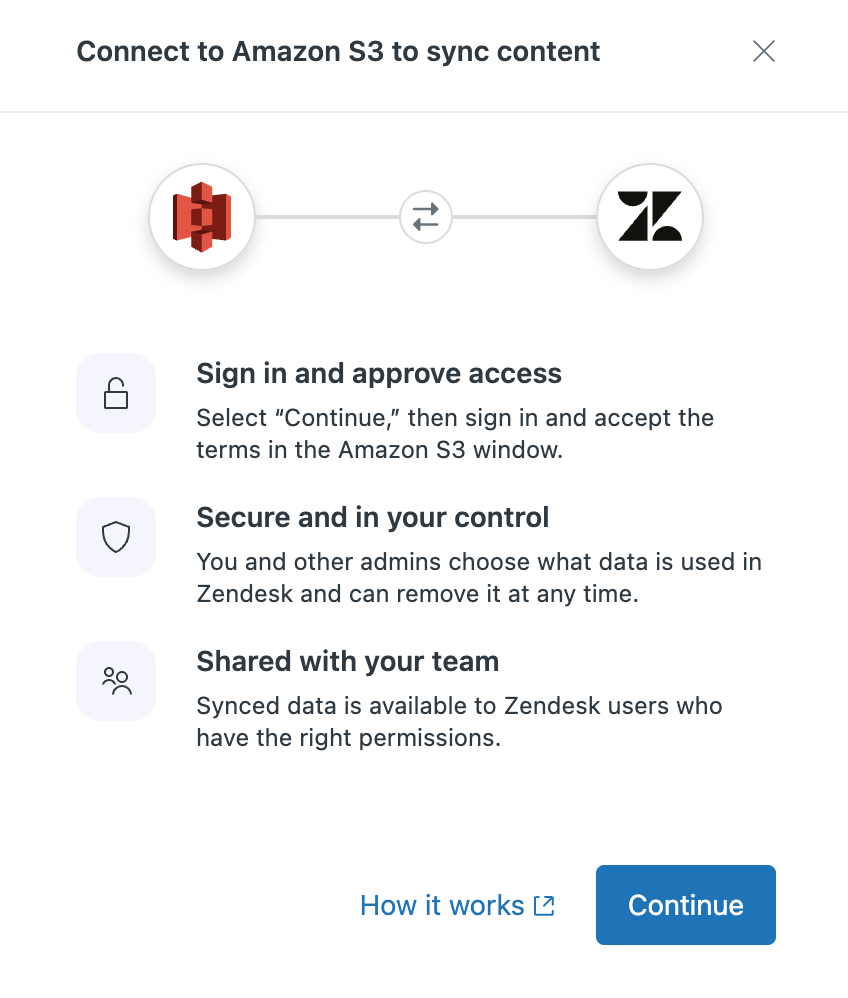
- Under the Available sources section, click Connect on the Amazon S3 card.
- Click Continue.
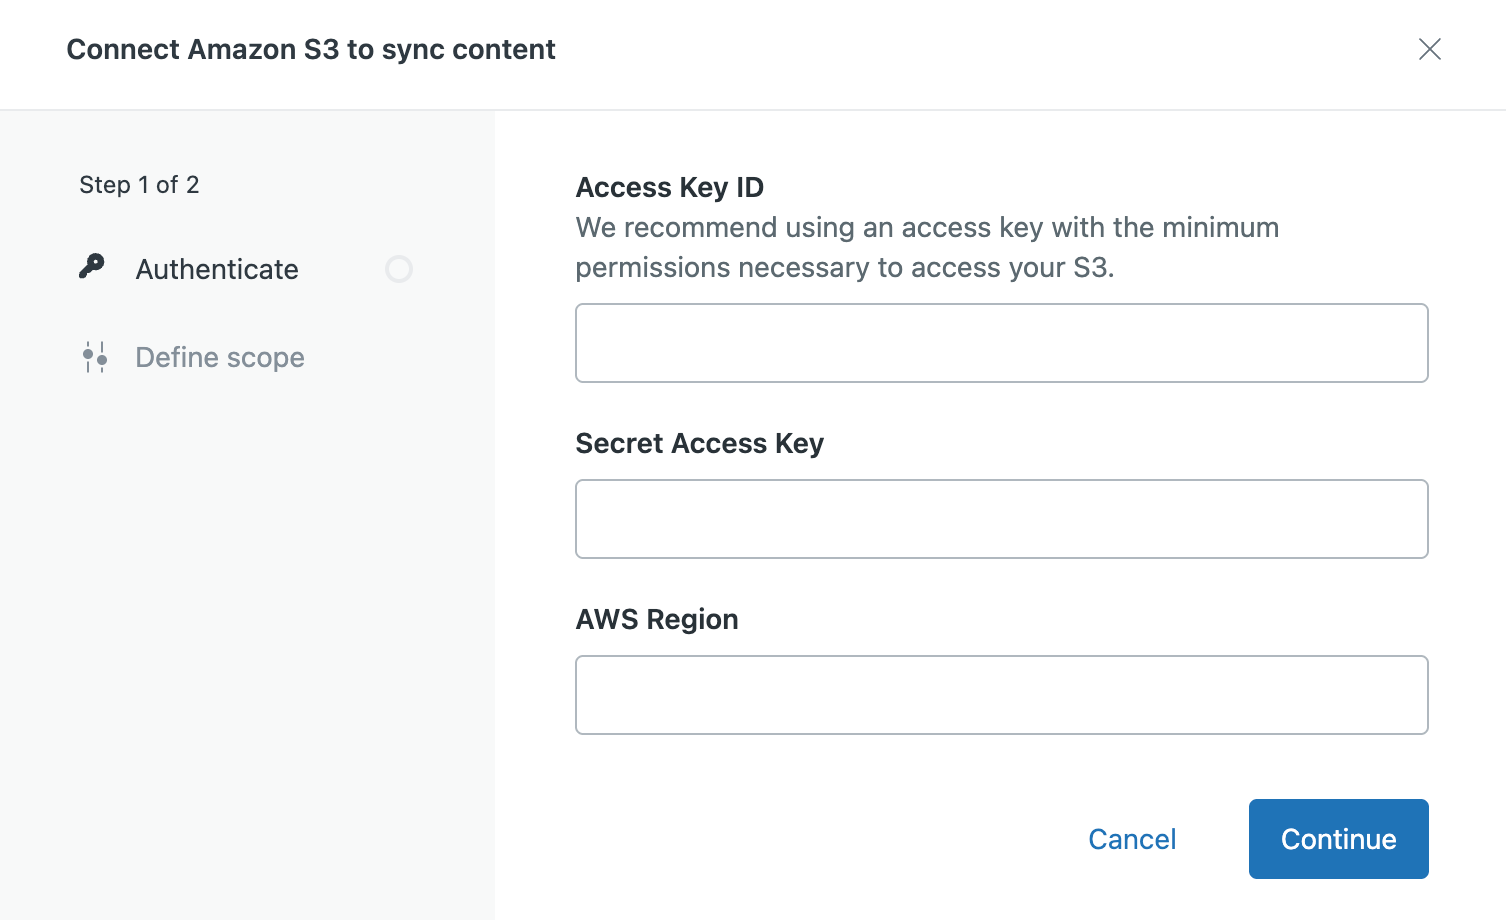
- On the Authenticate (Step 1 of 2) page, enter the following:
- Access Key ID and Secret Access Key: AWS IAM credentials that grant programmatic access to the Amazon S3 bucket you want to sync. AWS access keys are generated through the AWS Identity and Access Management (IAM) console. See AWS Developer Guide for more information.
- AWS Region: AWS region where your bucket is stored.
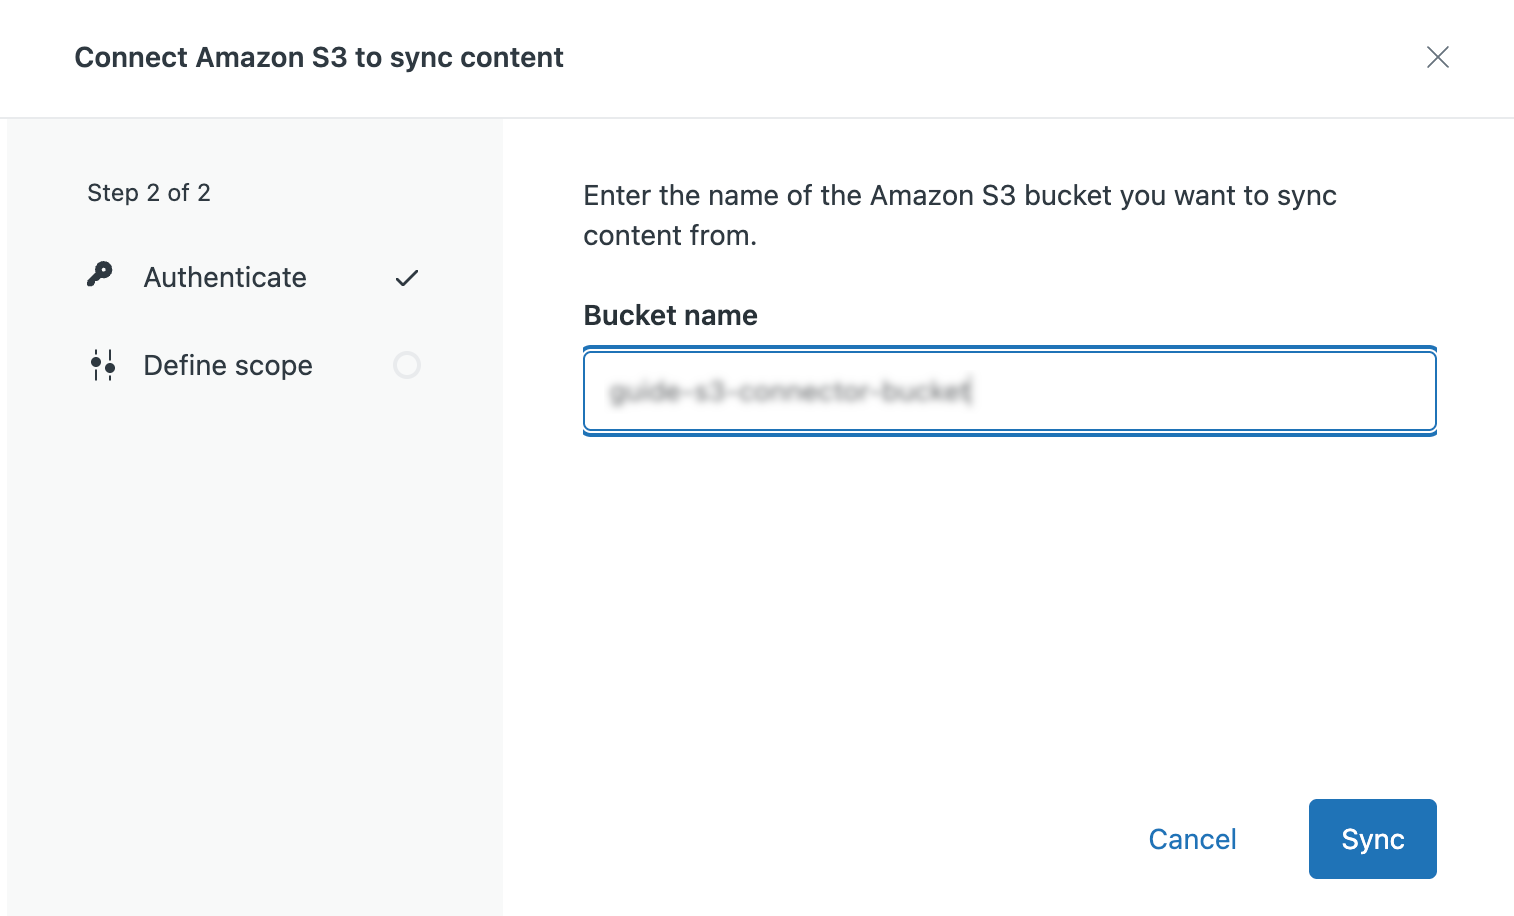
- On the Authenticate (Step 2 of 2) page, enter the name of the Amazon
S3 bucket that you want to sync. The connector will sync all supported file
types (.docx, .xlsx, and .md), folders, and subfolders within a
bucket.
Adding or removing content from your Amazon S3 connection
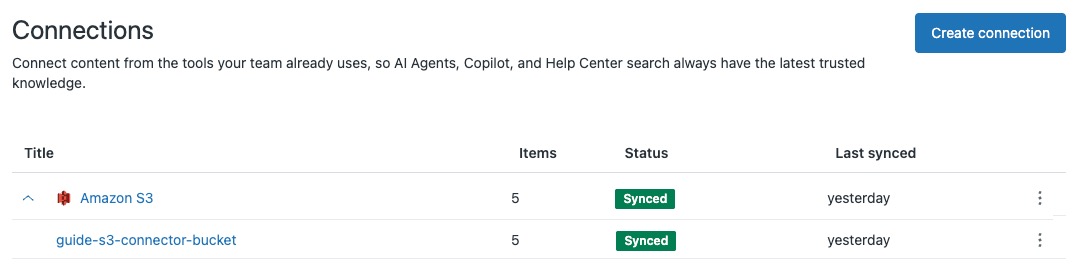
To add or remove content from an Amazon S3 connection, you can add or delete the content from the connected S3 bucket, then either wait for an automatic sync or manually resync your site. The new content item will be reflected in the Items number for the Amazon S3 connection on your Connections page.
Managing content connected to your Zendesk account
Once you've created a connection, you can view information about the connection, set viewer permissions for content, and manually resync or remove the connection.
Viewing connection details
You can use the information panel to view information about the connection, when it was created and by whom, and when it was last synced.
- In Knowledge admin, click Manage articles
() in the sidebar.
- Click External content > Connections.
- Click the options menu (
 ) on the row for the connection you want to
manage, then select Manage.
) on the row for the connection you want to
manage, then select Manage.
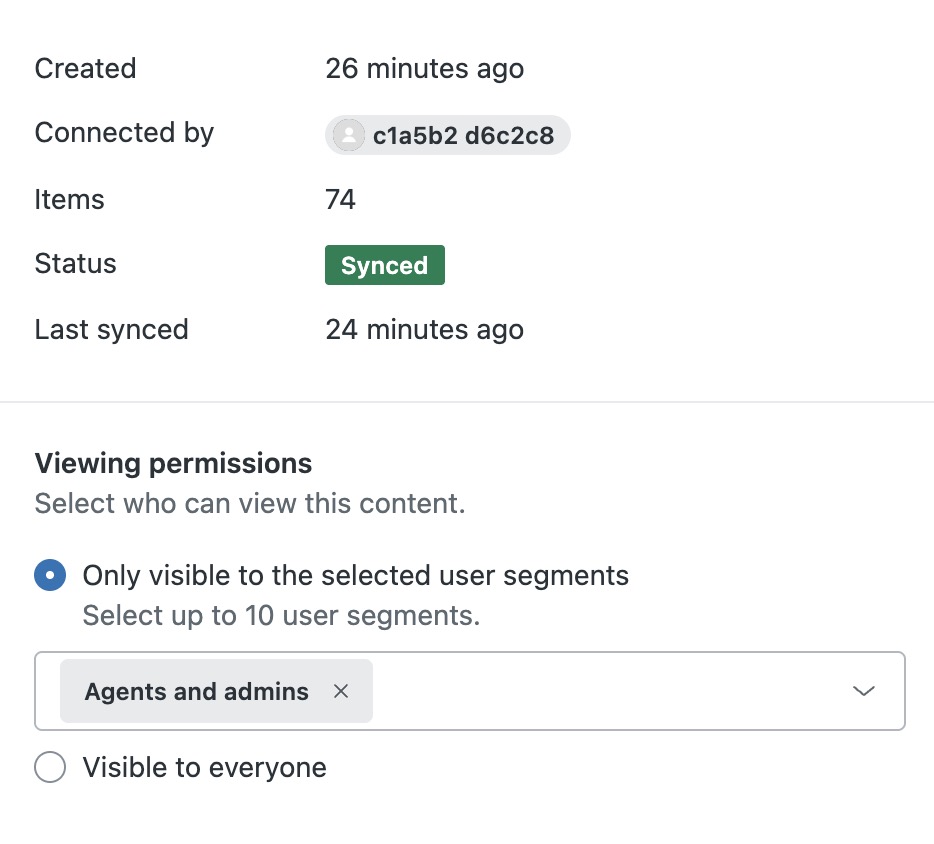
- View details about the connection:
- Created: When the connection was created
- Connected by: Name of the Knowledge admin who created the connection
- Items: Number of synced pages in the connection
- Status: Sync status
- Last synced: When the last sync occurred. Syncs are automatically performed every 24 hours, though they can also be triggered manually
Managing viewer permissions for content
You can set the viewer permissions for who can view connected content in your Zendesk workflows.
- In Knowledge admin, click Manage articles
() in the sidebar.
- Click External content > Connections.
- Click the options menu () on the row for the connection you want to
manage, then select Manage.
- Under Viewing permissions, select one of the following options to
determine which user segments can view content
from this space:
-
Only visible to selected user segments: Select up to 10
user segments from any of the following (an Enterprise plan is
required to select multiple user segments):
- Signed-in users: Includes internal and external users who create an account and sign in to your help center.
-
Agents and admins: Includes team members only, so
that you can create content that is internal-only. Note: Light agents are included in this segment. For a list of light agent permissions, see Understanding and setting light agent permissions.
- Custom user segment: Allows you to restrict viewing access to specific users based on tags, organizations, or groups by applying user segments. See Creating user segments to restrict access.
- Visible to everyone: Includes anyone who visits your help center and does not require sign in.
-
Only visible to selected user segments: Select up to 10
user segments from any of the following (an Enterprise plan is
required to select multiple user segments):
- Click Save.
Manually resyncing content
When you connect an external content source, a sync process runs every 24 hours to update new or changed content. However, you can also manually resync content to trigger a sync process at any time.
- On the Connections page, click the options menu () for the connection you want to sync.
- Select Sync again.
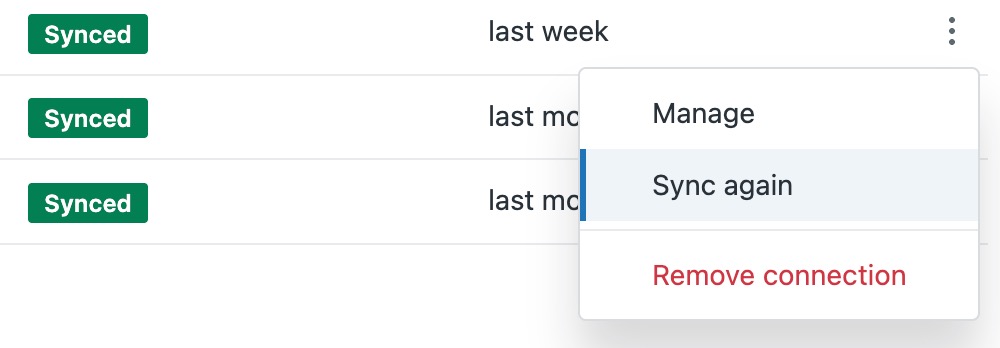
The connection syncs immediately, and the Last synced column is updated with the most recent sync time.
Removing a connection
You can remove a connection if you no longer want to sync its content. If you remove a connection, all content within that connection will be removed.
When you remove a connection, the related content is no longer available wherever external content is used.
- On the Connections page, click the options menu () for the connection you want to
remove.
- Select Remove connection.
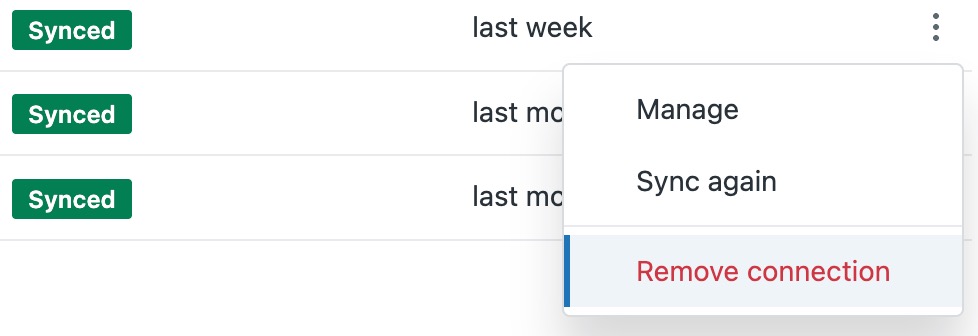
- Review the message, then click Remove.
The connection is removed from the Connection list, and is no longer available as an external content source.