The updated CCs and followers experience makes the behavior for when and how CCs are included on a Zendesk ticket more consistent and expected. This article describes how to migrate to the updated CCs and followers experience.
You can easily check to see if you need to update your account or if it's already using the current experience. If you see a Followers field in your tickets (beneath the Assignee field), this setting is already activated and you don't need to update your account.
About migrating to CCs and followers
Previously, the behavior for CCs you included on a Zendesk ticket varied depending on whether the person you copied was an internal user (someone within your company) or an external user (a customer or other person outside your organization). It also depended on whether your reply to a ticket was an internal note or a public comment. This caused confusion.
Zendesk tickets have changed to include both followers and CCs. See the following illustration.
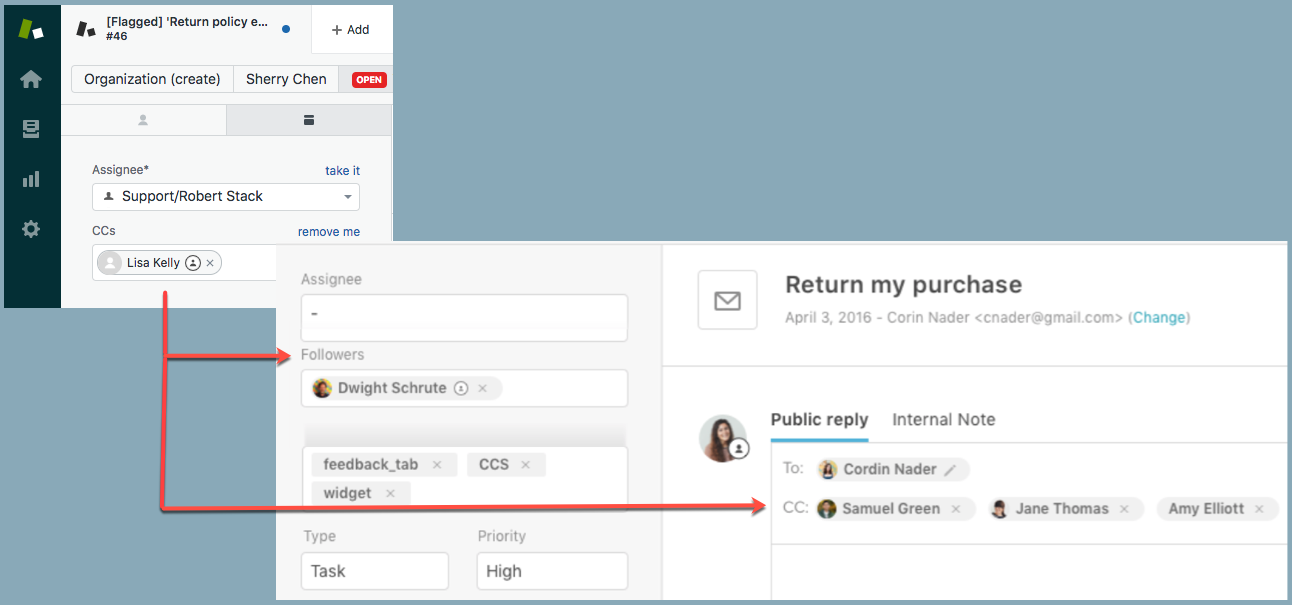
When you migrate, Zendesk tickets change to include both followers and CCs. You have better options to manage public and private comments within conversation threads. For example:
- Both agents and end users can add and remove CCs just like in email.
- Agents who are followers can receive updates on the ticket without exposing their identity to end users. Agents who are added as CCs will have their email addresses exposed.
- Followers receive notifications when ticket updates occur, and they can view and create internal notes.
For a complete list of documentation about CCs and followers, see CC and followers resources.
Using the migration wizard
To help you migrate your account for CCs and followers, Zendesk Support provides a migration wizard to help you update your account. When you migrate, you can use the wizard to:
- Automatically update business rules (triggers, automations, and macros) in your account.
- Receive guidance on how to manually update business rules, including a downloadable list of the affected rules you need to change.
In most cases, Zendesk recommends using the wizard to automatically update business rules. If you are not sure which method to use, you can choose the manual method and review the list of rules you need to change. Then, if you decide the automatic method will work for you, you can restart the wizard to automatically make the updates.
To run the migration wizard:
- In Admin Center, click
 Objects and rules in the sidebar, then select Tickets > Settings.
 - Click CCs to expand it.
If you haven't migrated to the new experience, you’ll see the following highlighted section.
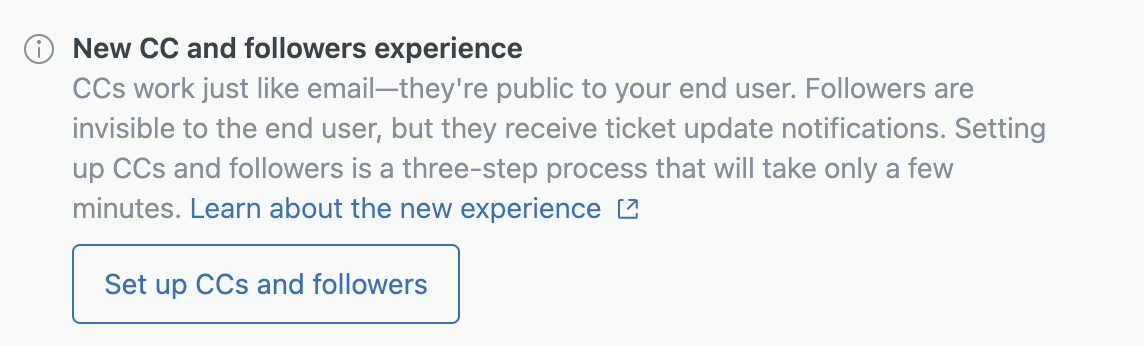
- Click Set up CCs and followers.
A page appears with an introduction to CCs and followers.
- Take a moment to read the description, then click Next to
continue.
A page appears with information on how your business rules will be impacted.
- Click Download to download and review a list of affected
rules for your account.
Use this list to make sure all the rules on your account are included. Contact Zendesk customer support if you have any questions about the rules listed.
Important: Zendesk recommends you keep a backup of the affected rules list in a safe location. It can be useful if you ever need to rollback your account and remove CCs and followers. If you Automatically update your business rules, account admins will receive an email with a link to the affected rules list. - Review changes that must be made to your account. Some changes
happen automatically when you migrate to CCs and followers
(any Add CC action changes to Add follower).
Other changes require you to run the migration wizard or
make the changes manually.
For each trigger and automation that includes action Notify by > User email - Ticket > (requester):
- Change action to Notify by > User email - Ticket > (requester and CCs).
- Remove condition Requester > Requester - is not - (current user) if it exists.
- Add new condition Ticket > Comment - is - Public.
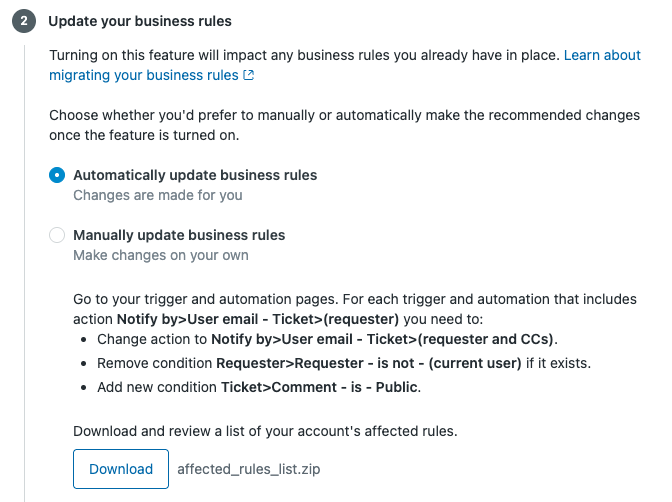
- Select how you want to make changes to your account, then click
Next.
- To automatically change the affected rules, select Automatically update business rules, then click Next.
- To manually change the affected rules, select Manually update business rules, then click Next.
If you aren't sure which method to use, choose Manually update business rules.
- Select the features you want to turn on for your account:
- Allow followers: All tickets in your account will include a Followers field for agents, light agents, and admins.
-
Allow CCs: All tickets in your
account will include a CC field for Public
comments.
- Allow light agents to become CCs on tickets: Ticket requesters, agents, and existing CCs can add light agents as CCs or followers. If not selected, light agents can only be included as followers.
- Automatically make an agent CC a follower: Agents added as a CC will be automatically added as a follower. If the agent is removed as a CC, they'll still receive ticket updates as a follower.
You can modify these settings later if desired.
- Acknowledge your changes, then click Turn on.
- For Automatic updates, the migration wizard will turn on the items you selected for your account. It will also update your triggers and automations. Automatic updates may take several minutes. When the changes are complete, you’ll receive an email with a link to a file that describes the changes.
- For Manual updates, your account will be upgraded to include the settings you chose to activate, but you’ll need to manually update your triggers, automations, and macros. See Manually updating business rules for more information.
After migration
After migration, if the new CCs experience is turned on, you should see a new Followers field in your tickets (beneath the Assignee field) and a new CC field in the Public reply area.
When an existing ticket is updated, legacy CCs on the ticket are automatically split into followers (for agents and light agents) and new CCs (for users who aren't agents).
- In Admin Center, click
Objects and rules in the sidebar, then select Tickets > Settings.
- Click CC and followers on tickets to expand
it.
Notice that the name has changed From CCs to CCs and followers on tickets.
- Choose the settings that make sense for your workflow.
For example:
- The Only agents can add CCs setting has been replaced. Use the new Allow CCs setting instead to turn on or off CCs for all types of users.
- There's a new setting to Allow agents to change the requester. Previously, enabling CCs on tickets automatically allowed agents to change the requester. Now, you can configure this setting independently from CCs.
Additional settings are available, including a CCs and followers blocklist to prevent the email addresses and domains you specify from being added as CC. For more information, see Configuring CCs and followers permissions.
- If you have email templates, check to make sure the placeholders work as expected.