As part of setting up your Zendesk Suite trial, you have the opportunity to make changes to your account in addition to the basic tasks and email setup.
Zendesk provides a setup wizard that you can use to create macros for support requests that can be solved with a single, standard response or action. Macros are pre-configured responses that save agents the time and effort of manually responding to multiple customers with the same issue.To learn more, see Creating macros for repetitive ticket responses and actions.
This article contains these sections:
Starting the setup wizard for macros
After you’ve wrapped up the basic trial tasks for Zendesk Suite, start the setup wizard for macros. The wizard helps you set up a few macros you can use to reply to common issues and save time for your agents.
To set up macros
- In Support, click Home
(
 ) in the sidebar.
 - On Agent Home, click a ticket to open it.
- Scroll to the bottom of the ticket and click the Apply macro menu

The menu contains a list of standard macros included with your trial along with a link to create additional macros.
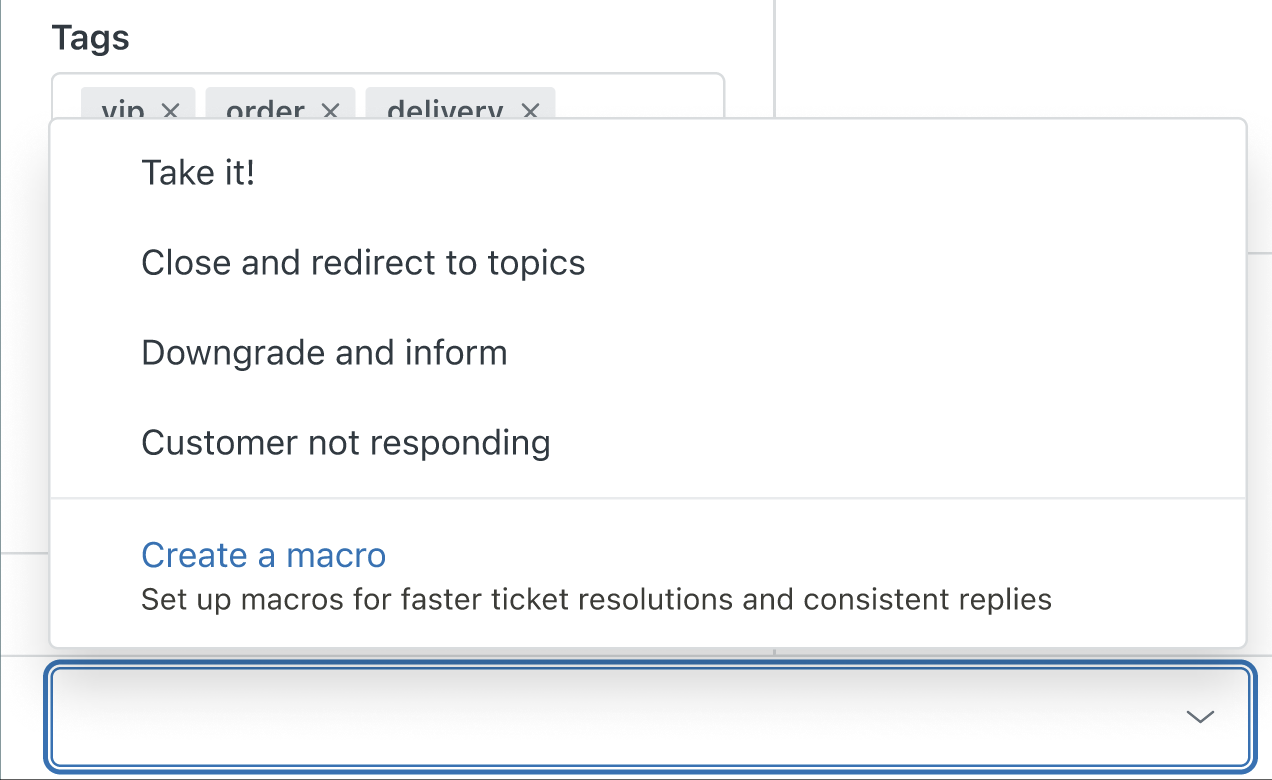
- Click Create a macro to start the wizard.
Adding macros
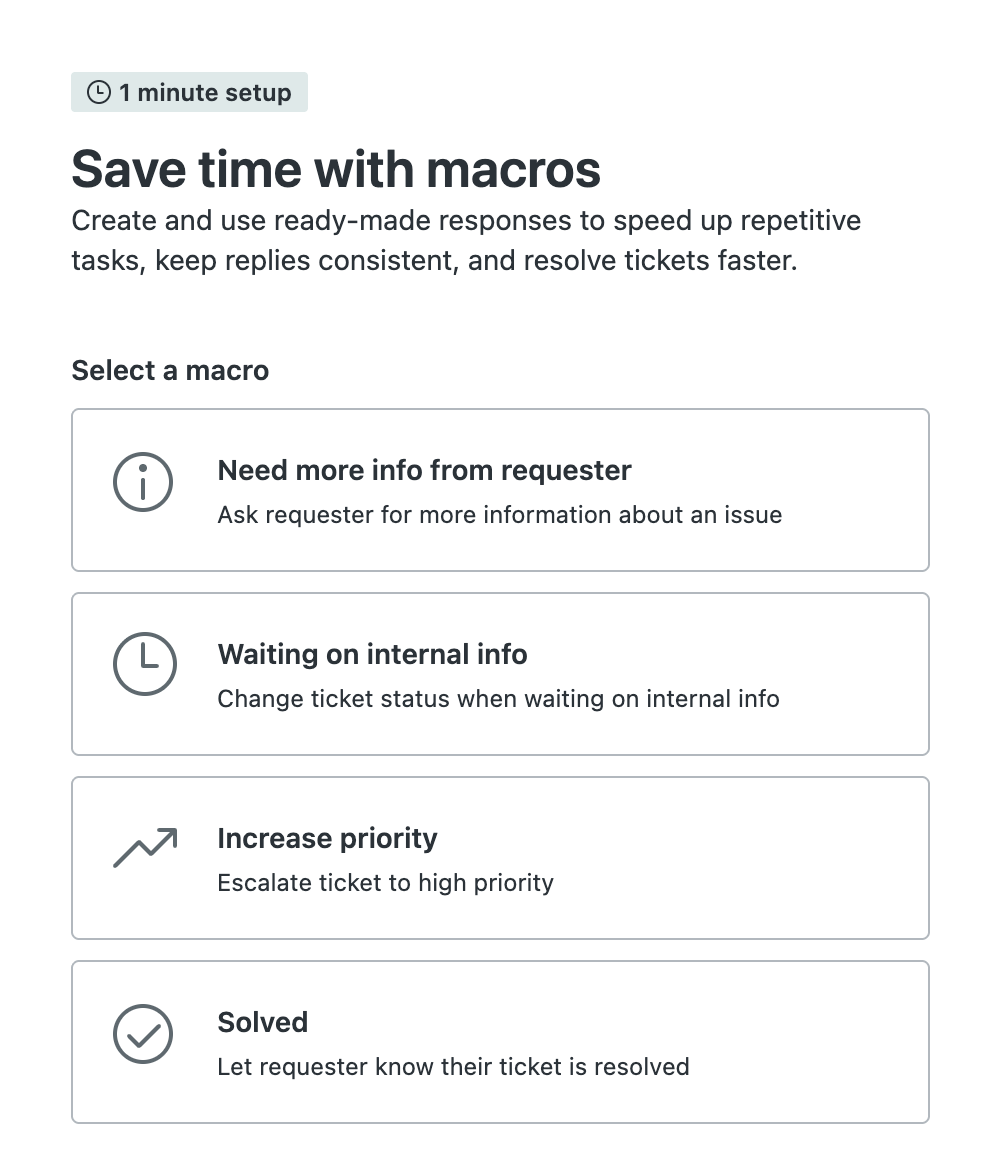
The wizard shows a list of macros that you can add to save time for your agents. As you work through the wizard, you'll see a description of the actions each macro takes and the ticket comments the macro adds.
To add macros
- In the wizard, select the macro you want to add.
- When you select a macro, a description appears to show you what the macro does when you
apply it to a ticket.

Actions describe the changes that the macro automatically makes to the ticket when it’s applied and Comment shows the comment the macro automatically adds to the ticket.
The macro details also show the expected benefit associated with the macro. For example, expedited ticket resolutions.
- Before you add the macro, you can make changes to customize it, including:
- Changing the name of the macro
- Selecting a different ticket status
- Editing the comment
- After you finish making changes, click Activate.
After a few moments, the wizard automatically activates the macro you selected and adds it to your account. Agents will be able to apply this macro from the Apply macros menu.
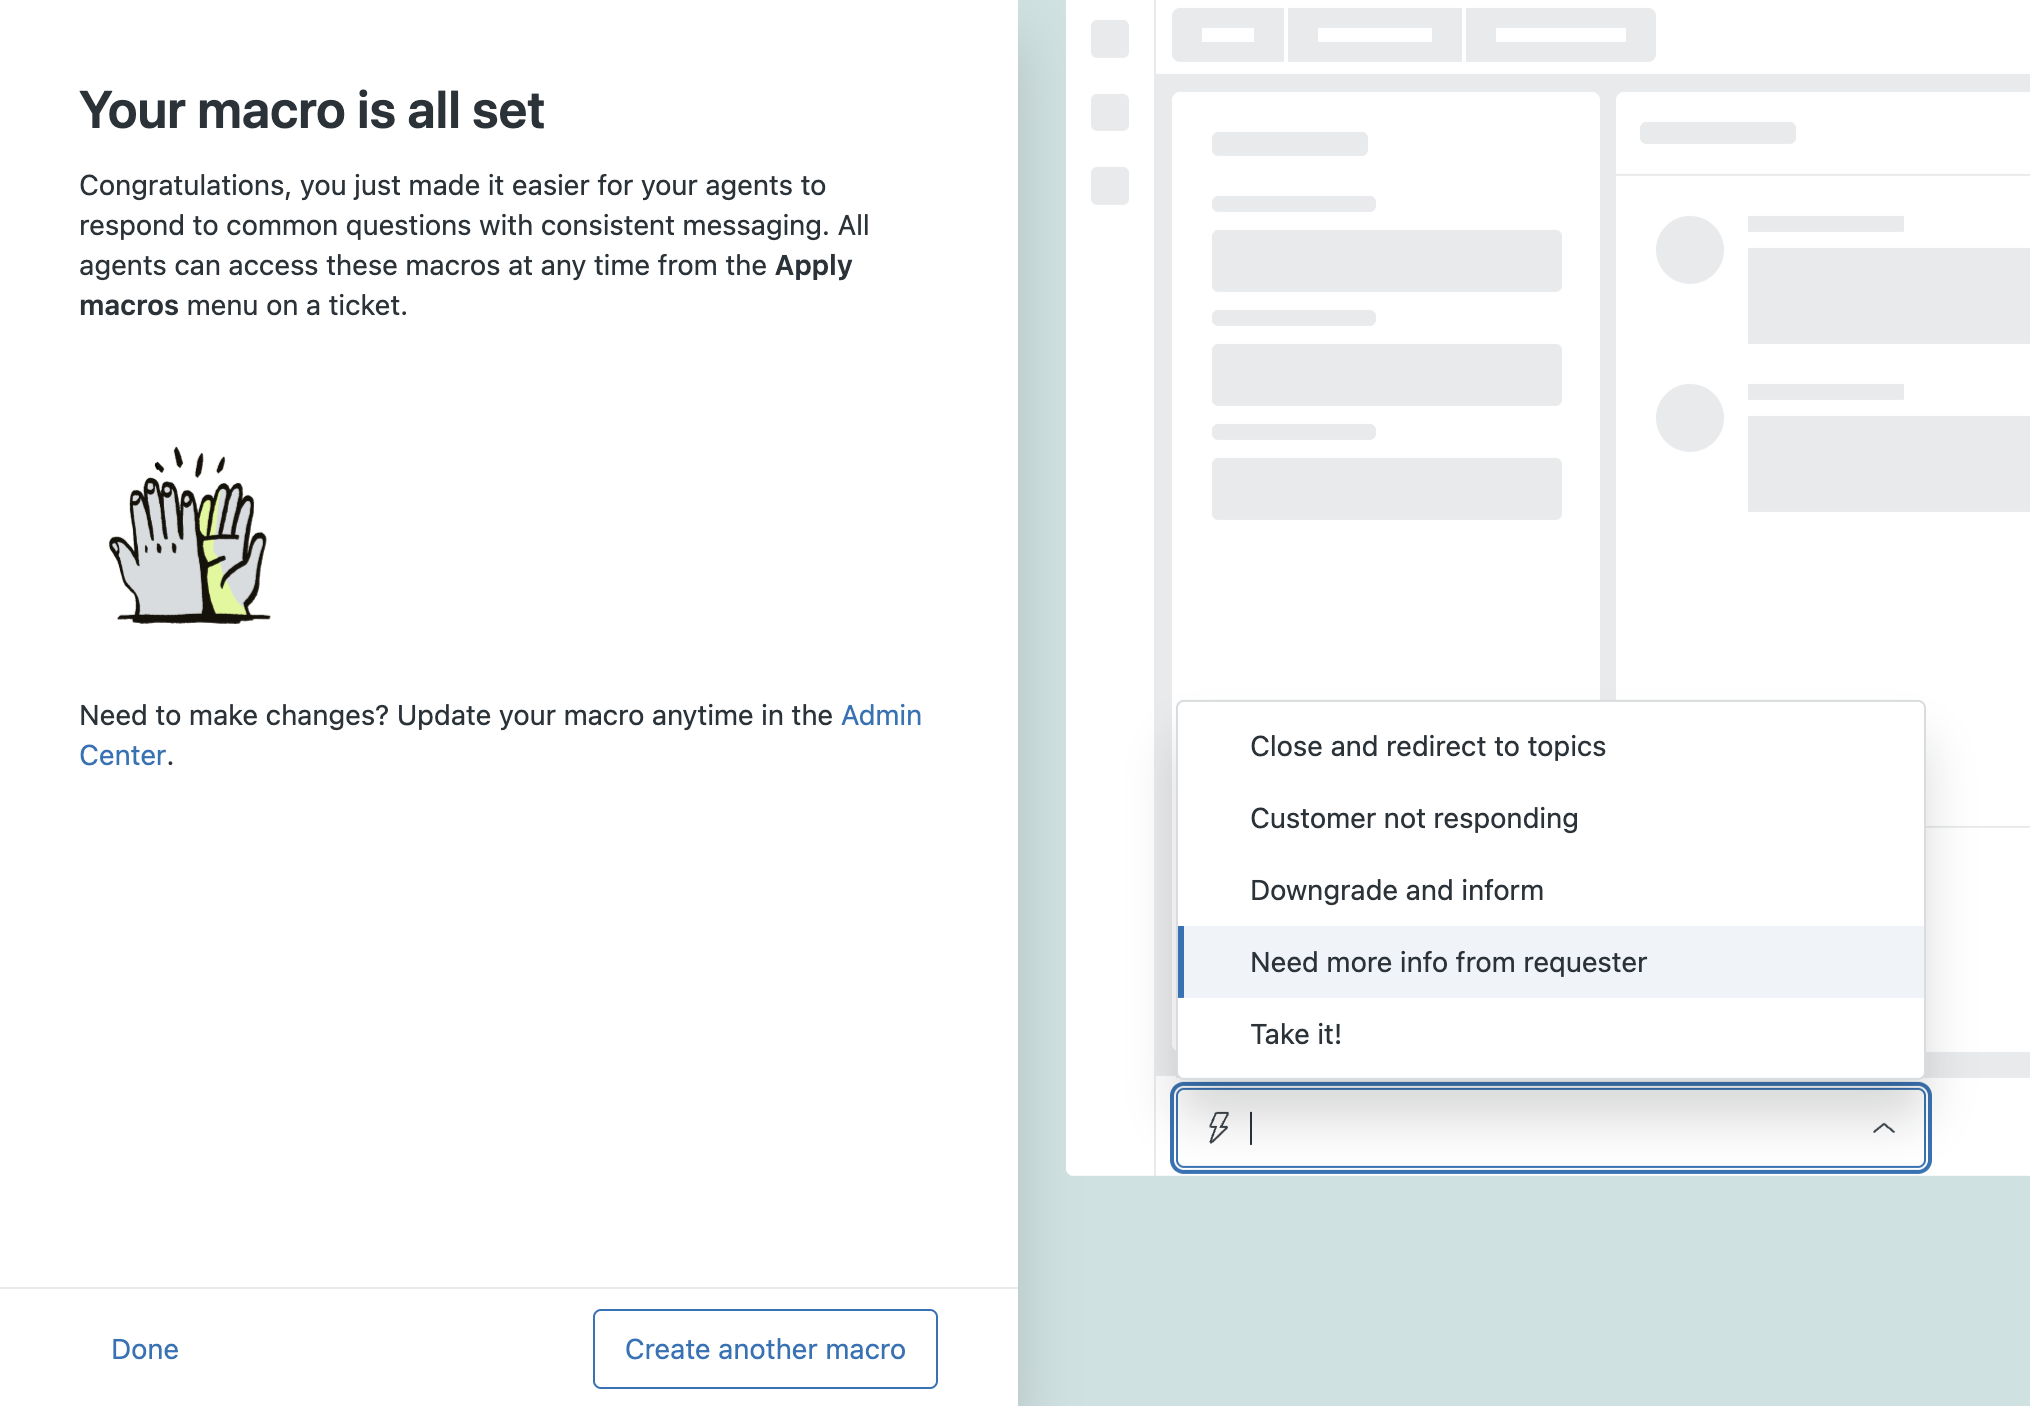
- Click Create another macro to continue adding more macros from the list or click Done to finish the wizard.
- You can update the macros you added anytime by opening them in Admin Center. See Organizing and managing your macros.