Verified AI summary ◀▼
Forecast scenarios, available in early access, let you create and manage multiple forecasts for different workstreams. Adjust forecasts for unique events like marketing campaigns or holidays to ensure accurate planning. You can test various algorithms and settings, activate scenarios, and manage historical data to optimize staffing and resource allocation. Admins and authorized team members can create, edit, and activate these scenarios.
Forecasting in Zendesk Workforce Management (WFM) estimates future contact volumes and staffing needs by analyzing historical data and applying advanced algorithms. This ensures the appropriate number of agents are scheduled at the right times, allowing you to optimize resources efficiency and consistently achieve service objectives.
Some events, such as marketing campaigns, product launches, seasonal holidays, and service issues, often cause significant, non-typical increases or decreases in expected volumes. Forecasts can be adjusted to account for these unique events, ensuring accurate planning and resource allocation.
To manage these variations, forecast scenarios allow admins and team members in custom roles with permission to create and save multiple forecast versions for each workstream. You can test different algorithms and settings to determine the ideal scenario for your needs before activating a forecast for a workstream.
Each workstream can have only one active system-created forecast scenario and one active imported forecast scenario.
This article contains the following topics:
- Viewing and managing forecast scenarios
- Creating new forecast scenarios
- Importing forecast scenarios (EAP)
- Duplicating forecast scenarios
- Activating forecast scenarios
- Renaming forecast scenarios
- Deleting forecast scenarios
Related articles:
Viewing and managing forecast scenarios
You must be a WFM admin or have permission to access the Forecast scenarios page.
To view and manage forecast scenarios
- In Workforce management, click
 Forecasting in the navigation bar, then select Forecast scenarios.
 - Under Workstreams, use the drop-down menu to select a workstream.
- Click the scenario you want to view.
When a selected forecast is available, it's displayed under Inbound volume.
Based on the forecast, Zendesk WFM also calculates the staff count needed to handle the expected workload under Required staffing.

By default, a table for your current week displays. However, you can take any of the following actions:
- Under View, use the drop-down menu to select daily, weekly, monthly, or yearly views of the incoming workload and required staffing for the workstream scenario.
- Under Date range, use the date picker to select a specific date or date range.
- Under Layout, select either a table or chart view.
- Click the download icon (
 ) to export your selected scenario
data to a CSV file.
) to export your selected scenario
data to a CSV file. - Edit and manage your forecast scenario settings.
- Forecast settings trigger the calculation process automatically when
saved. However, if you want to consider additional historical data, you can force an
update by clicking Recalculate (
 ).Note: Recalculation is available only when the workstream's historical volume uses Zendesk data and not imported data.
 - Click the reset icon (
 ) to restore your settings to the default values.
 - Click the plus icon (
 ) next to Forecast scenarios to create a new
forecast scenario.
) next to Forecast scenarios to create a new
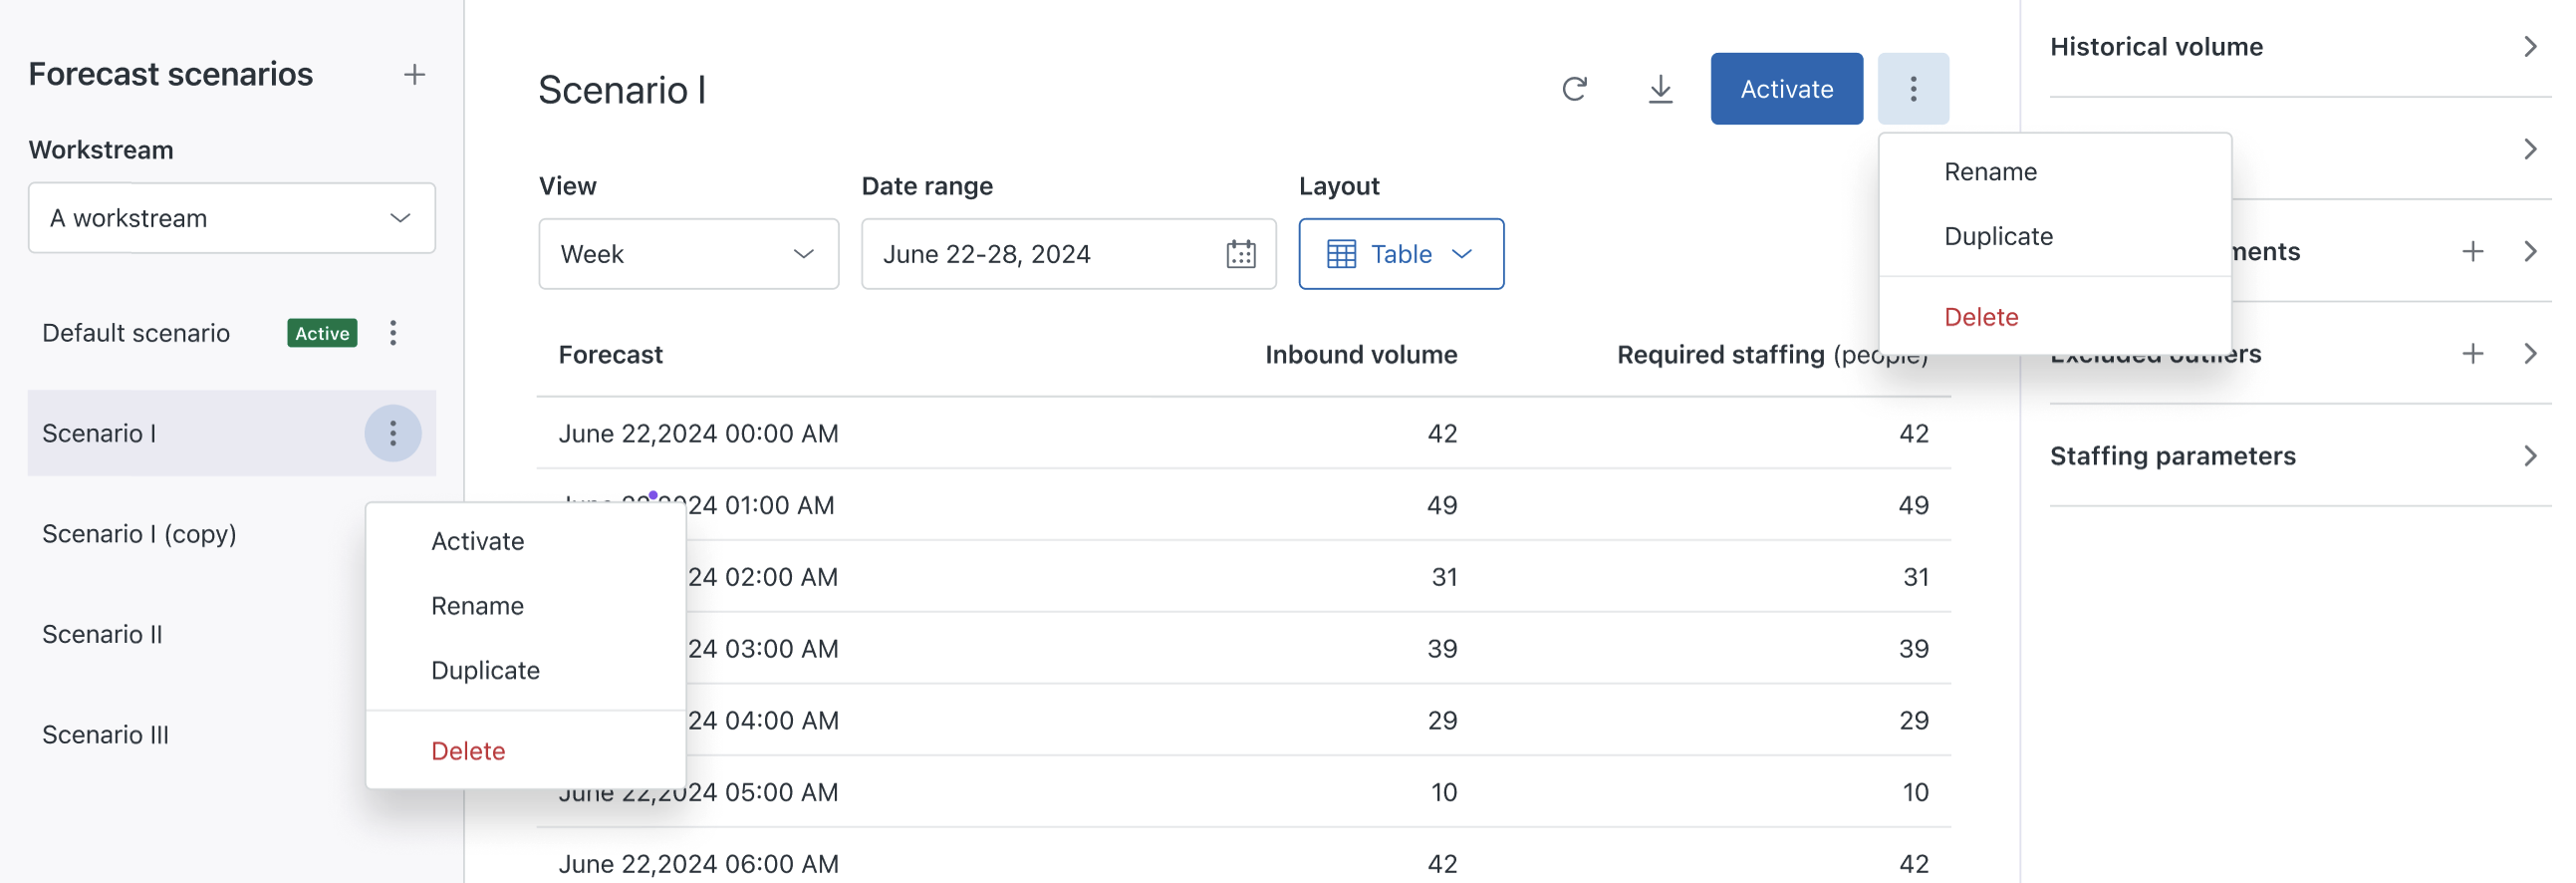
forecast scenario. - Click the options menu (
 ) next to a scenario to activate, rename,
duplicate, or delete it. Once you’ve created new forecast scenarios or duplicated existing ones, you can set a different scenario as active.
An active forecast scenario means that scheduling and reporting consider that forecast. A workstream’s default
scenario is set to active and is visible in the Active forecast page.
) next to a scenario to activate, rename,
duplicate, or delete it. Once you’ve created new forecast scenarios or duplicated existing ones, you can set a different scenario as active.
An active forecast scenario means that scheduling and reporting consider that forecast. A workstream’s default
scenario is set to active and is visible in the Active forecast page. - Use the forecast scenario panels on the right side to:
- Set the historical volume for your workstream. Decide which historical data you want to include or exclude in your forecast calculation.
- Choose a forecasting algorithm. The best forecasting algorithm for each workstream is automatically selected by analyzing your historical data and testing all algorithms. This is to determine which will perform best for the specific workstream. However, you can overwrite the automatic algorithm selection and choose any algorithm Zendesk WFM offers. See About WFM forecast algorithms to learn more.
- Make volume adjustments to account for any unique events that you expect will drive up the number of contacts you'll receive (for example, marketing campaigns or scheduled maintenance windows).
- Exclude historical inbound volume outliers to help make your forecast more precise.
- Configure staffing parameters to calculate how many agents you should expect to schedule to meet your staffing targets and projections.
Creating new forecast scenarios
All your workstreams have one default forecast scenario that can’t be deleted. However, you can create new forecast scenarios or duplicate existing ones, then activate a different scenario.
You must be a WFM admin or have permission to create new forecast scenarios.
To create a new forecast scenario
- In Workforce management, click
Forecasting in the navigation bar, then select Forecast scenarios.
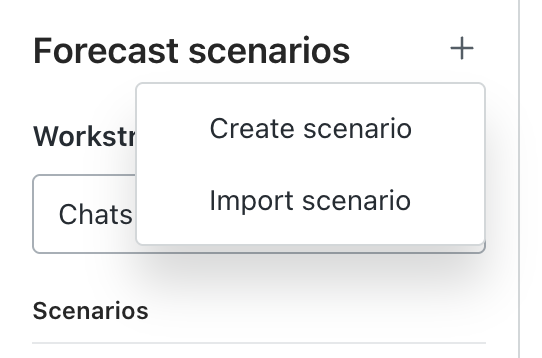
- Click the plus icon () next to Forecast scenarios, then click Create
scenario.
- Enter a name for your new scenario and click Create scenario.
- Set up your forecast scenario.
Importing forecast scenarios (EAP)
If you’ve previously used an Excel spreadsheet or a third‑party tool to forecast your inbound volume and required staffing, you can import it into your Zendesk WFM account using a CSV file.
Imported forecast data ranges replace existing forecast data where it exists or add to it where it doesn’t. For example, If you have an active system scenario with forecasted values from January 1 to December 15, importing a forecast for December 1 to December 31 replaces the forecast values for December 1 to December 15 and adds the imported data for December 16 to December 31. The system leaves January 1 to November 30 unchanged.
You must be a WFM admin or have permission to import a forecast scenario.
To import a forecast scenario
- In Workforce management, click
Forecasting in the navigation bar, then select Forecast scenarios.
- Click the plus icon () next to Forecast scenarios, then click Import
scenario.
- Enter a name for your scenario.
- Under Import,select whether you want to import your Forecasted inbound
volume only or both your Forecasted inbound volume and required staffing.
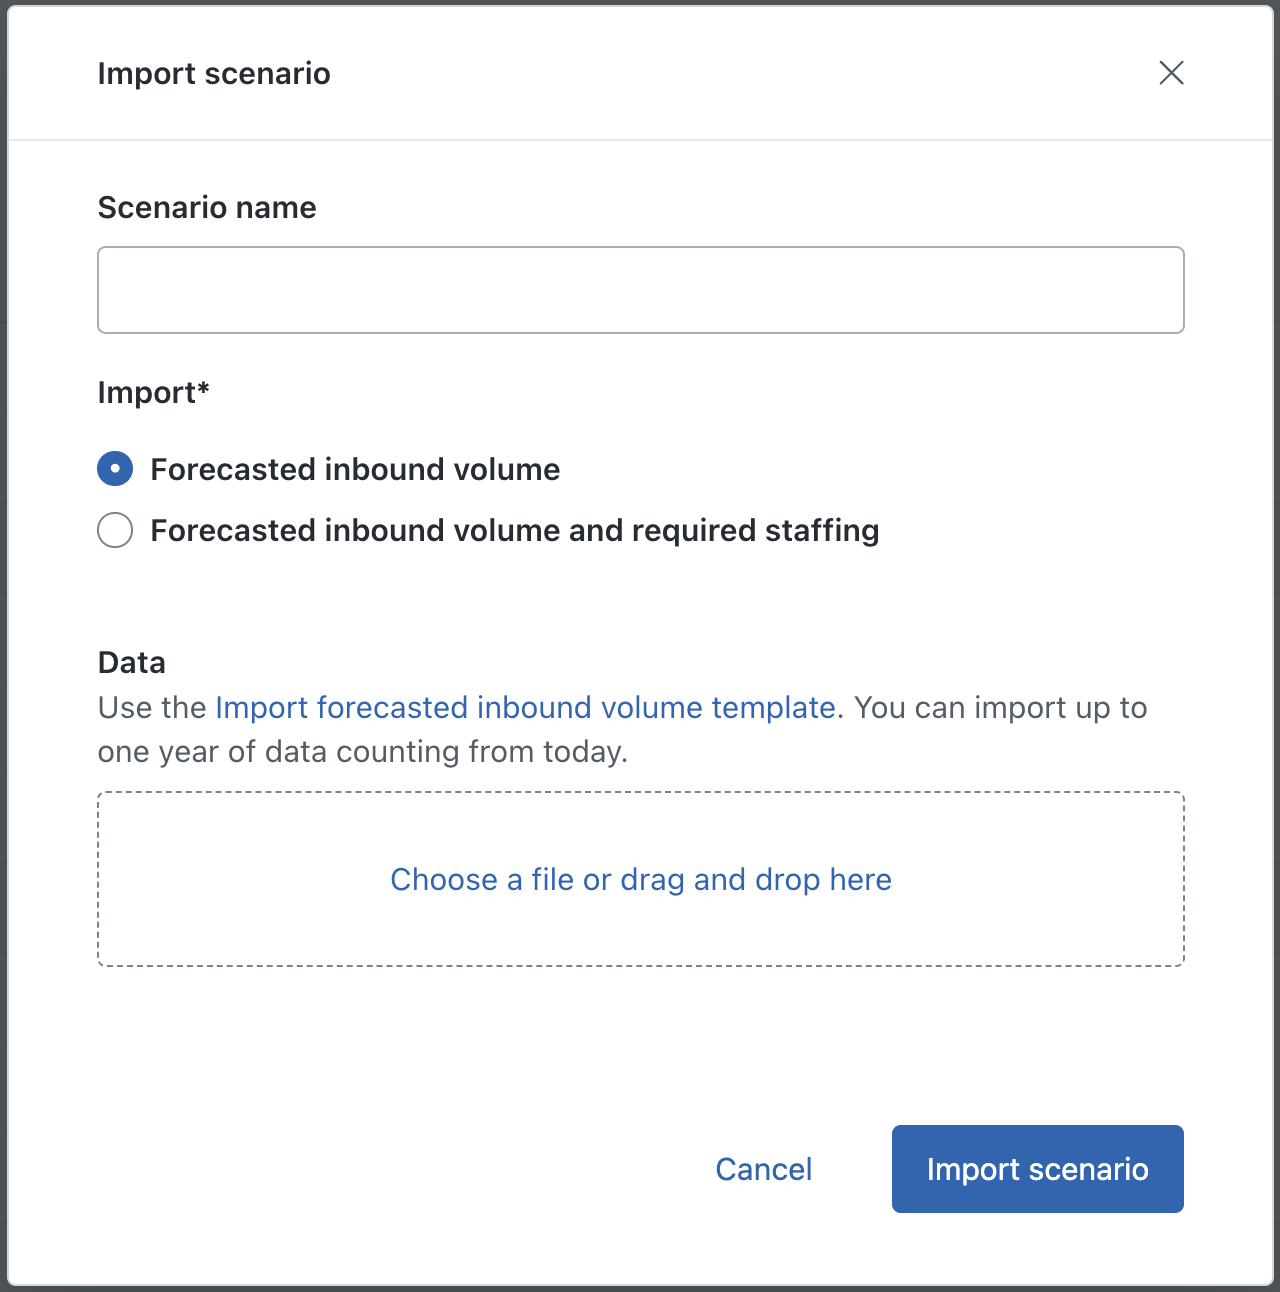
- (Optional) If you selected Forecasted inbound volume, download and use the Import forecasted inbound volume template. You can import up to one year of data counting from today.
- (Optional) If you selected Forecasted inbound volume and required staffing, download and use the Import required staffing template. You can import up to one year of data counting from today.
- Open the downloaded importTemplate.csv file and edit it to include your
own data.
To avoid errors when uploading your CSV file, keep the following aspects in mind:
- The first row of the example must be deleted
- The data's timezone must be UTC
- Use a data range up to 365 days from today.
- Past timestamps in the file are discarded.
- Ensure that the days are in chronological order.
- Use numeric values only.
- Ensure that no special characters are used that are not on the template spreadsheet.
- Data must be uploaded with 15-minute increments starting at 00:00:00 on the first day. Entries like 09:10 will result in errors.
- Add at least one row of data.
- Delete timestamp duplicates.
- Upload your scenario CSV file.
- Click Import scenario.
Duplicating forecast scenarios
You must be a WFM admin or have permission to duplicate an existing forecast scenario.
To duplicate a forecast scenario
- In Workforce management, click
Forecasting in the navigation bar, then select Forecast scenarios.
- Under Workstreams, use the drop-down menu to select a workstream.
- Next to the scenario you want to duplicate, click the options menu (), then select Duplicate.
- Enter a scenario name.
- Click Duplicate scenario.
Activating forecast scenarios
Once you’ve created new forecast scenarios or duplicated existing ones, you can set a different scenario as active.
An active forecast scenario means that scheduling and reporting consider that forecast. A workstream’s default scenario is set to active and is visible in the Active forecast page.
You must be a WFM admin or have permission to activate forecast scenarios.
To activate a forecast scenario
- In Workforce management, click
Forecasting in the navigation bar, then select Forecast scenarios.
- Under Workstreams, use the drop-down menu to select a workstream.
- Click the scenario you want to activate to open it.
- Click Activate.
Renaming forecast scenarios
You must be a WFM admin or have permission to rename forecast scenarios.
To rename a forecast scenario
- In Workforce management, click
Forecasting in the navigation bar, then select Forecast scenarios.
- Under Workstreams, use the drop-down menu to select a workstream.
- Next to the scenario you want to duplicate, click the options menu (), then select Rename.
- Enter a new scenario name.
- Click Save.
Deleting forecast scenarios
You must be a WFM admin or have permission to delete a forecast scenario.
Deleting a scenario is permanent and it can’t be restored.
To delete a forecast scenario
- In Workforce management, click
Forecasting in the navigation bar, then select Forecast scenarios.
- Under Workstreams, use the drop-down menu to select a workstream.
- Next to the scenario you want to duplicate, click the options menu (), then select Delete.
- Click Delete scenario.