After you create an AI agent, you need to activate it before it can begin interacting with customers on your chosen channels. At any time, you can also manage an AI agent’s channels, or clone or delete it.
This article contains the following topics:
- Activating an AI agent
- Managing an AI agent's channels
- Editing an AI agent
- Cloning an AI agent
- Deleting an AI agent
Related article:
Activating an AI agent
Activating an AI agent makes it live for customers on the channels you choose. You might have activated an AI agent during the creation process, or you might have saved its configuration without activating it yet.
To activate an AI agent
-
In the AI agents workspace, click
 Dashboard in the sidebar.
-
In the list of AI agents, hover over an AI agent with the
status
Ready to
activate
and click Activate.
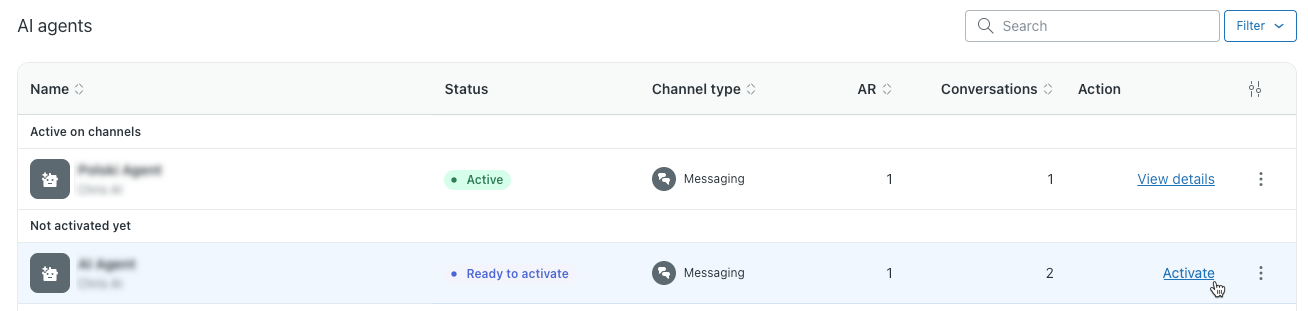
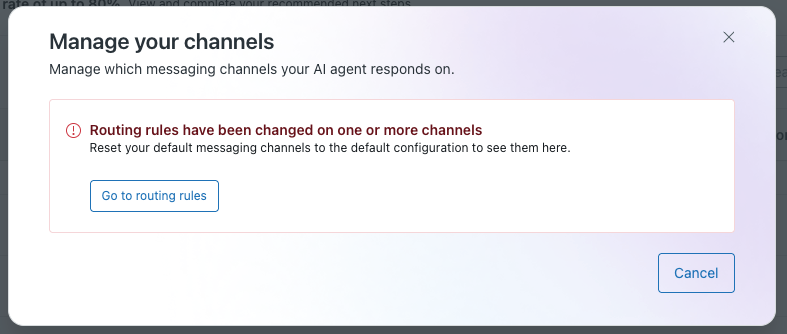
The Manage your channels dialog opens.
-
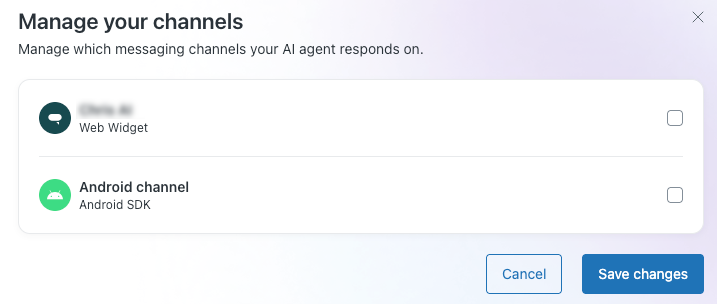
Select the channels you want the AI agent to interact with customers on.
-
Click Save changes.
Your AI agent is now live on your selected channels.
Managing an AI agent's channels
At any time, you can manage the channels that your AI agent is live on. Only one AI agent can be active on a channel at a time.
If you initially created an AI agent for messaging channels, you can’t later activate it on email (including API or web form) channels, and vice versa.
For messaging AI agents only: When you select channels for an AI agent, routing rules are automatically created. Routing rules determine which AI agent should respond on a given channel, and apply only to messaging channels, not email.
To manage an AI agent’s channels
-
In the AI agents workspace, click
Dashboard in the sidebar.
- In the list of AI agents, hover over the AI agent you want to manage channels for.
-
Click the options menu (
 )
and select Manage channels.
)
and select Manage channels.
The Manage your channels dialog opens.
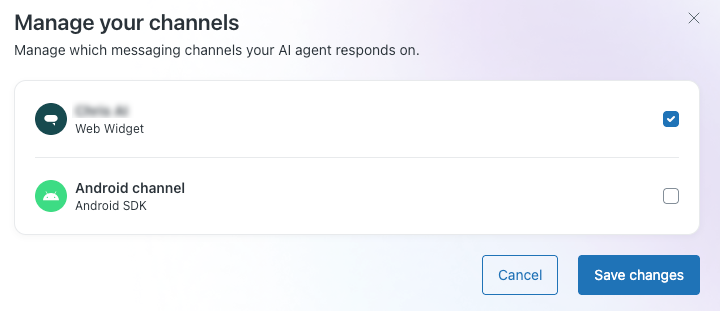
- If a channel is selected, it means the AI agent is already live on that channel.
- If a channel is deselected, it means the AI agent isn’t currently live on that channel, but it’s available to be added.
-
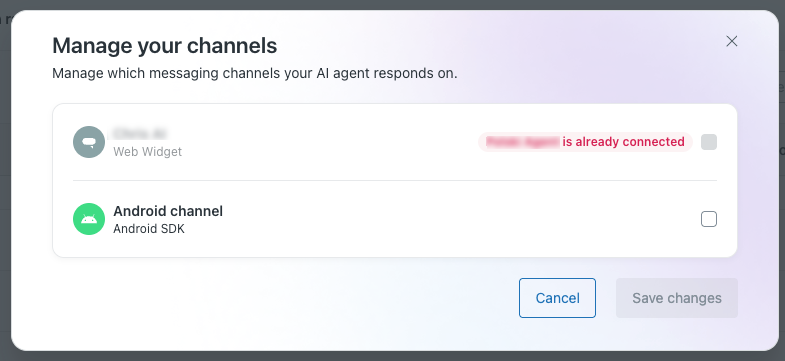
If a channel already has an active AI agent, you
can’t add another
one. You must first deactivate the active AI agent
by managing its
channels before you can activate another.
-
(Messaging AI agents only) If you
modified the AI agent’s routing
rules,
you can no longer manage the AI agent’s channels
through this menu.
- Select or deselect the channels as needed.
-
Click Save changes.
Your AI agent is now live on your selected channels.
Editing an AI agent
You can make updates to an AI agent as needed.
To edit an AI agent
-
In the AI agents workspace, click
Dashboard in the sidebar.
- In the list of AI agents, hover over the AI agent you want to edit.
-
Click the options menu ()
and select Edit configuration.
You’re taken to the General settings page. From here, you can make changes to the AI agent’s basic details, or else navigate elsewhere in the AI agents workspace to make additional updates to the AI agent’s configuration.
Cloning an AI agent
When you clone an advanced AI agent from one environment to another (such as from production to sandbox), the following items are duplicated:
- The AI agent itself, including any supported languages
- Template replies
- Use cases, including their associated replies and dialogues
- System replies
- Entities
- Operating hours
- Generative procedures (excluding linked actions)
- API integrations
When API integrations in dialogues or procedures are duplicated:
- The cloned API integration is named “<API integration name> (Clone)”.
- If the source API integration has an authentication integration, that’s cloned too.
- No changes are made to the source API integration.
- API integrations in dialogue flows in the cloned AI agent are automatically replaced with the cloned versions of the API integrations.
To clone an AI agent
-
In the AI agents, click
 Organization management in the sidebar, then select Organization
management.
Organization management in the sidebar, then select Organization
management.
- In the AI agents list, find the AI agent you want to clone.
-
Click the Duplicate (
 )
icon.
)
icon.
A dialog appears.
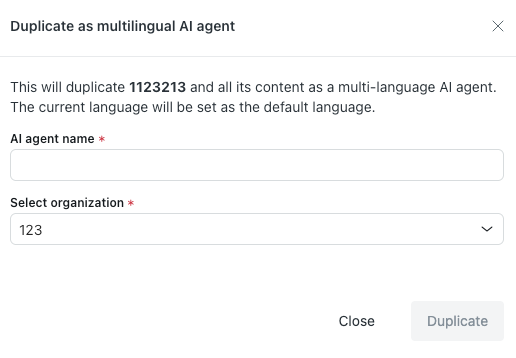
- In AI agent name, enter a name for the cloned AI agent.
- In Select organization, select the organization you want to clone the AI agent to (either your production or sandbox environment).
- Click Duplicate.
Deleting an AI agent
You can delete an AI agent if you no longer need it. Deleting an AI agent deletes any AI agent–specific settings or personalization, but it doesn’t delete content shared with other AI agents, such as API integrations. You must be a client admin with access to the AI agent to be able to delete it.
You can delete an AI agent from the Dashboard or from Organization management.
-
In the AI agents workspace, click
Dashboard in the sidebar.
- In the list of AI agents, hover over the AI agent you want to delete.
-
Click the options menu ()
and select Delete.
-
In the confirmation dialog, click
Delete agent.
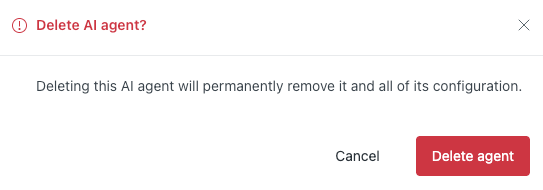
The AI agent is permanently deleted.
To delete an AI agent from Organization management
-
In the AI agents, click
Organization management in the sidebar, then select Organization
management.
- In the AI agents list, find the AI agent you want to delete.
-
Click the Delete (
 )
icon.
)
icon.
A dialog appears.
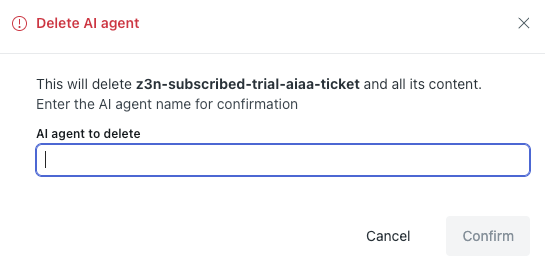
-
In the text field, enter the name of the AI agent exactly
as it
appears.
The name must have the exact same casing and spacing.
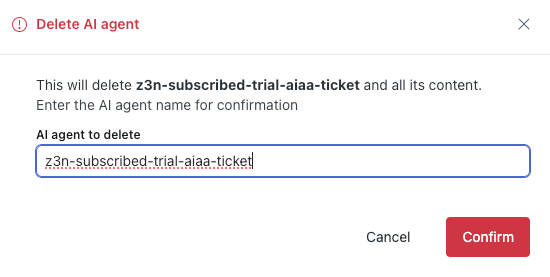
-
Click Confirm.
The AI agent is permanently deleted.