Summary: ◀▼
Use intelligent triage to automatically classify new tickets by topic, sentiment, and language, helping you reduce manual triage, route requests, guide agents, and spot high-risk tickets faster. You can configure each classification type, choose channels, set dynamic detection for topic and sentiment, exclude agent-created tickets, and use the results in workflows, views, routing, and reporting.
Intelligent triage uses AI to automatically classify new customer support tickets by topic, sentiment, language, and entities, such as product names. By incorporating these AI classifications into your workflows, you can automate repeatable requests, eliminate manual triage, guide agents in real time, and act quickly on high-risk tickets.
This article describes how admins configure intelligent triage topic, sentiment, and language detection settings. To configure entity settings, see Classifying unique information in tickets with entities.
This article contains the following topics:
Related articles:
Understanding intelligent triage fields
Intelligent triage classifications are supported for tickets started with a public comment by either an agent or end user. The Zendesk machine learning model automatically classifies your tickets when intelligent triage is turned on, and populates the following standard fields:
| Field | What it classifies | Possible values | Notes |
|---|---|---|---|
| Topic (Intent) | What the ticket is about | Industry-specific prebuilt values that you can view on the Topics page, or personalize with custom values | Can be updated on each end user reply if dynamic detection is
configured. Topic values can only be edited from the Topic page, not ticket field settings. |
| Sentiment | Feeling of the end user at the time they reached out | Very Positive, Positive, Neutral, Negative, Very Negative. See Viewing intelligent triage classifications in tickets. | Can be updated on each end user reply if dynamic detection is
configured. Calibrated for customer service contexts, meaning that a ticket isn't assigned a negative sentiment just because a customer has an issue. |
| Language | The language the ticket is written in | Approximately 150 languages | Isn't updated on each end user reply. |
Each field has an associated confidence field indicating how likely the classification is accurate. Agents can update field values if necessary.
See Additional ticket fields for the Copilot add-on for the full list of the standard intelligent triage fields.
Configuring intelligent triage settings
You can configure topic, sentiment, and language settings individually in Admin Center.
If you have a Suite or Support Professional plan, you must complete the onboarding guide to set up intelligent triage. If you have the Copilot add-on and are setting up intelligent triage for the first time, or haven't set up workflows yet, an onboarding guide will appear to help you configure your settings and build your first workflows. You can access the onboarding guide at any time from Manage settings on any classification type page.
If you have the Copilot add-on, all classification types are turned on by default. Otherwise, classifications are turned off by default. To turn off these settings, see Turning off topic, sentiment, language, or entity settings.
To configure intelligent triage settings
- In Admin Center, click
 AI in the sidebar, then select the classification type you want to
configure: Topic, Sentiment, or Language.
AI in the sidebar, then select the classification type you want to
configure: Topic, Sentiment, or Language. - Click Manage Settings.
- (Topic and Sentiment only) To update a ticket's classification based on the
latest end user message, select the checkbox under Dynamic
detection.
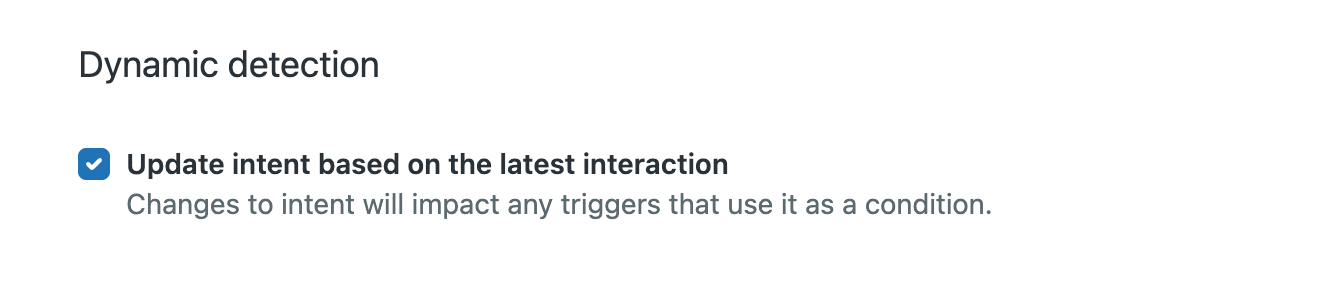
Dynamic detection applies to only new tickets created after you turn this setting on.
- Under Channels, configure the channels you want to classify:
- For Email and async channels, click the drop-down, then select or
deselect the channels.
The Web form, Email, and Web service (API) channels are selected by default. If you create tickets via channel integrations, select Social messaging.
The Closed tickets channel is for follow-up tickets.
- For Messaging channels, click the drop-down, then select or
deselect the channels.
The Web Widget, WhatsApp, and Facebook Messenger channels are selected by default.
Selecting any one of the Web Widget, iOS SDK, Android SDK, or Native Messaging channels automatically selects all four channels together.
- Select the Voice checkbox to classify post-call
transcripts.
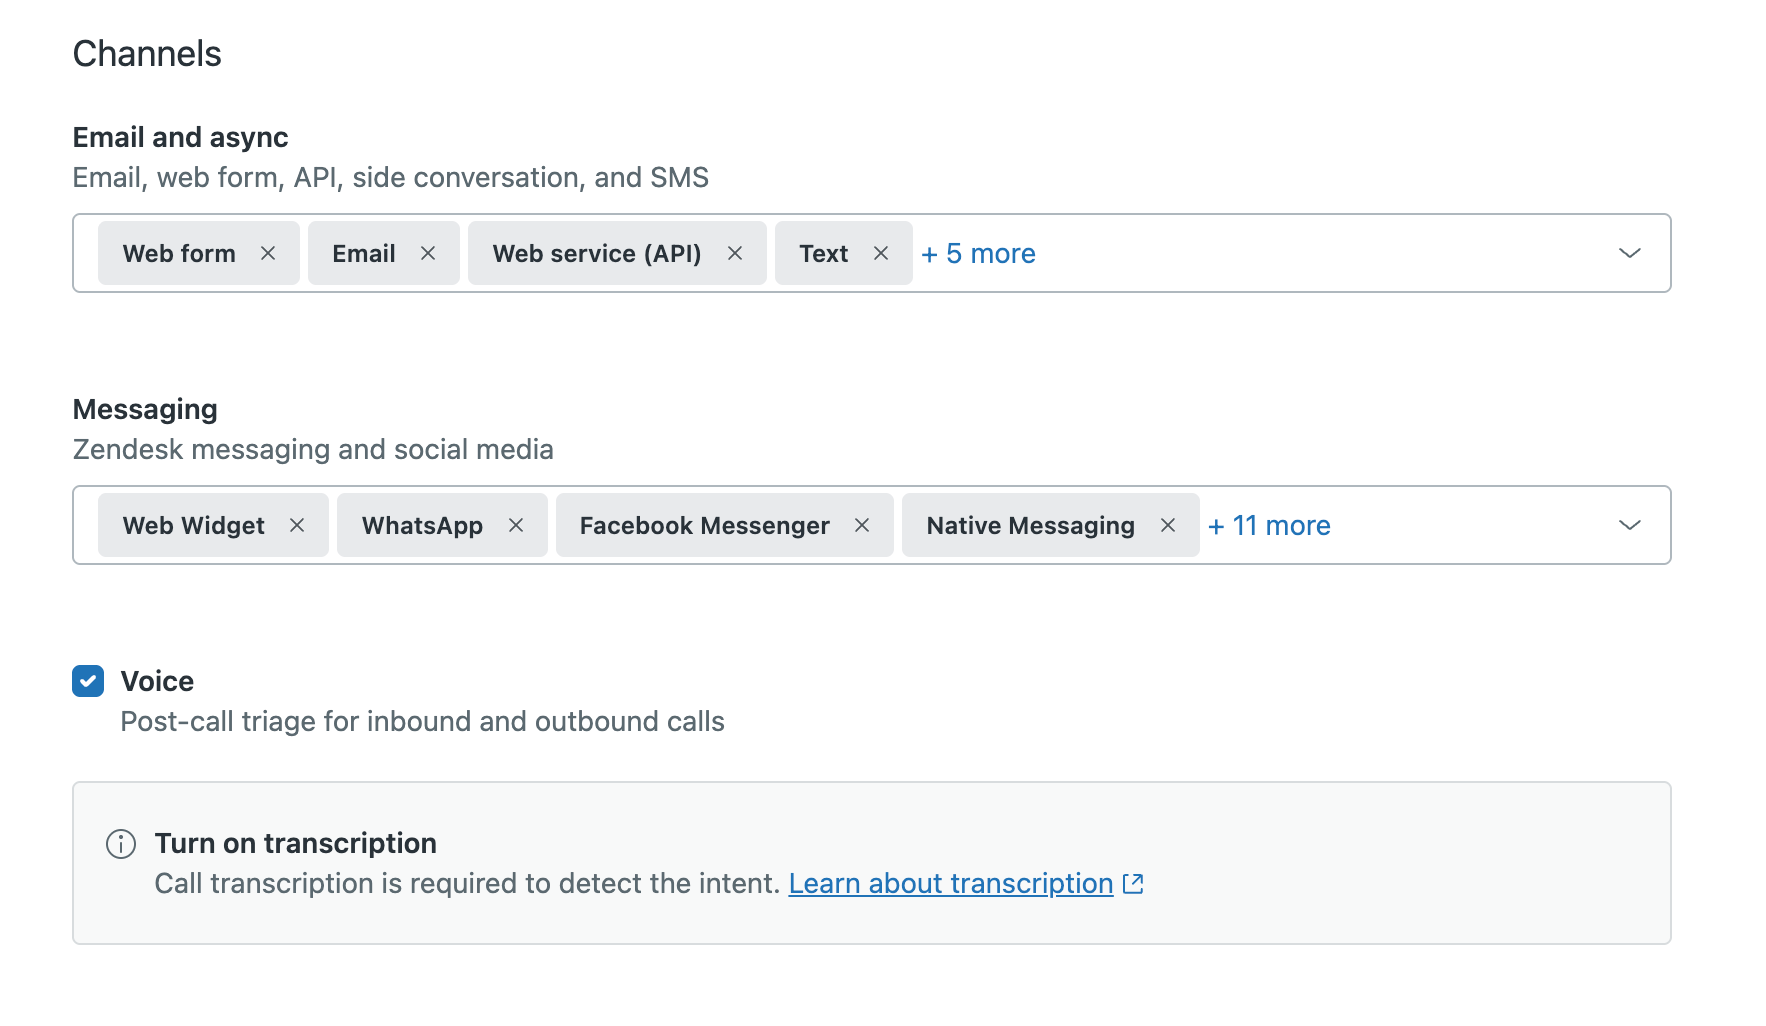
Call transcription must be turned on and transcripts must be shown on tickets to be classified.
- For Email and async channels, click the drop-down, then select or
deselect the channels.
- To exclude tickets created by agents, select the checkbox under Exclusion
conditions.
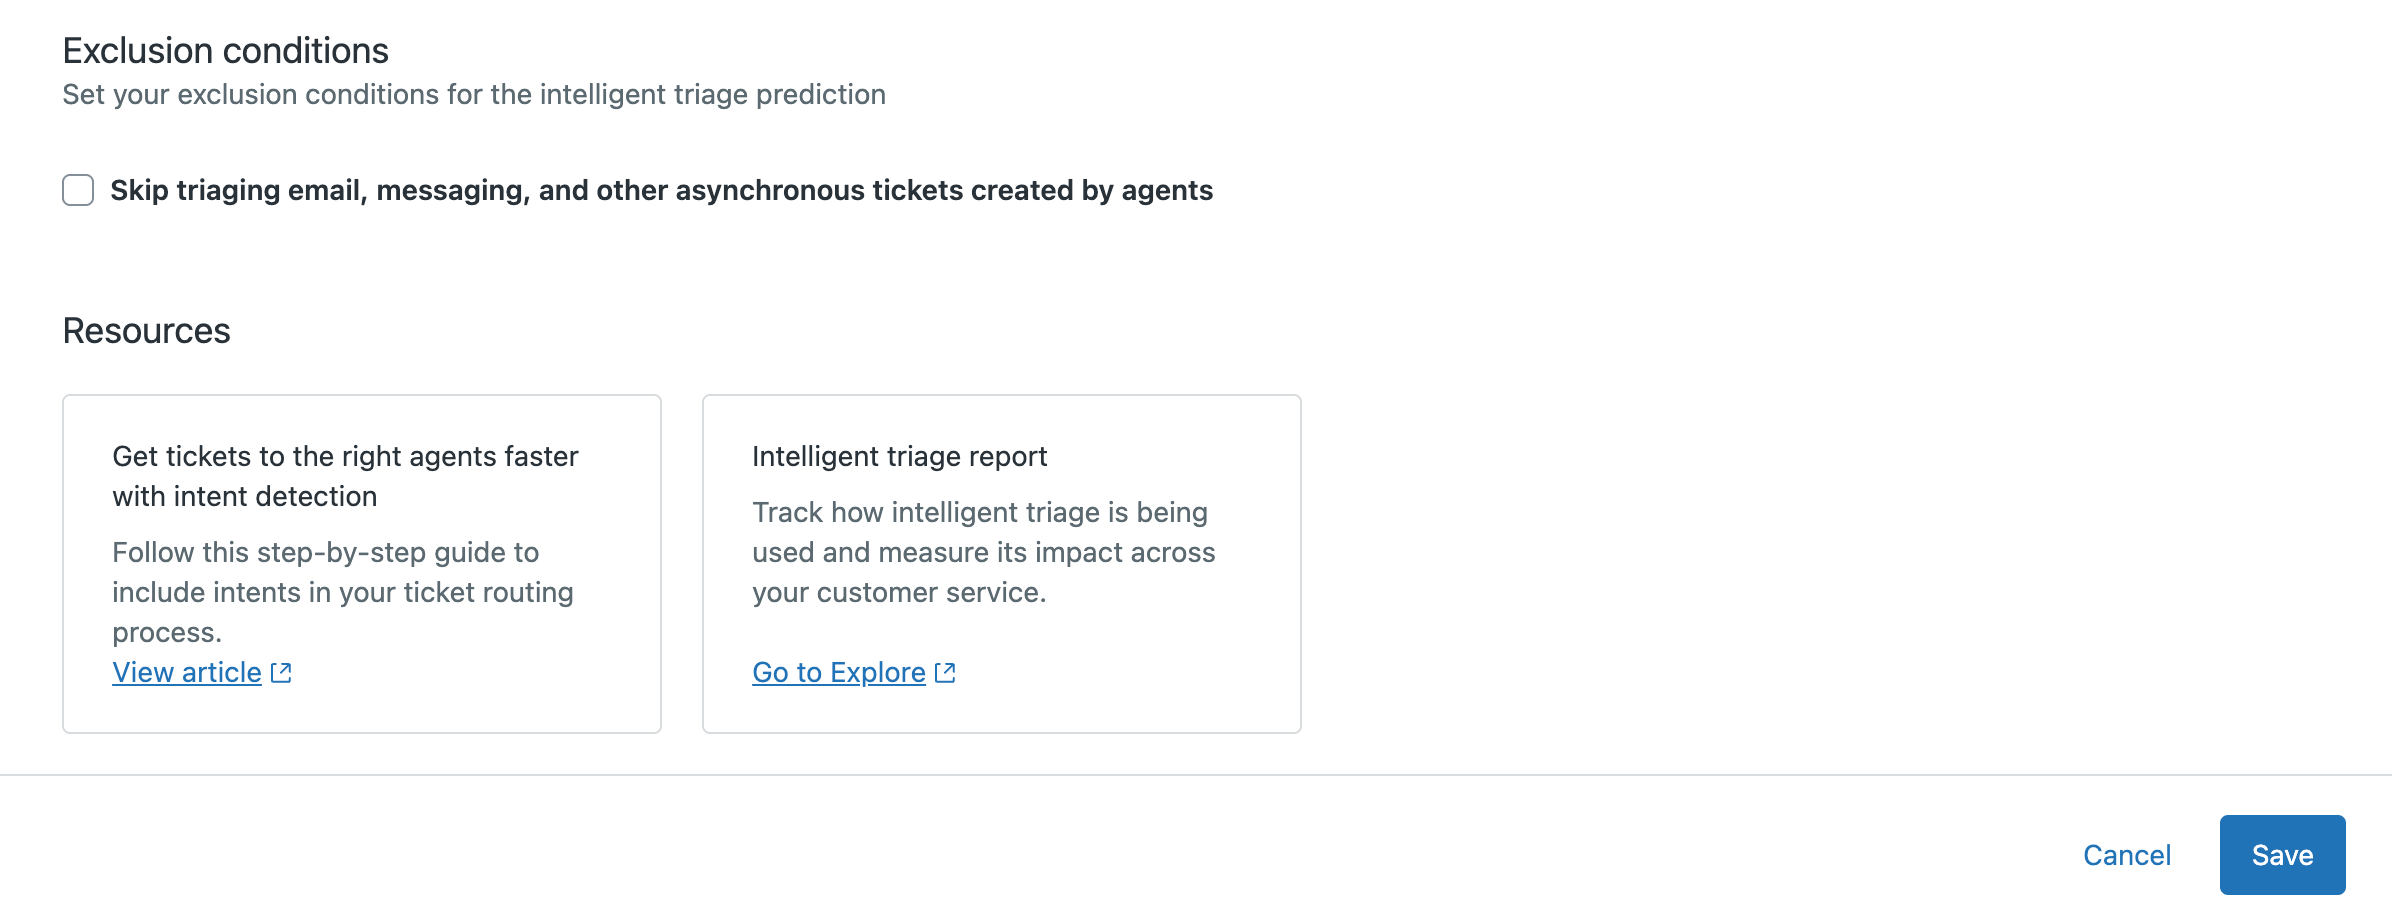
- Click Save.
Next steps
After configuring intelligent triage, complete your setup by:
- Creating entities to classify unique information in tickets, such as product names
- Creating custom topics to personalize intelligent triage for your specific business needs
- Configuring the agent experience to control how classifications are displayed to agents
- Creating workflows based on intelligent triage classifications to automate ticket routing, deflection, and prioritization.
- Creating views, setting up routing, and analyzing performance using intelligent triage classifications