Verified AI summary ◀▼
In the Conversations view, you can access and manage customer interactions, filter and sort conversations, and review messages. Use features like starring, pinning, and adding conversations to calibration sessions for better organization. Translate messages to your preferred language and provide feedback to improve support quality. This view helps streamline your workflow and enhance customer service performance.
In Zendesk Quality assurance (QA), the Conversations view is the primary area where agents access the conversations they have worked on, and where admins, managers, and reviewers evaluate them.
Reviewers can leave scores and provide feedback to agents, helping improve customer support quality and overall agent performance.
This article contains the following topics:
- Accessing and viewing conversations
- Reviewing conversations and messages
- Translating conversations
- Starring conversations
- Adding a conversation to a calibration session
- Pinning conversations
Related articles
Accessing and viewing conversations
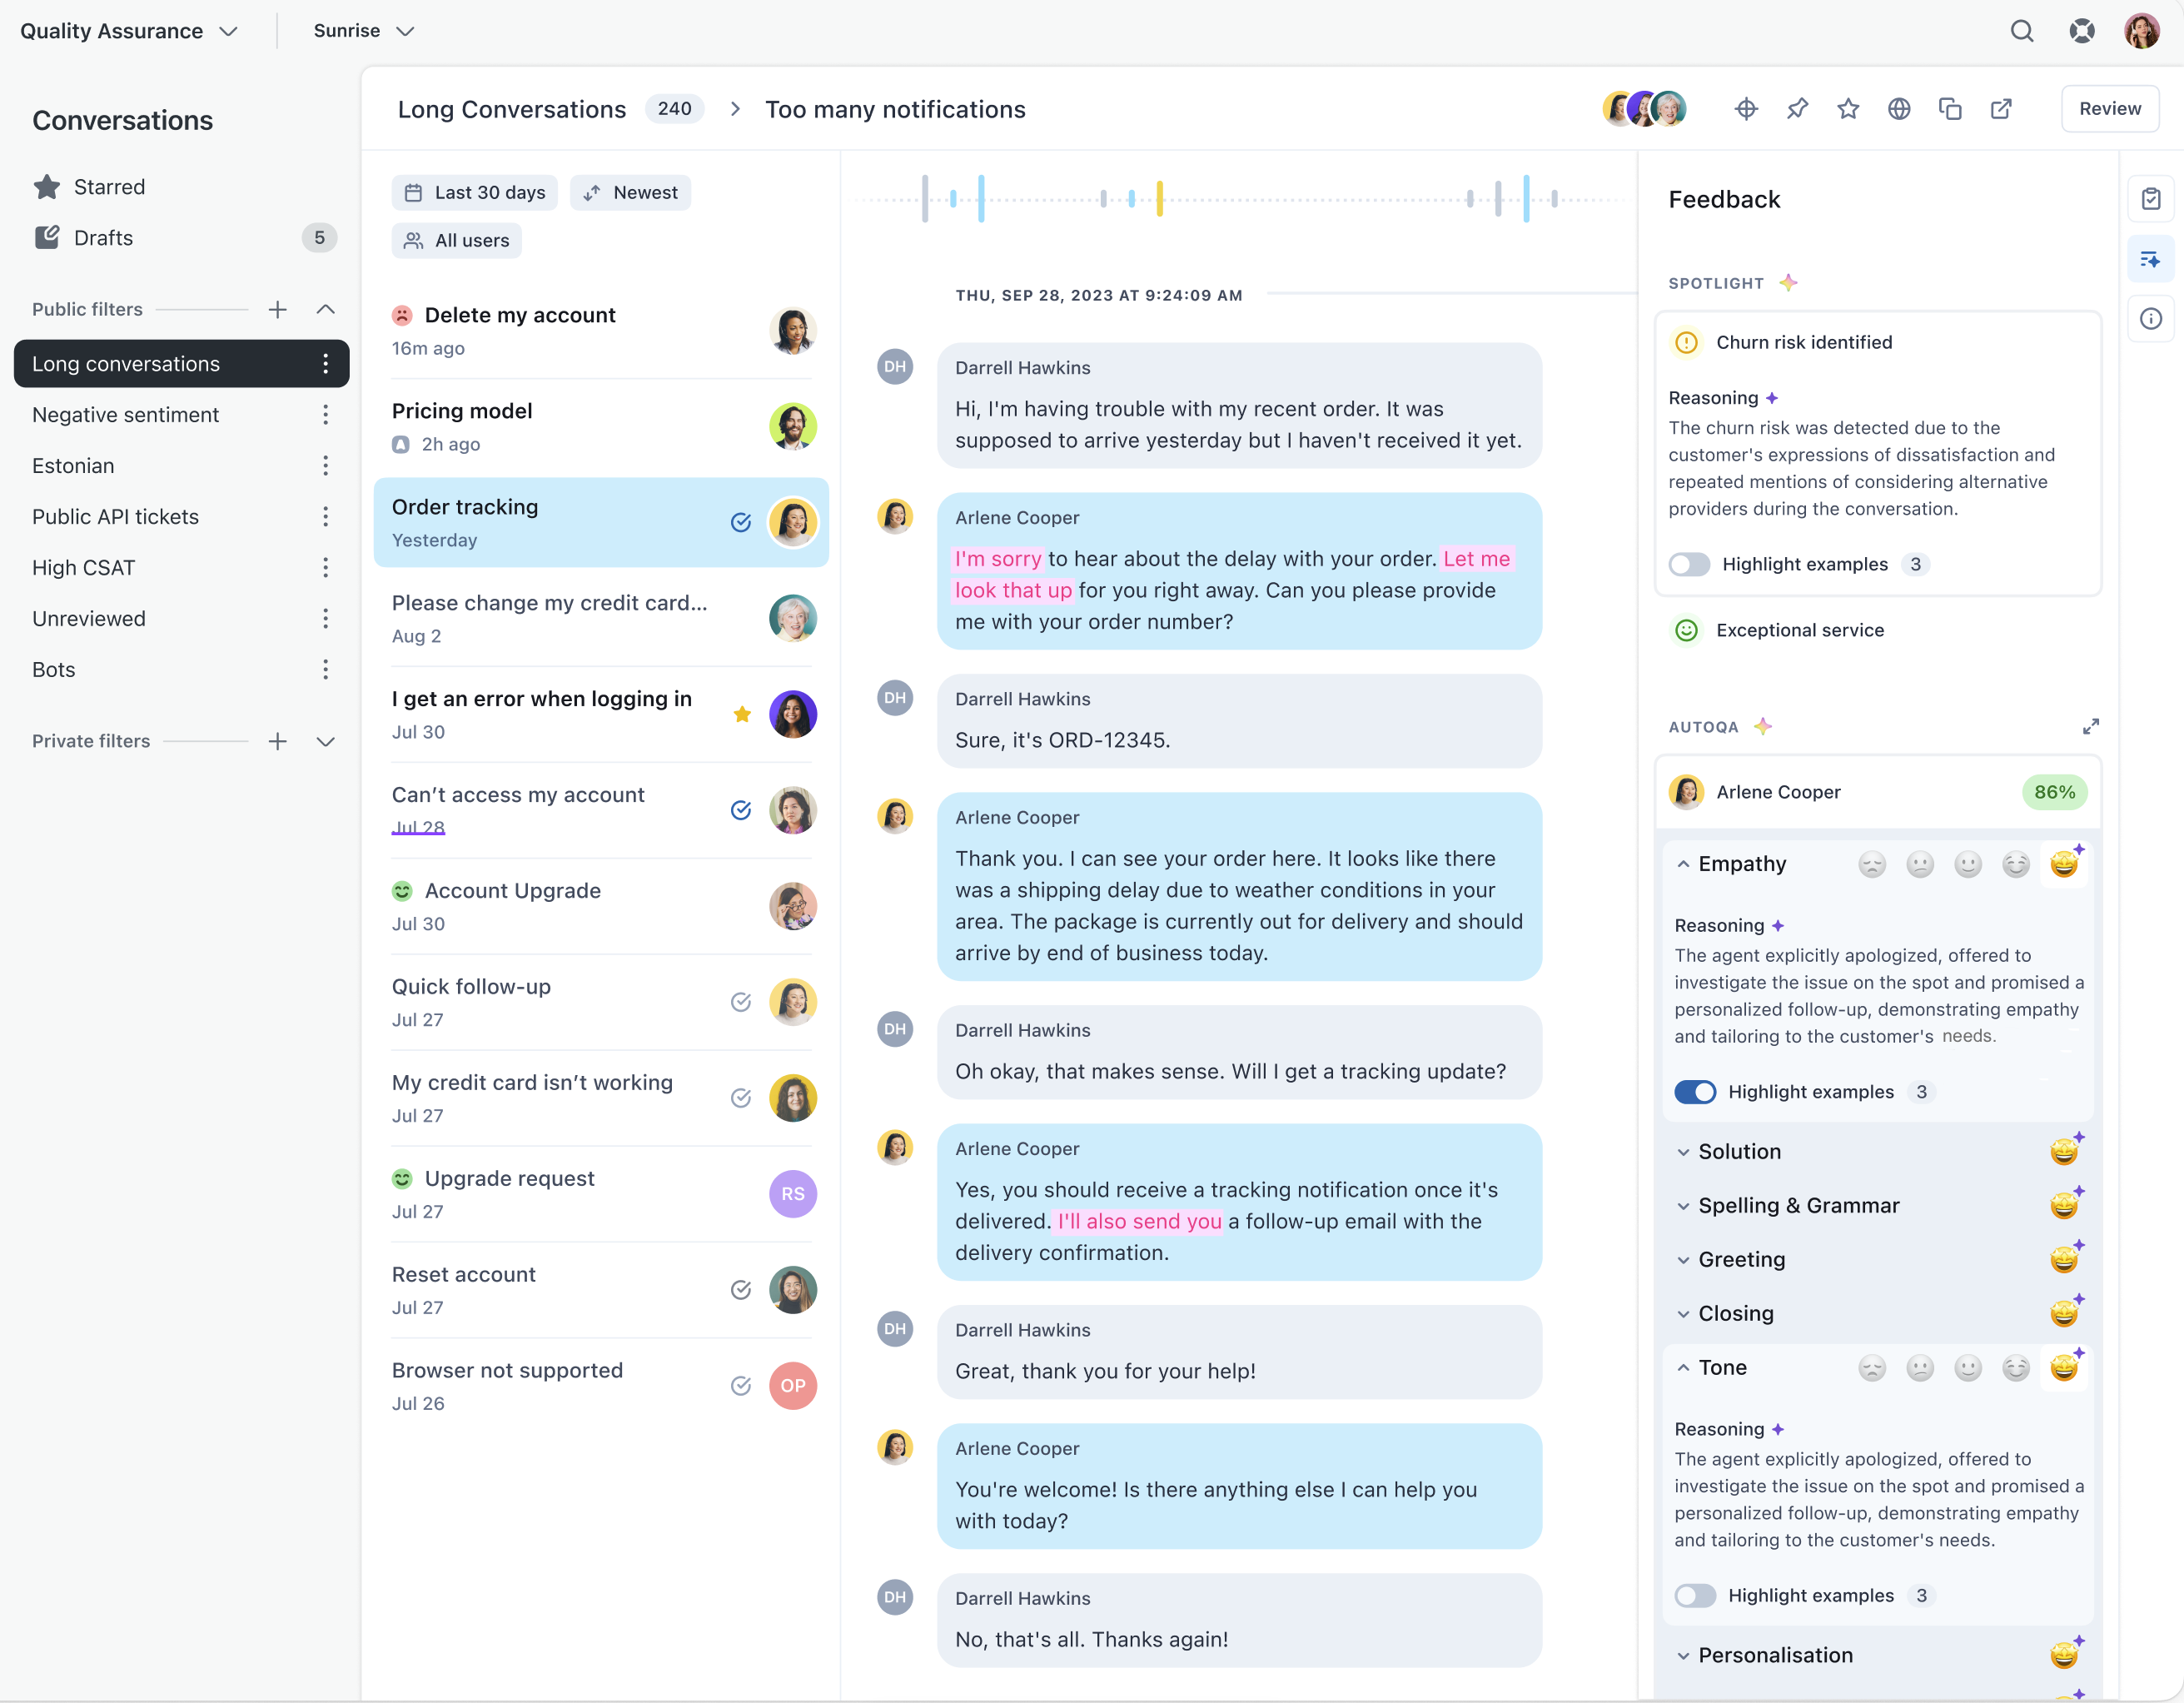
The Conversations view provides a centralized location to access and manage all relevant customer interactions. It includes powerful filtering options that allow you to quickly narrow down conversations based on criteria such as date, agent, status, or custom tags. This makes it easy to find specific conversations for review, feedback, or further analysis.
To access and view conversations
- In Quality assurance, click
 Conversations in the sidebar.
 - (Optional) Use the filters to select the conversation you want to
review.
The sidebar on the left displays a filters section that helps you quickly find the conversations you’re looking for.
As a reviewer, filtering conversations allows you to identify the right interactions to review.
You can create public or private filters based on any conversation attribute and condition, then save those filters for future use.
Commonly used filter conditions include:
-
Reply count is greater than or less than X
-
Assignee is X
-
Satisfaction score is X
-
Created date is X
To learn more, see Understanding conversation filter types in Zendesk QA.
Tip: You can search for specific ticket IDs in Zendesk QA by using the search box located at the bottom of the conversations list. -
- (Optional) Click the Sort by menu (
 ) then select an option for how you want
conversations to be displayed and whose assigned conversations you want to see.
) then select an option for how you want
conversations to be displayed and whose assigned conversations you want to see.
You can sort your list of conversations using several options, including:
- Newest
- Oldest
- Recently updated
- Recently replied
- Most replies
- Least replies
- Random
- (Optional) Click All users to select the conversation’s assignees.
- Click the conversation you want to view to open it.
- (Optional) Click the Feedback icon (
 ) to open the Feedback panel. The
Feedback panel displays the conversation’s spotlight insight tags, automatic scoring, disputes, reviews, and surveys.
) to open the Feedback panel. The
Feedback panel displays the conversation’s spotlight insight tags, automatic scoring, disputes, reviews, and surveys.If you’ve activated the AutoQA Reasoning early access program (EAP), you can view the Reasoning section at the bottom of any Spotlight or AutoQA category to understand why a conversation was flagged or scored that way.
If a prompt-based category produces over 95% N/A (Not applicable) results for 7 consecutive days, it’s automatically marked as inactive and displays an attention icon (
 ).
). 
In that case, an admin can click Edit and update this prompt to gather relevant insights before marking it active again.
- (Optional) Click the Info icon (
 ) to access additional information.
 When available, the Info panel provides additional ticket metadata, including the conversation description, a list of participants, the conversation first response time (FRT), time to first resolution (TTFR), assignee name, ticket ID, customer email, ticket status, help desk brand, ticket channel, priority, group, ticket form, ticket intent and intent confidence, language, applied QA insights, sentiment, and ticket tags.
Admins can also use the Delete conversation link to permanently delete the conversation from Zendesk QA. This deletes all related conversation data from Zendesk QA, including surveys, transcriptions, reviews, and dashboard data. If the conversation belongs to multiple workspaces, it’s deleted from all workspaces. You can still access the conversation in Zendesk Support.
Reviewing conversations and messages
To review a conversation, select it from the list on the left, then click the Review button to enter review mode and view your scorecard.
Once you’ve read the conversation, assign scores for each category.
You can review the entire conversation or click a specific message to focus on that message and the corresponding agent. This is especially useful when multiple agents have replied to the customer and you want to review only one agent’s contribution. See Grading conversations.

Leaving comments is encouraged. You can expand the comment box to write more, and use hashtags or mentions to involve others in the conversation.
After adding scores and comments, submit your review. A score out of 100% will be calculated based on the weights you’ve assigned to your categories.
Reviewed agents receive a notification prompting them to consult the feedback in their Received Reviews view.
Translating conversations
You can translate conversations from supported languages into your preferred language, as defined in your agent settings, by clicking the globe icon. You can toggle between viewing the end user’s original messages and the translated versions.
Starring conversations
Save a conversation for later by using the star button. Starred conversations can be found under the Starred conversation filter.

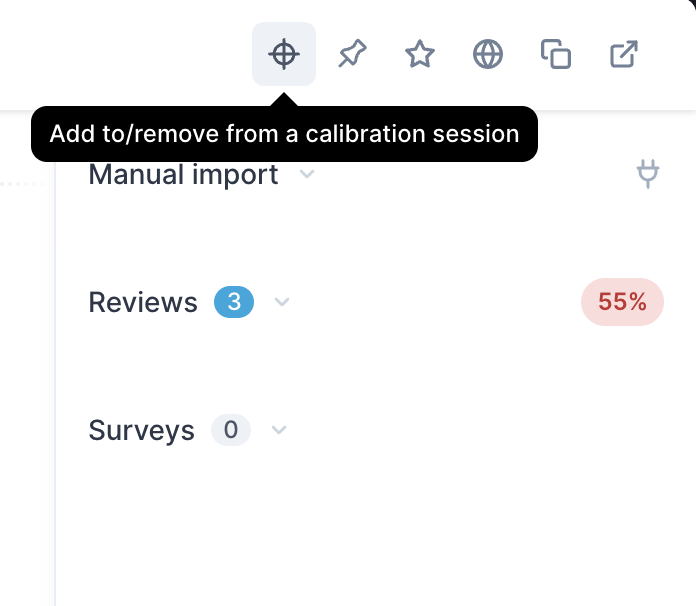
Adding a conversation to a calibration session
When you find a conversation to include in a Calibration session, use the Add to/remove from calibration session button at the top.
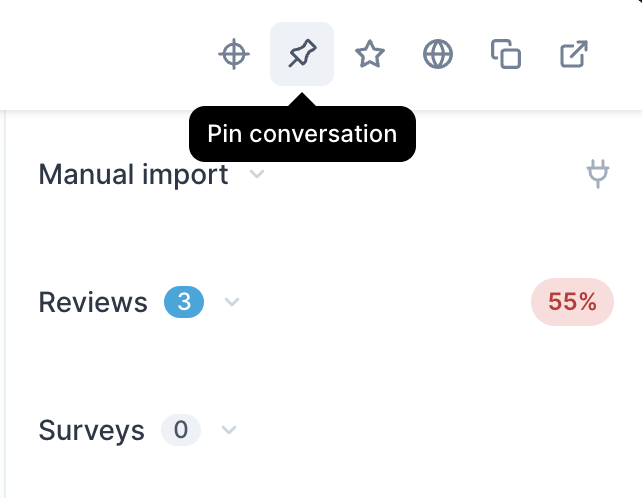
Pinning conversations
If there’s an interesting or important conversation you'd like to emphasize, or if there’s something that requires coaching, you can pin it to a coaching session and assign it to a specific user.