As part of intelligent triage, intents detect what a ticket is about. You can use the intents that appear in tickets to automate your workflows.
-
Redirect customers to self-serve.
For example, you can deflect tickets with account password or sign in issues by sending an auto reply with an article that describes how to solve the problem.
-
Route tickets to the right groups.
For example, you can assign a refund intent directly to agents who specialize in handling refunds.
-
Increase ticket priority.
For example, you can increase SLA priority for tickets that report scam issues.
To help you get the most out of Zendesk's AI Copilot features, this article provides an overview on how admins can get started with intents. It contains the following sections:
- Step 1: Set up the channels for intent detection
- Step 2: Use triggers to create workflows based on intents
- Step 3: Track your progress with the Intelligent triage dashboard
Related articles
Step 1: Set up the channels for intent detection
You can set which ticket channels include intent detection.
For example, you might want your agents to view intents on email channels, but not messaging channels.
To set up channels for intents
-
In Admin Center, click
 AI in the sidebar, then select Intelligent triage > Intent.
A list of intelligent triage intents appears.
- Click Manage settings.
A Manage settings page appears.
- For intent detection, add the Channels you use the most. Some channels are
already added by default.
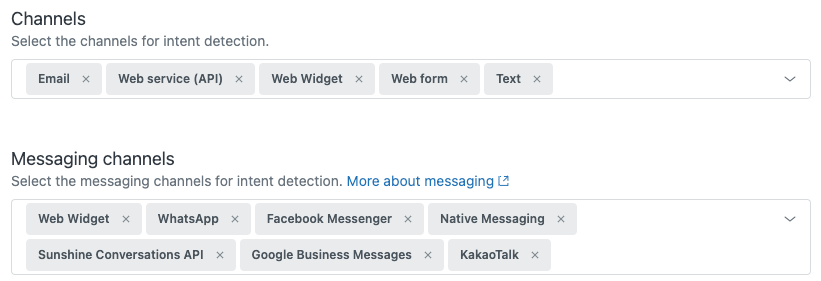
For a full list of channels you can add, see Turning on and configuring intelligent triage.
- Click Save.
Step 2: Use triggers to create workflows based on intents
Once you are familiar with the use cases where intents can help and configure which channels include intent detection, you can create ticket triggers to manage ticket workflows based on intents. For example, you can create a trigger to automatically route any ticket with an Account activation intent to a group of agents in your company who handle account services.
To create a trigger based on intent
To automate ticket workflows, create ticket triggers based on intent.
- In Admin Center, click
 Objects and rules in the sidebar, then select Business rules >
Triggers.
Objects and rules in the sidebar, then select Business rules >
Triggers. - On the Triggers page, click the Ticket tab, then click Create trigger.
- Enter a Name, Description, and Category for your trigger. See Creating ticket triggers for details.
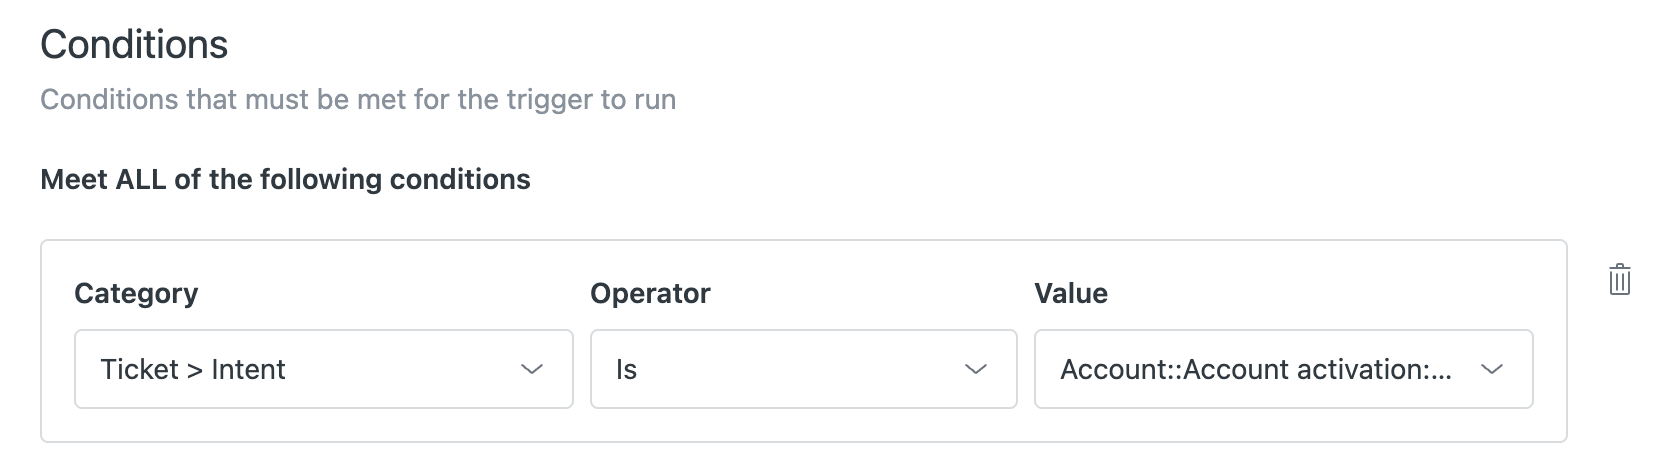
- In trigger Conditions, add the Intent you want to use as part of the
trigger condition.
You can use the values included on the Intent list to specify a condition. See Accessing and viewing intelligent triage intents.
For example:
Intent | Is | Account::Account activation
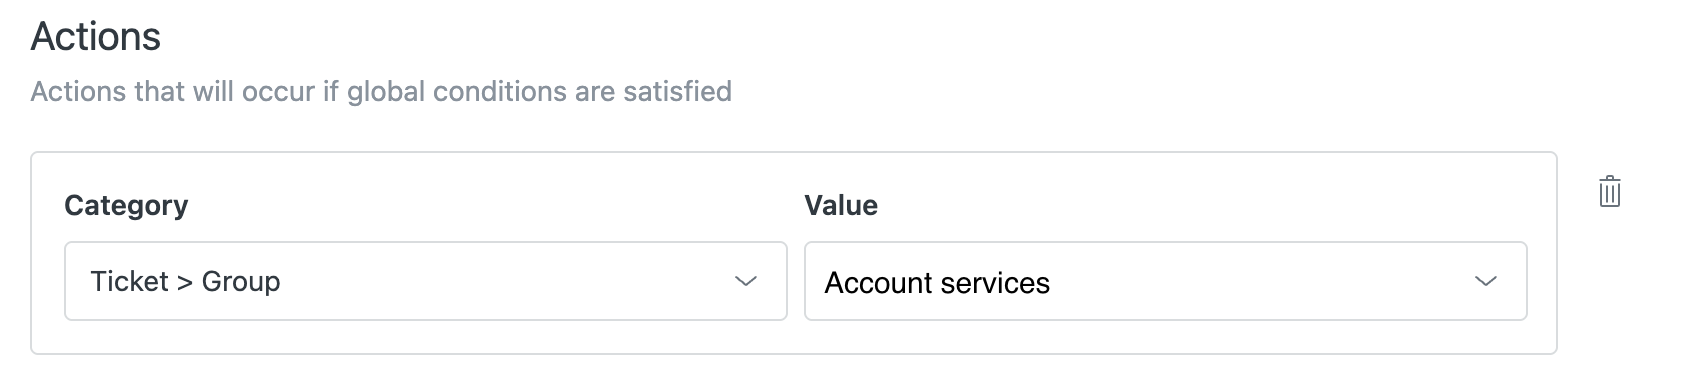
- In trigger Actions, add the actions you want to perform when the condition
applies.
For example:
Ticket > Group | Account services
For more information on trigger conditions and actions, see Ticket trigger conditions and actions reference and Zendesk chat and messaging triggers conditions and actions reference.
- Click Create trigger.
Step 3: Track your progress with the Intelligent triage dashboard
Zendesk Explore includes an Intelligent triage dashboard you can use to extract valuable insights into your tickets. Use these insights to improve your workflow and determine how effective your support is.
To open the Intelligent triage dashboard
- Open the product menu and select Analytics.
A list of Explore dashboards appears.
- From the list of dashboards, click the Zendesk Copilot: Intelligent triage
dashboard.
As you drive more volume of tickets, the intelligent triage dashboard will help you understand your service operations and provide insights to identify opportunities to improve.
Tip: You can also view suggestions for improvements in the Recommendations section of the Overview: Copilot page.