After you create an AI agent, you need to connect it to Zendesk Support before the AI agent can begin responding to customers by email. Email responses sent by the AI agent are sent as the system user, meaning no agent seat is required for an email AI agent.
You should connect only one AI agent to email. For advice on how to handle brand-specific information within a single AI agent, see Can I connect multiple AI agents to a single Zendesk account?
Connecting an AI agent to your subdomain
The first step in connecting an AI agent to email is to connect to your production or sandbox environment.
To connect an AI agent to your subdomain
- In the AI agents workspace, select the AI agent you want to work with.
- Click
 Settings in the sidebar, then select CRM integration.
 - Click Select your CRM and select Zendesk Support.
- Select the Integration tab.
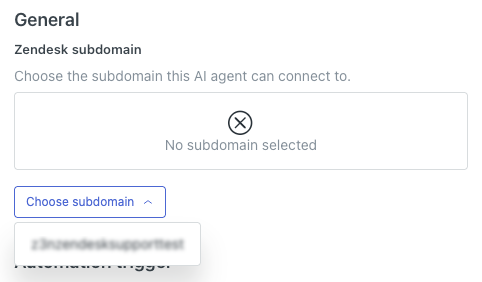
- Click Choose subdomain and select the subdomain for either your production or
sandbox environment.
- Under Sender, click the drop-down field and select the user that appears in
tickets as the sender of the AI agent response.
This user appears as the sender only when the ticket is viewed in the Agent Workspace. When a customer receives an AI agent email response in their inbox, the sender appears as the brand name and support address you’ve selected in Admin Center.
For more information on this setting, see Configuring the sender of AI agent email responses.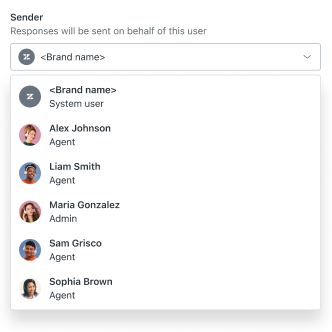
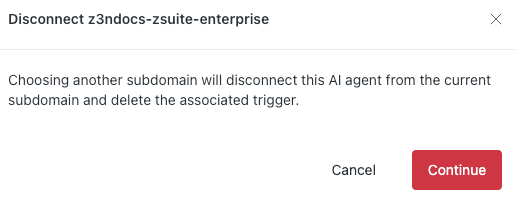
- In the confirmation dialog, click Continue.
Creating the automation trigger and turning on the automation engine
After you connect to your subdomain, you need to create the automation trigger and turn on the automation engine. This allows the AI agent to send replies to customer requests on the email channel.
- In the AI agents workspace, select the AI agent you want to work with.
- Click
Settings in the sidebar, then select CRM integration.
- Select the Integration tab.
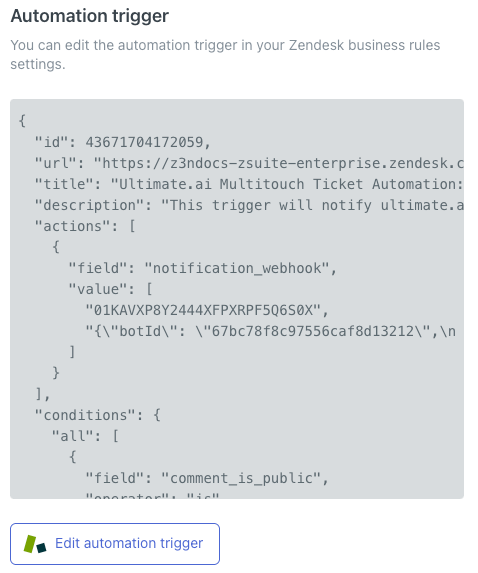
- Click Create automation trigger.
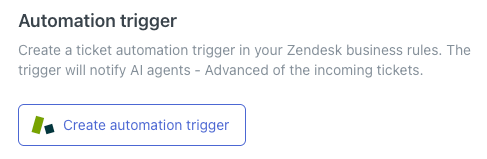
The trigger is automatically created. You can view the details of the JSON in a read-only text window, and edit the trigger if needed.
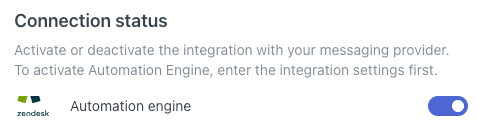
- Select the Overview tab.
- Select Automation engine to toggle it on.
Your AI agent is now connected to email. At this point, you may want to:
- Manage the automation trigger to reorder it in your list of triggers or edit its default configuration.
- Import ticket data to populate the AI agent’s conversation logs with historical data from Zendesk Support.
Disconnecting an AI agent from email
If you no longer want an AI agent to be connected to email, you can turn off the automation engine and deactivate the trigger.
- In the AI agents workspace, select the AI agent you want to work with.
- Click
Settings in the sidebar, then select CRM integration.
- Select the Overview tab.
- Select Automation engine to toggle it off.
- In the confirmation dialog, select Turn off.
At this point, the AI agent is still technically connected to the email channel, but it won’t respond to customer requests.
- Select the Integration tab.
- Click Deactivate automation trigger.
- (Optional) Select the Overview tab again, click Remove integration, and then click Confirm in the confirmation dialog.
Your AI agent is no longer connected to email.