Verified AI summary ◀▼
Manage API access to your Zendesk account by generating, editing, deactivating, reactivating, and deleting API tokens. On Enterprise plans, view the audit log for token activities.
Users can use an API token to authenticate API requests. API tokens are auto-generated passwords that you can use with your email address to authenticate API requests. They can also be used as part of two-factor authentication for integrations. Each API token can be used by any verified user on the account and isn't associated with a specific user. More than one token can be active at the same time
You can have up to 256 tokens. If you're at the limit, you must delete an existing token to add a new one. Accounts that currently have more than 256 tokens have a limit of 2048 tokens.
API tokens are not the same as OAuth access tokens. See Differences between API tokens and access tokens on developer.zendesk.com.
This article includes these sections:
Generating API tokens
To generate an API token, you must be an administrator and API token access must be turned on in your account.
To generate an API token
-
In Admin Center, click
 Apps and integrations in the sidebar, then select APIs > API tokens.
A list of API tokens appears.

- Click Add API token.
- (Optional) Enter a Description for the token.
- Click Save to generate the token.
The token is generated and displayed.

-
Copy the token and paste it somewhere secure.
Note: When you click Save to close this window, the full token will never be displayed again.
- Click Save again to return to the list of Zendesk API tokens.
If you click the token to reopen it, a truncated version of the token is displayed.

Editing an API token
You can edit an API token to update the token description.
- In Admin Center, click Apps and integrations in the sidebar, then select APIs > API tokens.
- Find the token you want to edit.
- Click the options menu icon (
 ) next to the token and select Edit.
 - Enter a new Description for the token, then click Save.

Deactivating and reactivating an API token
In some cases, you may want to temporarily deactivate a token to make sure it hasn’t been compromised, or you might want to deactivate a token to investigate how it's being used without actually deleting it. Deactivated tokens can be reactivated.
To deactivate an API token
- In Admin Center, click Apps and integrations in the sidebar, then select APIs > API tokens.
- Find the token you want to deactivate.
- Click the options menu icon () next to the token and select Deactivate.

- In the confirmation dialog, select Deactivate.
The token status changes immediately. As soon as you deactivate a token, API calls using that token begin failing.
- In Admin Center, click Apps and integrations in the sidebar, then select APIs > API tokens.
- Find the token you want to reactivate.
- Click the options menu icon () next to the token and select Reactivate.
- In the confirmation dialog, click Reactivate.
The token status changes from Deactivated to Active. Reactivating a token restores its ability to authenticate API requests.
Deleting an API token
- In Admin Center, click Apps and integrations in the sidebar, then select APIs > API tokens.
- Find the token you want to delete and make sure the status is Deactivated.
- Click the options menu icon () next to the token and select Delete.

- In the confirmation dialog, click Delete.
Viewing audit logs for an API token (Enterprise)
On Enterprise plans, the audit log records activity associated with an API token, including when it was created, deactivated, or reactivated.
- In Admin Center, click Apps and integrations in the sidebar, then select APIs > API tokens.
- Find the token in the list.
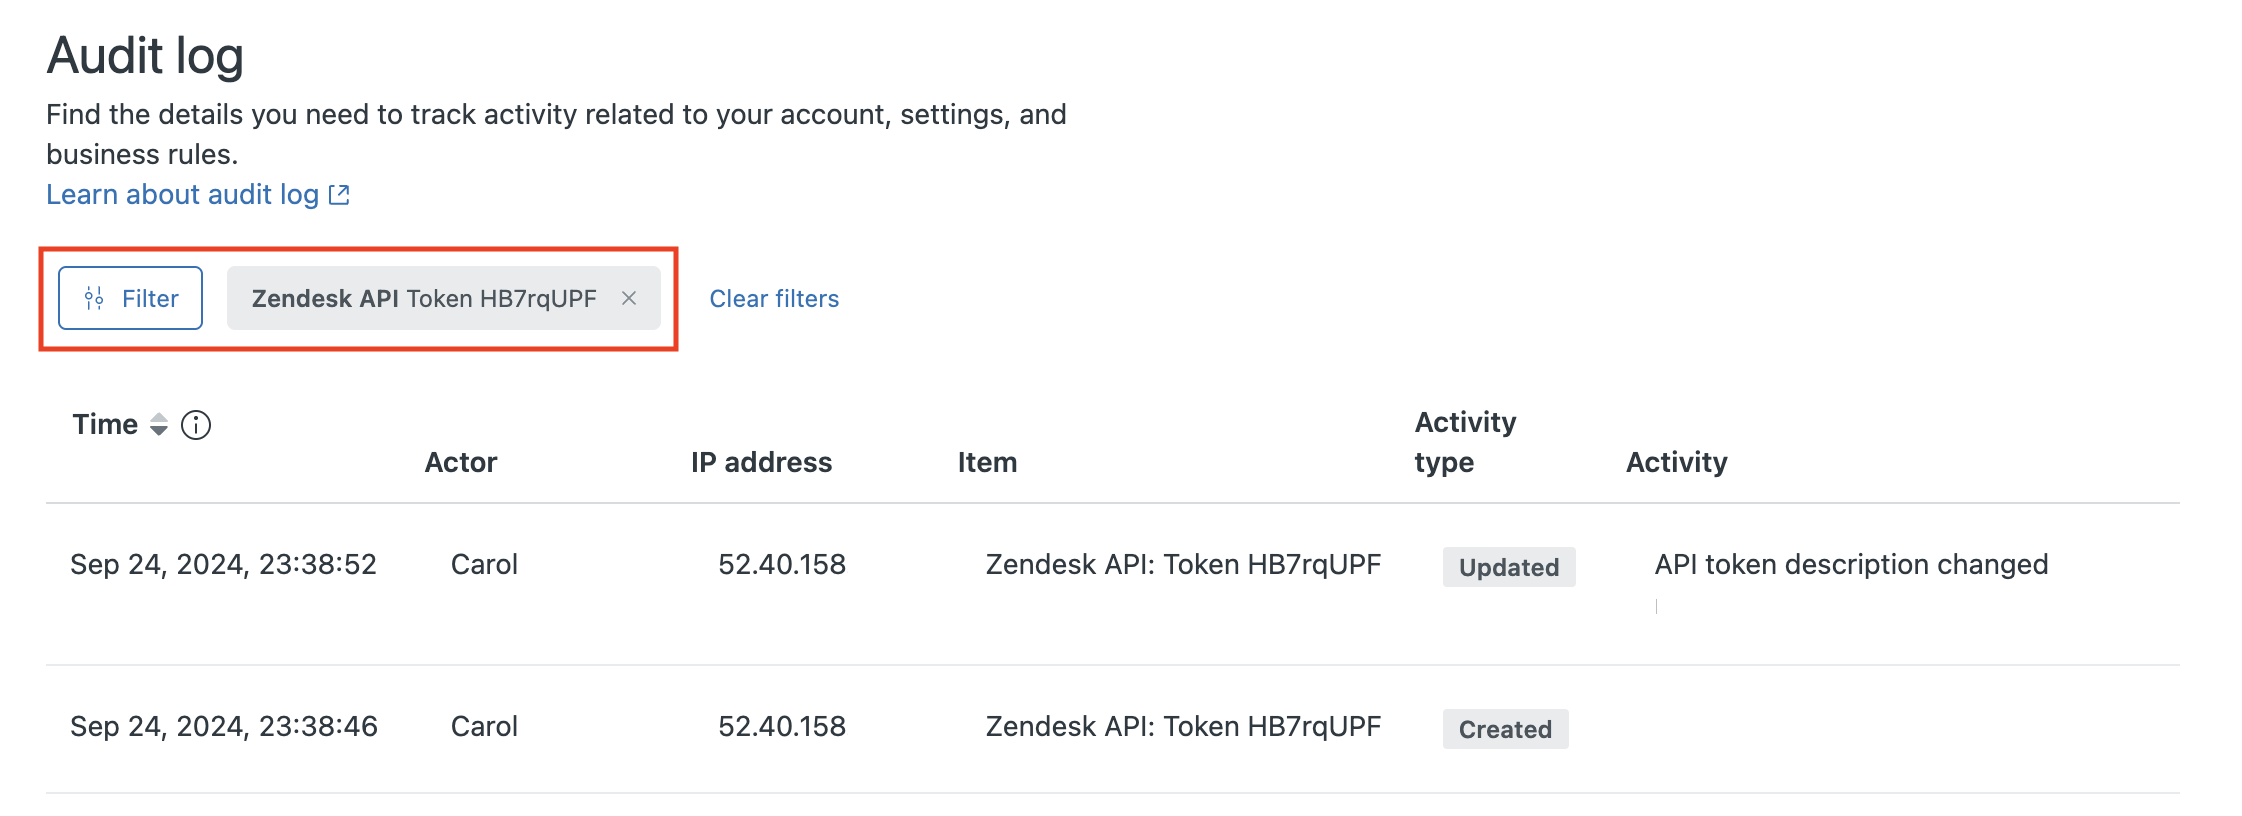
- Click the options menu icon () next to the token and select View audit log.
The audit log opens with a filter applied for the API token you selected. The audit log shows the activities associated with the token.