Articles in the series
- Choosing the email addresses you want to use to receive support requests
- Understanding how incoming emails set the ticket requester
- Understanding how incoming emails are matched to tickets
- Spam filtering and suspended tickets
- Controlling who can use email to create tickets
- Managing user accounts created by email requests
- Disabling rich content in incoming email notifications
- Understanding how a customer’s language is detected
- Including other people as a CC or follower
Choosing the email addresses you want to use to receive support requests
One support address is created for you by default in your account. This system support address is support@yoursubdomain.zendesk.com. The yoursubdomain portion of the address is your Zendesk subdomain. However, you can provide your users with alternative email addresses for submitting tickets by adding other support addresses and by forwarding email into your Zendesk account from external email systems.
You can receive support requests through multiple email addresses simultaneously. The email addresses you use to receive support requests are referred to as support addresses. If you use multiple support addresses, one of them is set as the default support address.
Anatomy of an email address
Before showing you how you can customize your support email addresses, here’s a quick overview of the elements of an email address.

The friendly name, referred to in Zendesk simply as ‘name,’ is optional and is usually the full name of your business or organization. The user name, technically known as the local-part, is the word that precedes the @ character. The domain can be either your Zendesk domain or an external domain.
Changing the user name of your default support email address
- help@yoursubdomain.zendesk.com
- sales@yoursubdomain.zendesk.com
- billing@yoursubdomain.zendesk.com
By using different email addresses for different situations, you can manage and track your tickets based on the email address at which the support request was received. For example, if your end users send email to sales@yoursubdomain.zendesk.com, you can create a trigger to route tickets received at that address directly to the Sales team. You can also track, via views and reports, tickets received at those different addresses.
Allowing any user name to be a valid support email address
You can also allow any variation of the user name to be a valid support address. For example, if a customer misspelled your support email address as biling@yoursubdomain.zendesk.com rather than billing@yoursubdomain.zendesk.com, the email can be accepted and a ticket created. These types of variations are referred to as wildcards.
Wildcards handle incoming support address errors (as in the example above). When they are received, the default support address replaces the incorrect address. Note that wildcard addresses cannot be used in business rules.
See Accepting wildcard email addresses for support requests.
Using an external email domain instead of your Zendesk email domain
You can also add external email domains as support email addresses. You can forward all the email that’s coming into your external email account (Gmail, for example) into Zendesk. You can continue to use an existing email address, and there’s no ‘Zendesk’ in the email Sent To and Reply From addresses.

- First, create a new external email-based support address in Zendesk.
- Next, you must set up email forwarding by configuring your email account outside of Zendesk.
- Finally, add a sender policy framework (SPF) record to verify that Zendesk can send outgoing email on behalf of your email server.
See Forwarding incoming email from your existing email address to Zendesk.
Agent email forwarding and redirecting
Setting up an external support email address for an email system allows you to automatically forward customer emails to your Zendesk account. It’s also possible to manually forward or redirect one-off support requests that you may receive at an email address that has not been added as a support address.
You can allow your agents to forward email to your support address to create a ticket on behalf of the original sender. To do this, turn on email forwarding for agents. Agents can also set the original sender as requester using a simple text command in the forwarded email.
Another option is to redirect the email using the email application where it was received. For example, in Microsoft Exchange an email message can be redirected using the Actions > Resend this Message command.
Understanding how incoming emails set the ticket requester
The email body is not used in any way to assist in identifying the requester of a ticket. Zendesk uses information from the email headers to determine the ticket requester. Usually a requester is set based on the reply-to: header flag. If the reply-to: header is not present, from: is used in its place. This behavior can't be changed.

Agents can use the mail API #requester syntax to set the requester on a ticket.
For more information on email threading, see How can I troubleshoot threading issues?
Understanding how incoming emails are matched to tickets
A ticket is similar to a threaded email conversation. Keeping the thread together as part of the same ticket is done using references embedded in both the outgoing and incoming email notifications. For example, when a customer replies to an email notification, the reply includes references to the ticket so that the incoming email can be matched to the correct ticket.
- Email header: A reply back from a customer contains ticket references in the email header using In-Reply-To and References. You can view the header and source of any email that you receive.
- Email body: The email body includes a hidden reference to the ticket.
-
Zendesk support address: If you're using a Zendesk support address, the
Reply To email address includes an encoded reference to the ticket ID. For
example: MondoCam Support <support+id1G7EOR-0Q2J@mondocam.zendesk.com>
If you're using an external domain for email, the encoded ticket ID is not included in the Reply To email address.
After an email conversation has been started and ticket references have been embedded into the thread, any replies back and forth are tied to that ticket. If, for some reason, you wanted to create a new ticket from that email thread, you’d need to copy the content of the email message and create a new email message. Forwarding the email thread to one of your other support email addresses won't create a new ticket because the embedded ticket references will tie it back to the original ticket.
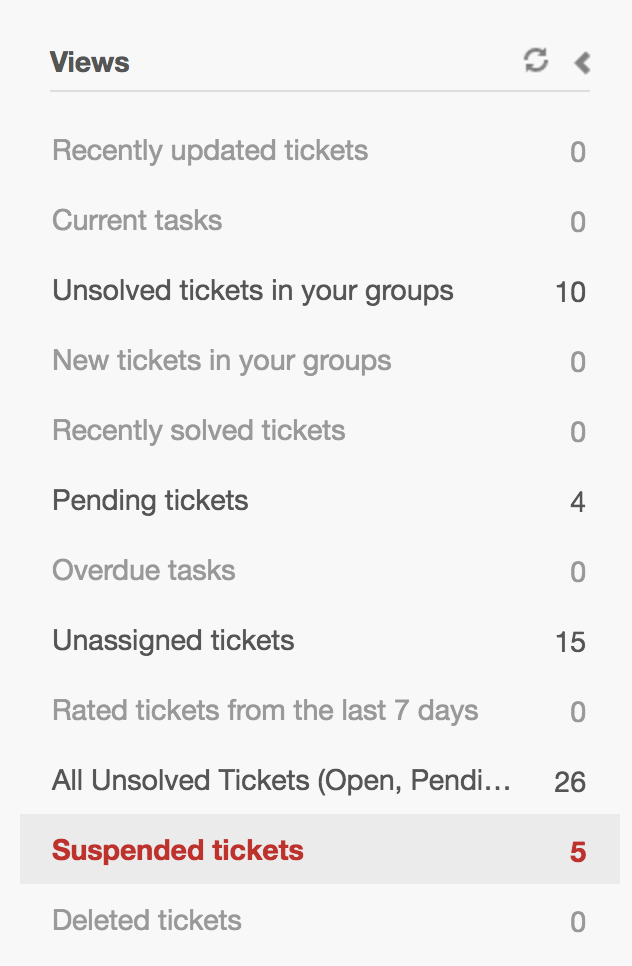
Spam filtering and suspended tickets
Spam filtering prevents your account from getting cluttered with bogus tickets. Spam email is caught and may be held in the suspended tickets queue or completely rejected (meaning that you’ll never see them) if there's a high probability that the email is spam.
Keep in mind that spam filtering is not perfect and that legitimate support requests may end up in the suspended tickets queue. When that happens, you can manually retrieve them. For a detailed explanation of why some incoming email ends up in the suspended tickets queue, see What does "Detected as spam" mean?.
All of your suspended tickets are listed in a system-generated view that won't appear in your list of views until the first time a ticket is suspended. Use the Suspended tickets view to review the emails and accept them as legitimate tickets or reject them as spam. See Understanding and managing suspended tickets and spam.
Controlling who can use email to create tickets
Another way to prevent bogus or unwanted tickets is to prevent specific users or groups of users from creating tickets with email. To do this, add their email domains or individual email addresses to your blocklist. This causes their emails to be suspended or completely rejected. If you want to allow exceptions to your blocklist, you can add specific email addresses or domains to your allowlist. For example, if specific users within a blocked email domain are allowed to submit support requests via that email domain, you can add email addresses for those specific users to the allowlist.
You can also set up a closed Zendesk where only the users that you add to Zendesk can submit support requests. When you place access restrictions like this on your account, you’re creating a restricted account. See Understanding options for end-user access and sign-in.
Managing user accounts created by email requests
All the customers you support have a user account in Zendesk. Unless you restrict or close access to your account, new user accounts are created when you receive a customer’s first support request via email, excluding suspended or rejected emails. A customer’s user account tracks of all their support requests, contains their contact information, and all of the data that’s gathered in the course of interacting with them.
Because most people use more than one email address, you may receive support requests from an existing customer who has used one of their other email addresses. When this happens, a new and separate user account is created. It's best to avoid duplicate accounts, so you can merge the newly created account into the customer’s original user account.
Using more than one email address is supported, as long as the customer’s other email addresses are also added to their user account. If you give end users access to edit their profile via the customer portal in your help center, they can add other email addresses to their user account themselves.
If users have more than one email address associated with their profile, one of the email addresses is set as their primary email address. The other contact email addresses that are added to their profile are used to associate support requests from those email addresses with their user account. All outgoing email notifications to customers use the primary email address.
Assigning email requesters to organizations
When you receive an email support request from a customer for the first time, which creates their user account, you can assign that customer to an organization based on their email domain. For example, you might want to segment your customers based on the company they work for, which you’ll know by their email domain. This is referred to as user mapping and admins can set this up by editing an organization's settings.
For more information, see Automatically adding users to organizations based on their email domain.
Disabling rich content in incoming email notifications
By default, Zendesk uses the rich content formatting contained in incoming HTML-based email messages (bold, italic, underline, tables, etc.). The rich content is retained and displayed in tickets. If you prefer to use the plain text version of email messages, you can disable rich content in incoming emails.
Understanding how a customer’s language is detected
There are a number of ways to identify a customer’s language and reply to them in their preferred language. User profiles include a language setting that users and agents can specify. Additionally, Zendesk attempts to detect a user's language from incoming email support requests from new customers.
Including other people as a CC or follower
Support conversations aren’t always limited to the customer who needs support and the assigned agent to provide that support. You can use the CCs and followers feature to include other people in the conversation and alert them to responses.
Admins can allow agents and signed-in customers to add CCs to tickets, but enabling CCs can add complexity because of the increased number of recipients. When other agents are added as CCs, they receive email notifications for all ticket updates, including both public and private comments added to the tickets. Customers that are CC’d only receive email notifications for public comments and ticket updates.
Followers get email notifications when comments are added to tickets they are following. There’s no way to disable email notifications to followers (other than to stop using followers), but you can customize the text in email notifications to followers using the followers email template.
When rich text formatting is enabled, you can also add other people to a ticket by using an @mention within the body of a ticket comment.