Verified AI summary ◀▼
Use the Ticket views setup wizard to create shared ticket views. Views help your team prioritize tickets and manage workflows. After setting up, you can review and adjust these views in Admin Center.
Using views to organize your tickets helps you and your team determine which tickets need attention and plan accordingly. To learn more, see Creating views to build customized lists of tickets.
There are a number of standard views that are included when you open a Zendesk Support account. To help you understand how views work, Zendesk also provides you with a setup wizard that shows how to create additional, custom views for your account.
This article contains these sections:
Starting the setup wizard for ticket views
After you’ve wrapped up the basic trial tasks for your account, start the setup wizard for views. The wizard helps you set up a few shared views you and your agents can use to manage ticket workflows and priorities. In addition to Zendesk Suite trial accounts, you can use this wizard for Zendesk Suite paid accounts and for Support-only accounts.
To set up ticket views
-
In Admin Center, click
 Launchpad.
Launchpad provides a “home base” for setting up features in your account and for trying out new product offerings.
- Find Ticket views in the Get started section of Launchpad.
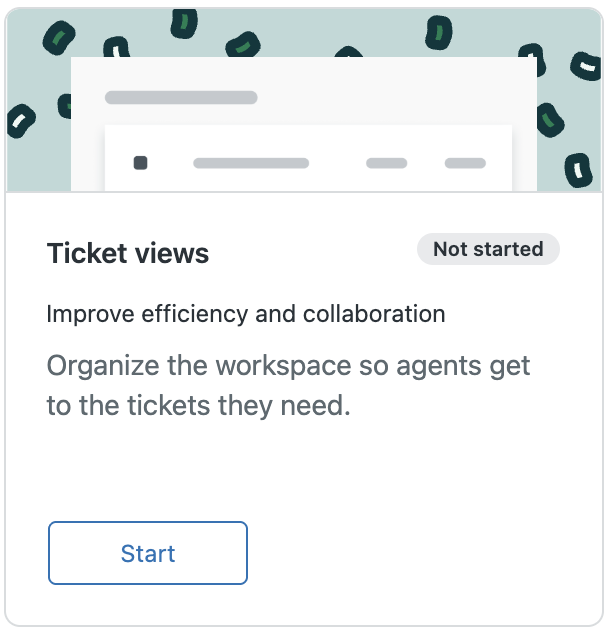
- Click Start to open the wizard.
You can also start the wizard by clicking the add icon (+) on the Views page in Support.

Creating shared views
- Urgent tickets: Shows all new or open tickets with an Urgent priority. This choice appears for all accounts.
- Custom ticket field tickets: Shows all tickets that contain the custom ticket field specified, where Custom ticket field is the name of a custom ticket field. This choice appears when you create your first custom ticket field. You can use this view as a model when you add more custom ticket fields and you want to create views for each of them.
- Group tickets: Shows all tickets assigned to the group specified, where Group is the name of a group. This choice appears when you create your first group. You can use this view as a model when you add more groups and you want to create views for each of them.
- Organization tickets: Shows all tickets assigned to the organization specified, where Organization is the name of an organization. This choice appears when you create your first organization. You can use this view as a model when you add more organizations and you want to create views for each of them.
- Messaging tickets: Shows all new or open messaging tickets. This choice appears if you have messaging tickets in your account.
- AI Agent tickets: Shows all AI agent tickets. This choice appears if you have the AI agent tickets setting turned on.
- Negative sentiment tickets: Shows all tickets with a negative or very negative sentiment predicted by intelligent triage. This choice appears if you have the Copilot add-on with intelligent triage activated in your account.
To create a shared view
- In the wizard, select the view you want to create.
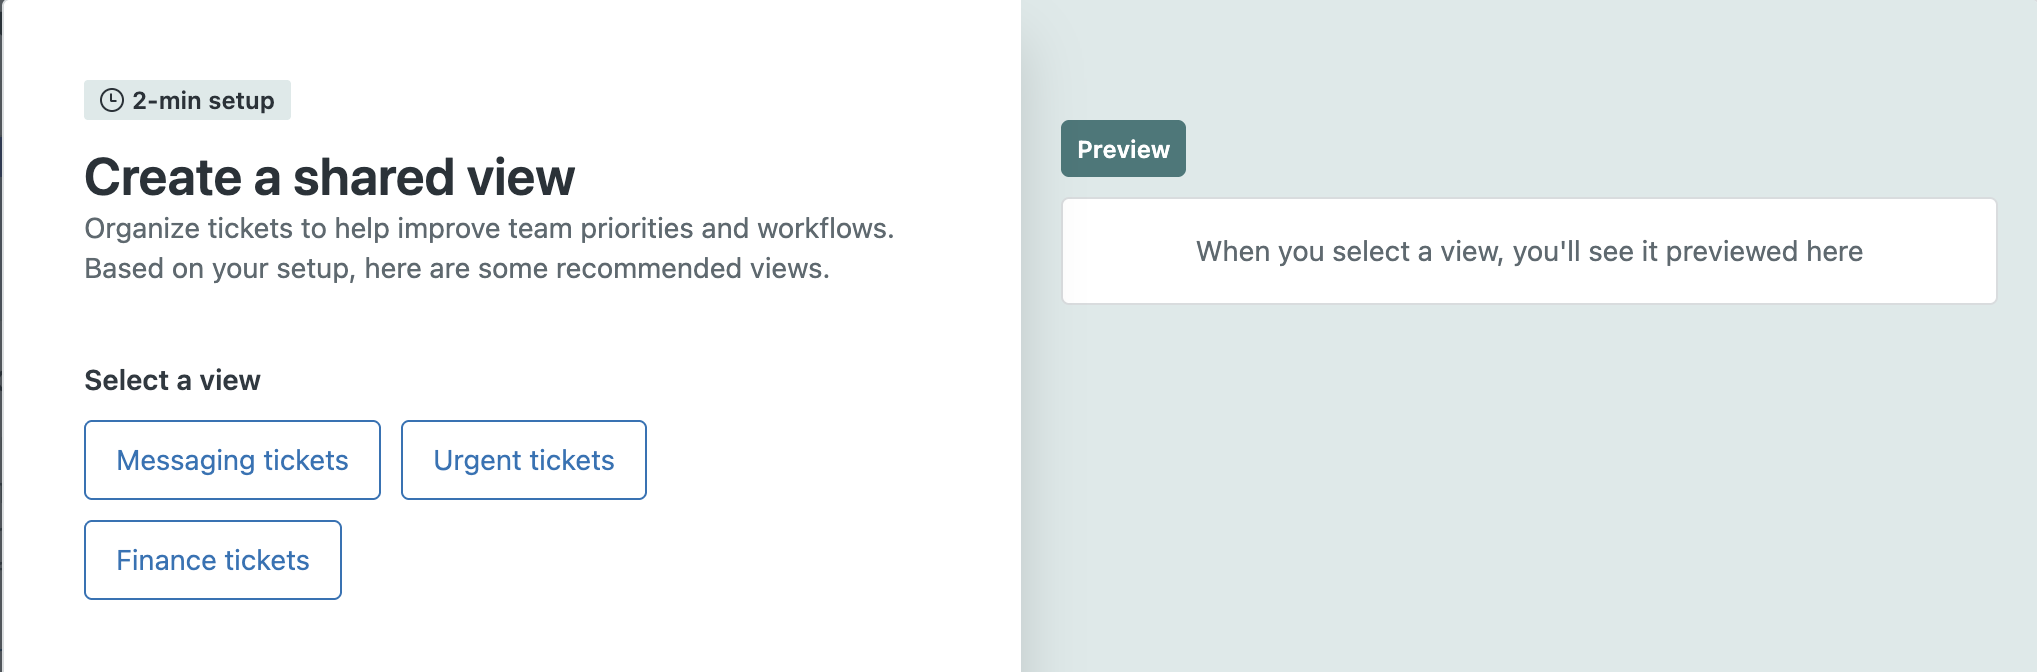
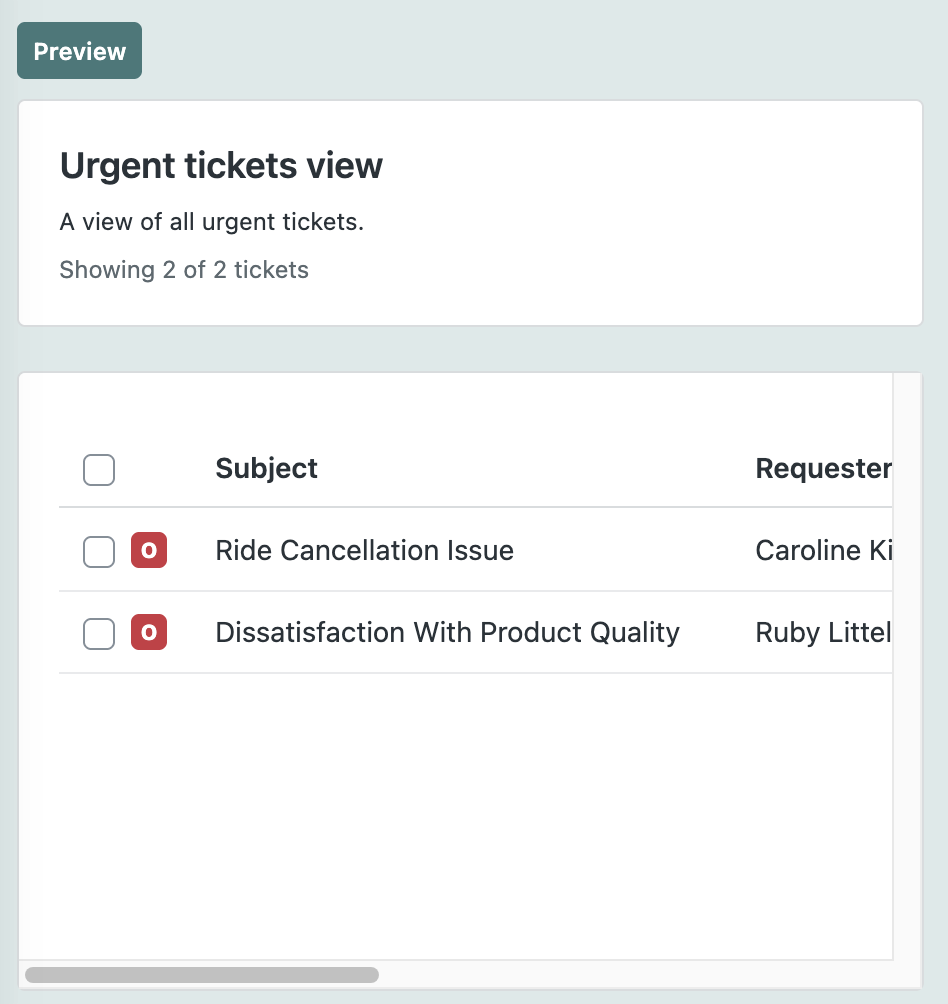
- Click Preview to see how the view will be applied to your tickets.
The preview shows a list of tickets that will be included in the view.
- If you’re happy with how the view works, click Create.
The wizard automatically adds the new view setup to Admin Center and you’ll see a preview of the view listed in the Support ticket interface.
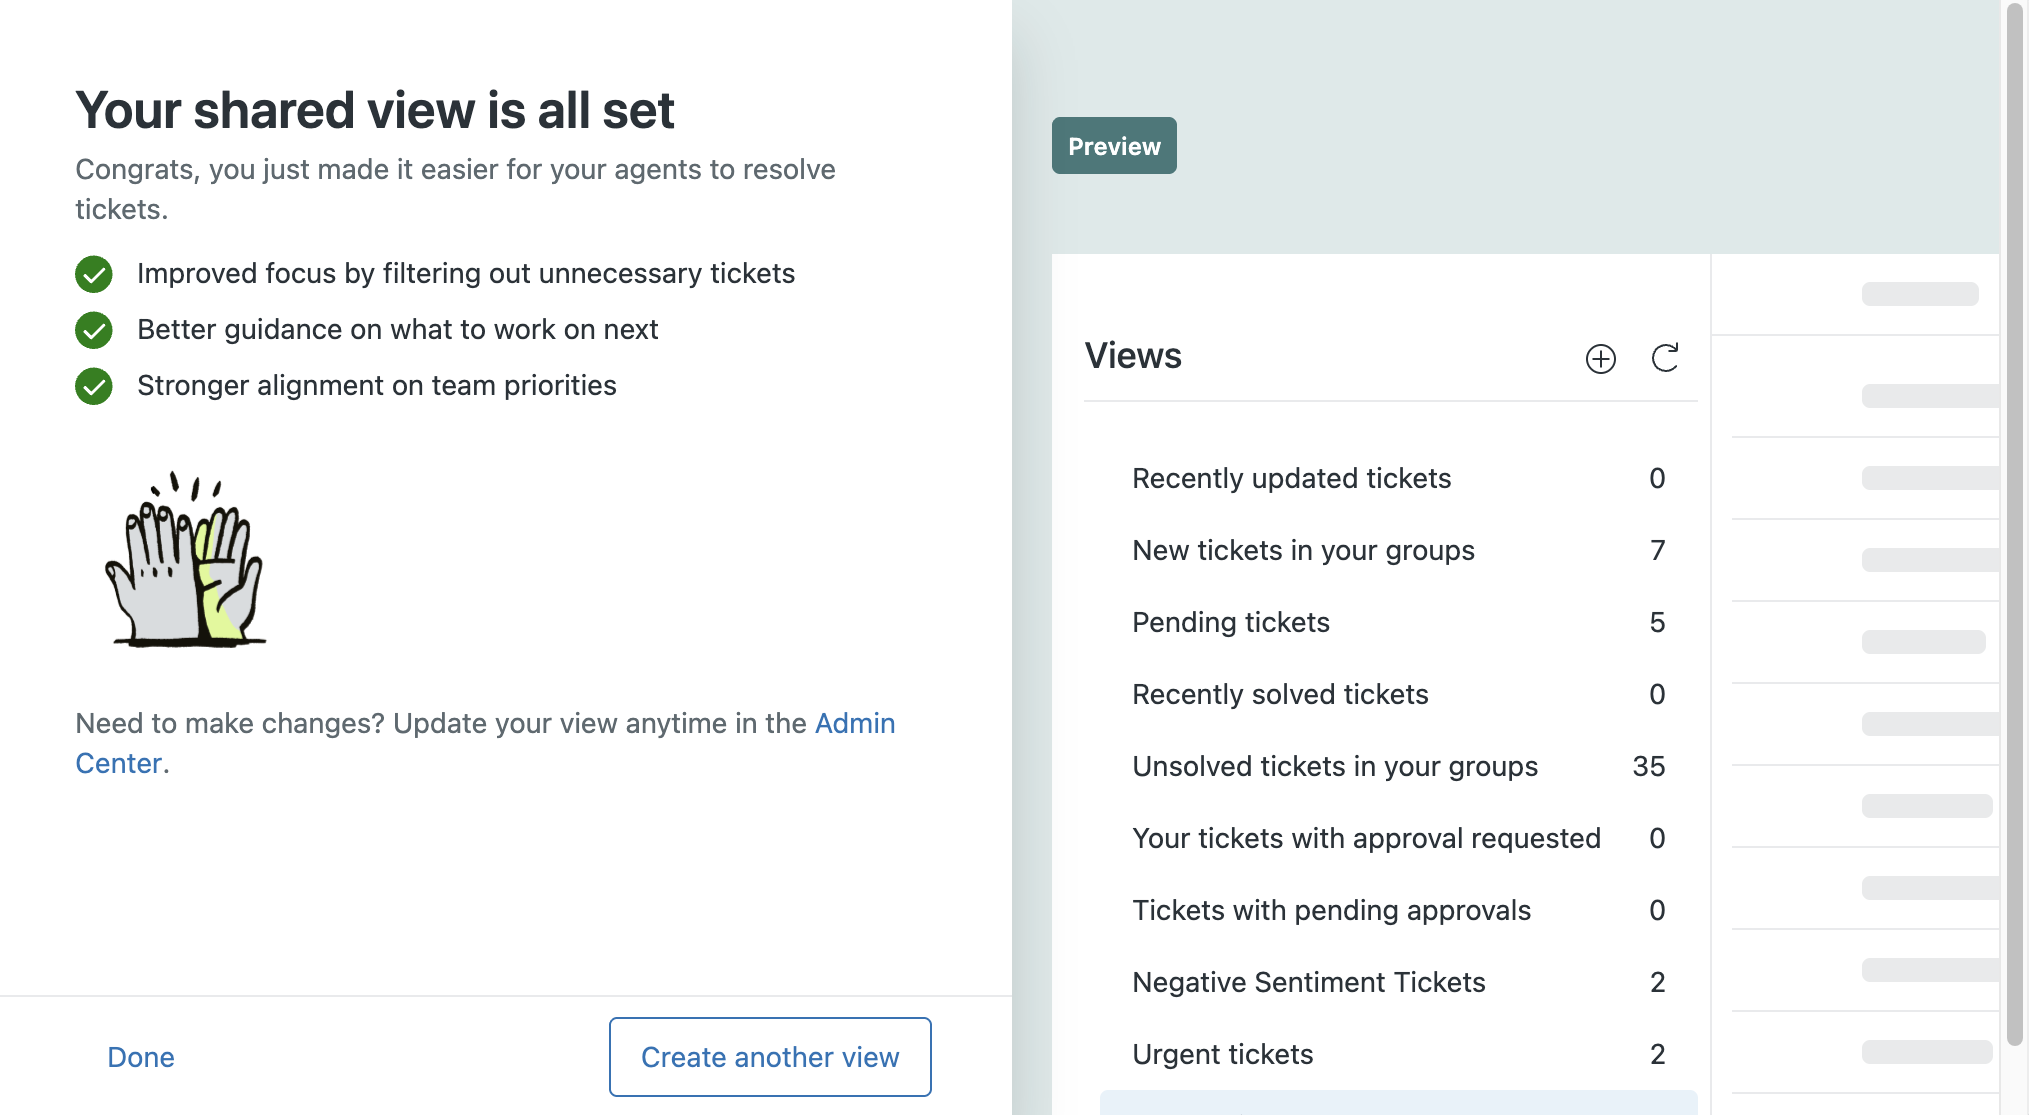
- If you want to create more views, click Create another view.
- If you want to make changes to the view you just created, click Admin Center.
Finishing up
After you’ve finished creating views, you can check how the views are working in Support and make additional changes to the views in Admin Center.
To see the views you created
-
In Support, click Views
(
 ) in the sidebar.
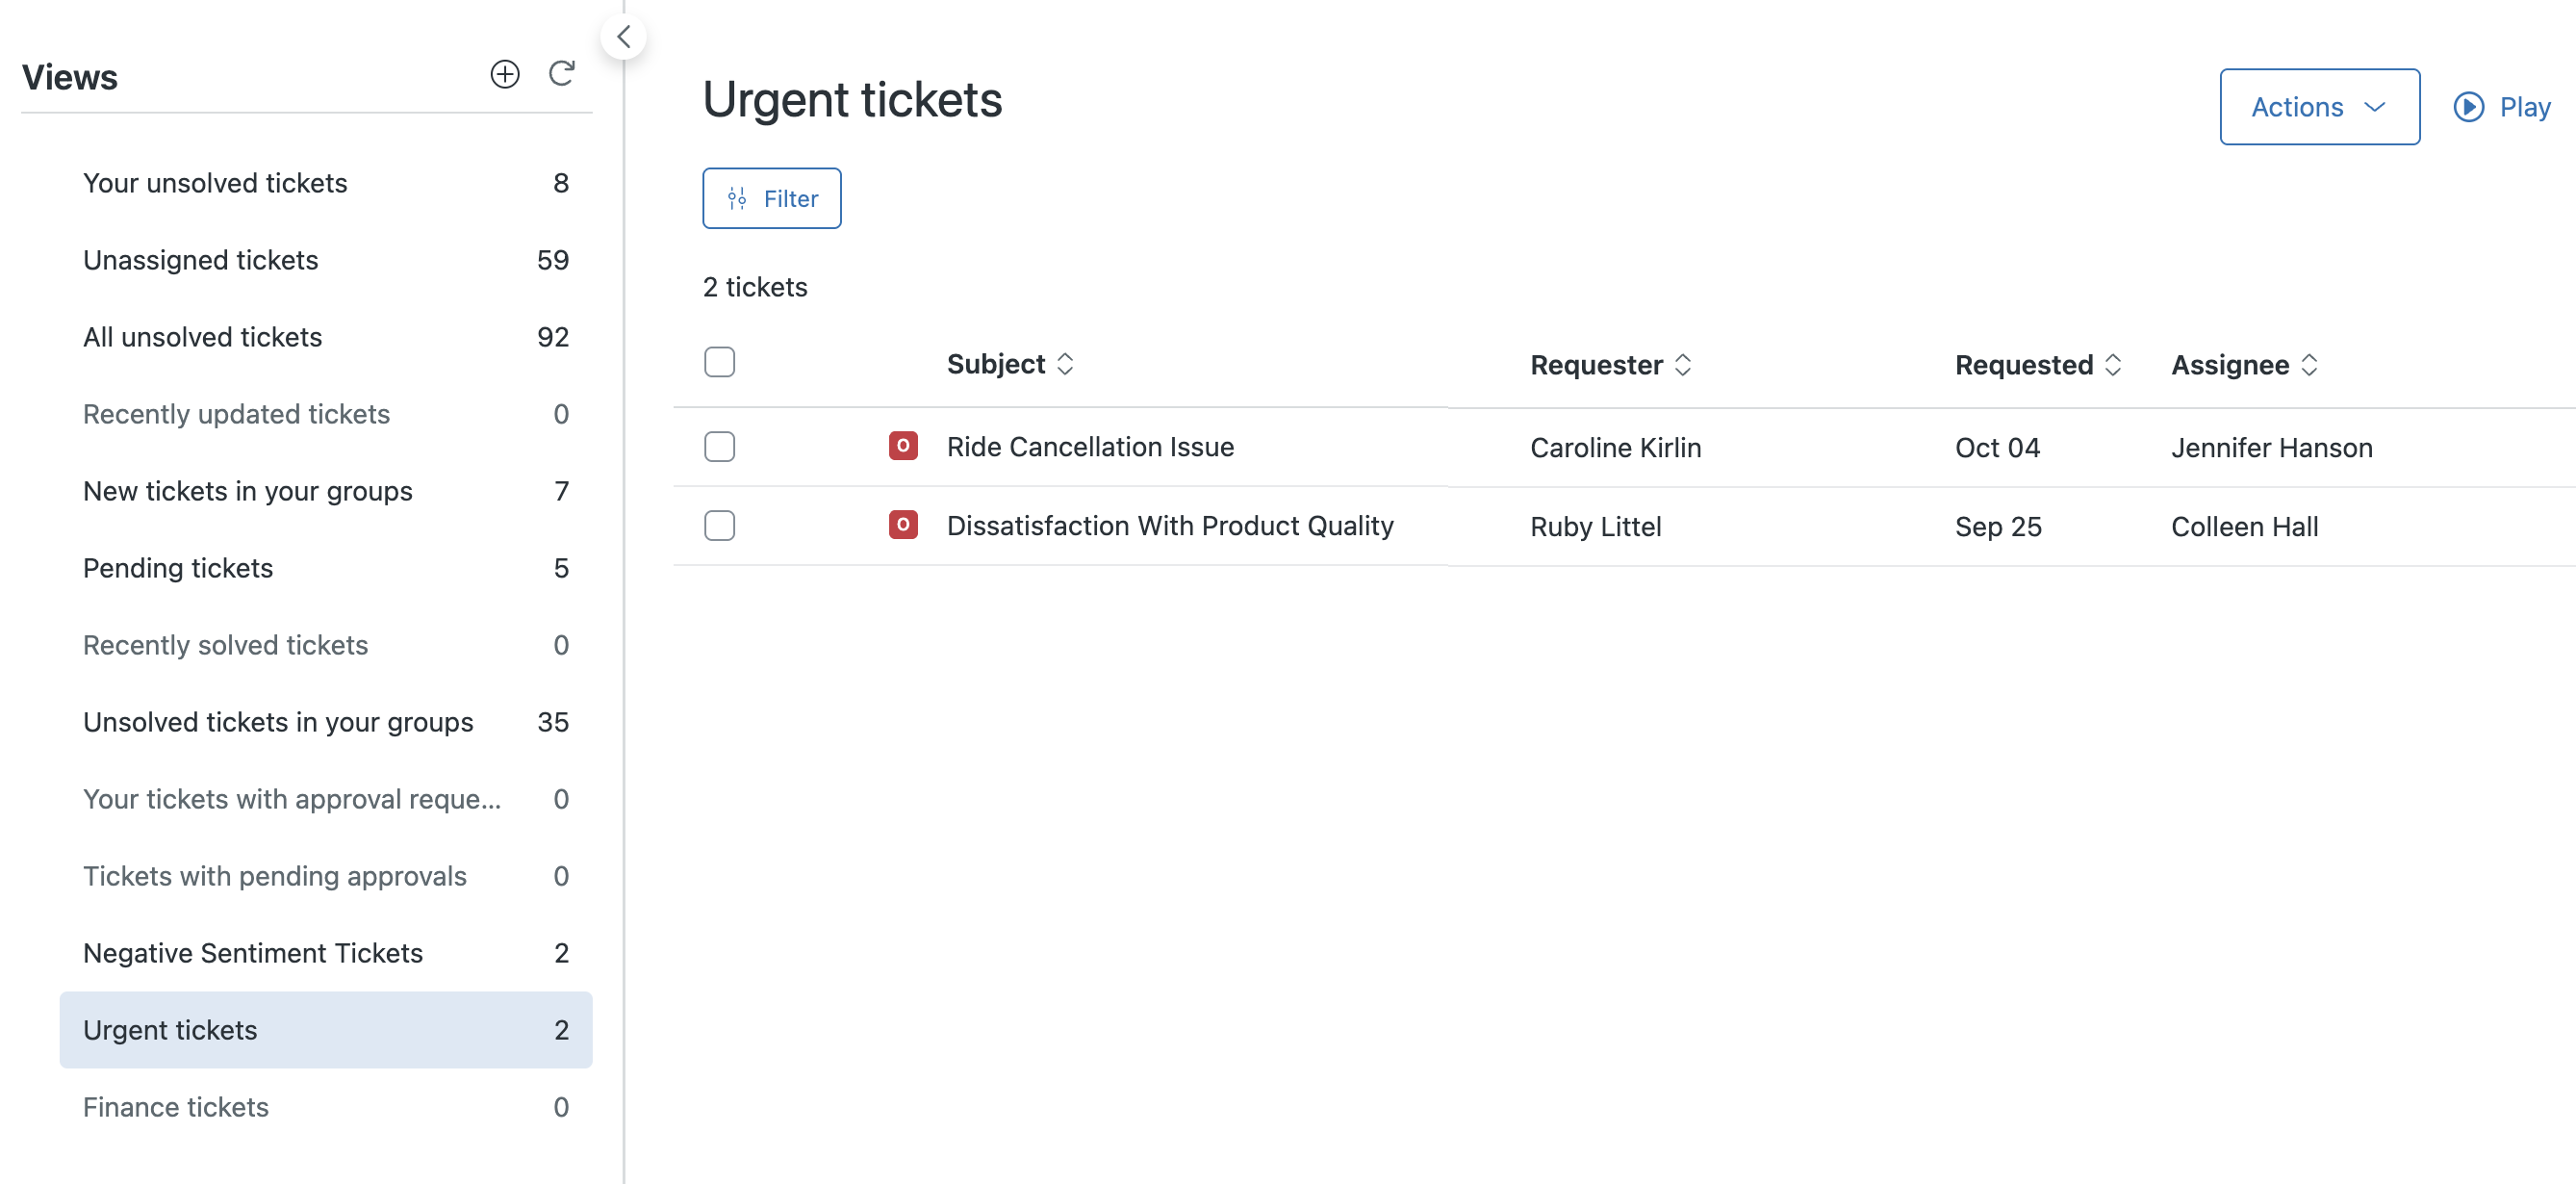
To make changes to the views or add additional views
-
In Admin Center, click
 Workspaces in the sidebar, then select Agent tools > Views.