Verified AI summary ◀▼
The help center offers a self-service support option, allowing you to find answers in the knowledge base or community. Use search features, content tags, and filters to locate information. Participate by posting in the community and manage your contributions and subscriptions. AI-powered search provides direct answers, and you can respond to approval requests. Customize notifications to stay updated on new content.
The help center is designed to provide end users with a complete self-service support option. They can get information from the knowledge base or turn to the community, if available, for answers. If they can't find an answer, they can submit a request to an agent.
For information about submitting and tracking support requests, see Submitting and tracking requests in the help center Customer Portal.
Topics covered in this article:
- Anatomy of the help center
- Searching for content
- Using content tags
- Using the search filters
- Using generative search to receive AI-powered answers to your search query
- Sorting content in the community
- Making posts in the community
- Viewing your community contributions
- Following content in the KB and community to get notifications
- Viewing and managing your subscriptions
- Sharing links to specific comments
- Responding to approval requests as an end user
Anatomy of the help center
The help center can consist of a knowledge base and a community platform.
You can use search to find information in both the knowledge base and the community at the same time. The search results are displayed in two columns, with one column listing the knowledge base results and the other listing the community results.
You can browse the content in one or the other by clicking Knowledge base or Community. See the following sections for more information.
Getting around the knowledge base
The knowledge base consists of categories, sections, and articles. Articles are grouped in sections, and sections are grouped in categories.

To get around the knowledge base, you can use search or browse categories and sections. If available, use breadcrumbs to go home or to a parent section or category. Depending on how your help center is configured, you may also have links to browse recently viewed articles, related articles, or promoted articles. You can subscribe to sections or articles so that you're notified when somebody creates an article or comments on an article.
Getting around the community
The community is where you can post questions or ideas or provide answers. Community posts are associated with topics of discussion.

You can use search to get around the community or browse the community discussion topics. There are also sorting options available (see Sorting content in the community). You can subscribe to topics or posts so that you're notified when somebody creates a post or comments on a post.
Searching for content
There are a number of methods you can use to find content in the knowledge base or community.
When you first click in the search field, a list of articles appears in a drop-down field. These articles are suggested content that you might find useful, regardless of your search query. When you type at least three characters of your search term, this list disappears and is replaced by instant search results that match your query.
-
Find multiple words: Use double quotes (") around each
word to find content that contains all those words.
For example,
"article" "title" "section"
                                                  "author"
retrieves content that contains all four words, in any order. Make sure you put spaces between the search words, otherwise the search handles the text as one string.You'll get hits if there is a stemmed version of a word (e.g. articles). You won't get hits where content contains only the words title and section, for example.Note: If you use single quotes (') around a word, the single quotes are ignored. If you search for'article' 'title' 'section' 'author', you'll see hits for all content that contains any of the words title or article or section or author(exactly as if you had searched without the single quotes). -
Find a phrase: Use double quotes (") around a phrase to
find content that contains all the words in that
phrase.For example,
"article
                                                  title"
retrieves all content that contains the words article and title, in that order. You'll also get hits if there is a stemmed version of the word (e.g. articles). You won't get hits where content contains only the word title, for example.Note: If you use single quotes (') around a phrase, the single quotes are ignored. -
Exclude results containing certain words: Use the minus
operator (-) in front of the search term to find every
article or post that does not include that word or
phrase.
For example,
reporting bugs
                                                  -support
returns content containing the words reporting and bugs, but excludes those that contain the word support from the result set. -
Combine operands for advanced search: you can combine the
operands above to find a very specific set of results.
For example,
"reporting bugs" -supportreturns hits for content that contains both the words reporting and bugs, but does not contain the word support.
Using content tags
Content tags help you easily locate related content across your entire help center. When content tags are assigned to articles and posts, they appear at the bottom of the content page. When you click a tag, a search results page opens, listing all help center content that shares the same tag.
If your help center is configured to allow content tags to be applied to community posts, you can also add or remove content tags from the posts that you create. See Adding content tags to community posts.
Example: Using content tags to find related content
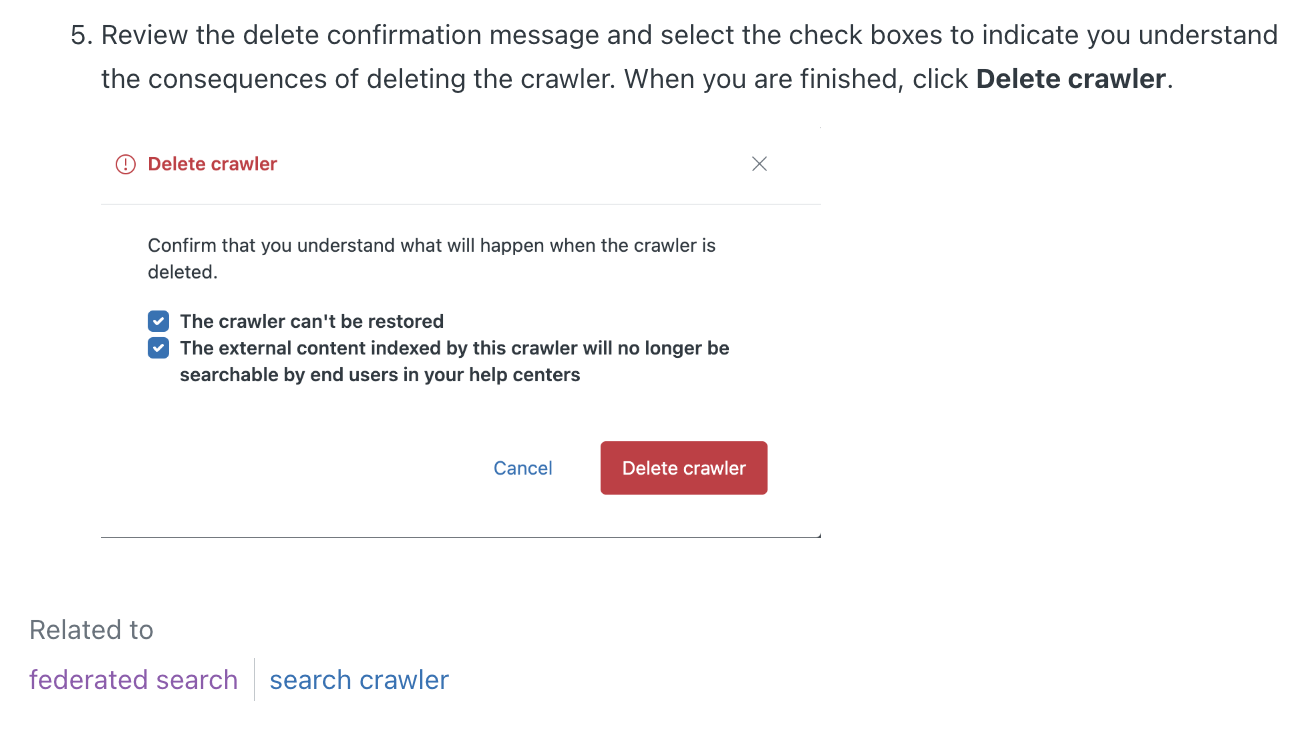
You can click content tags that appear on articles or posts to find related content across your help center. This example shows an article with the “federated search” and “search crawler” content tags.
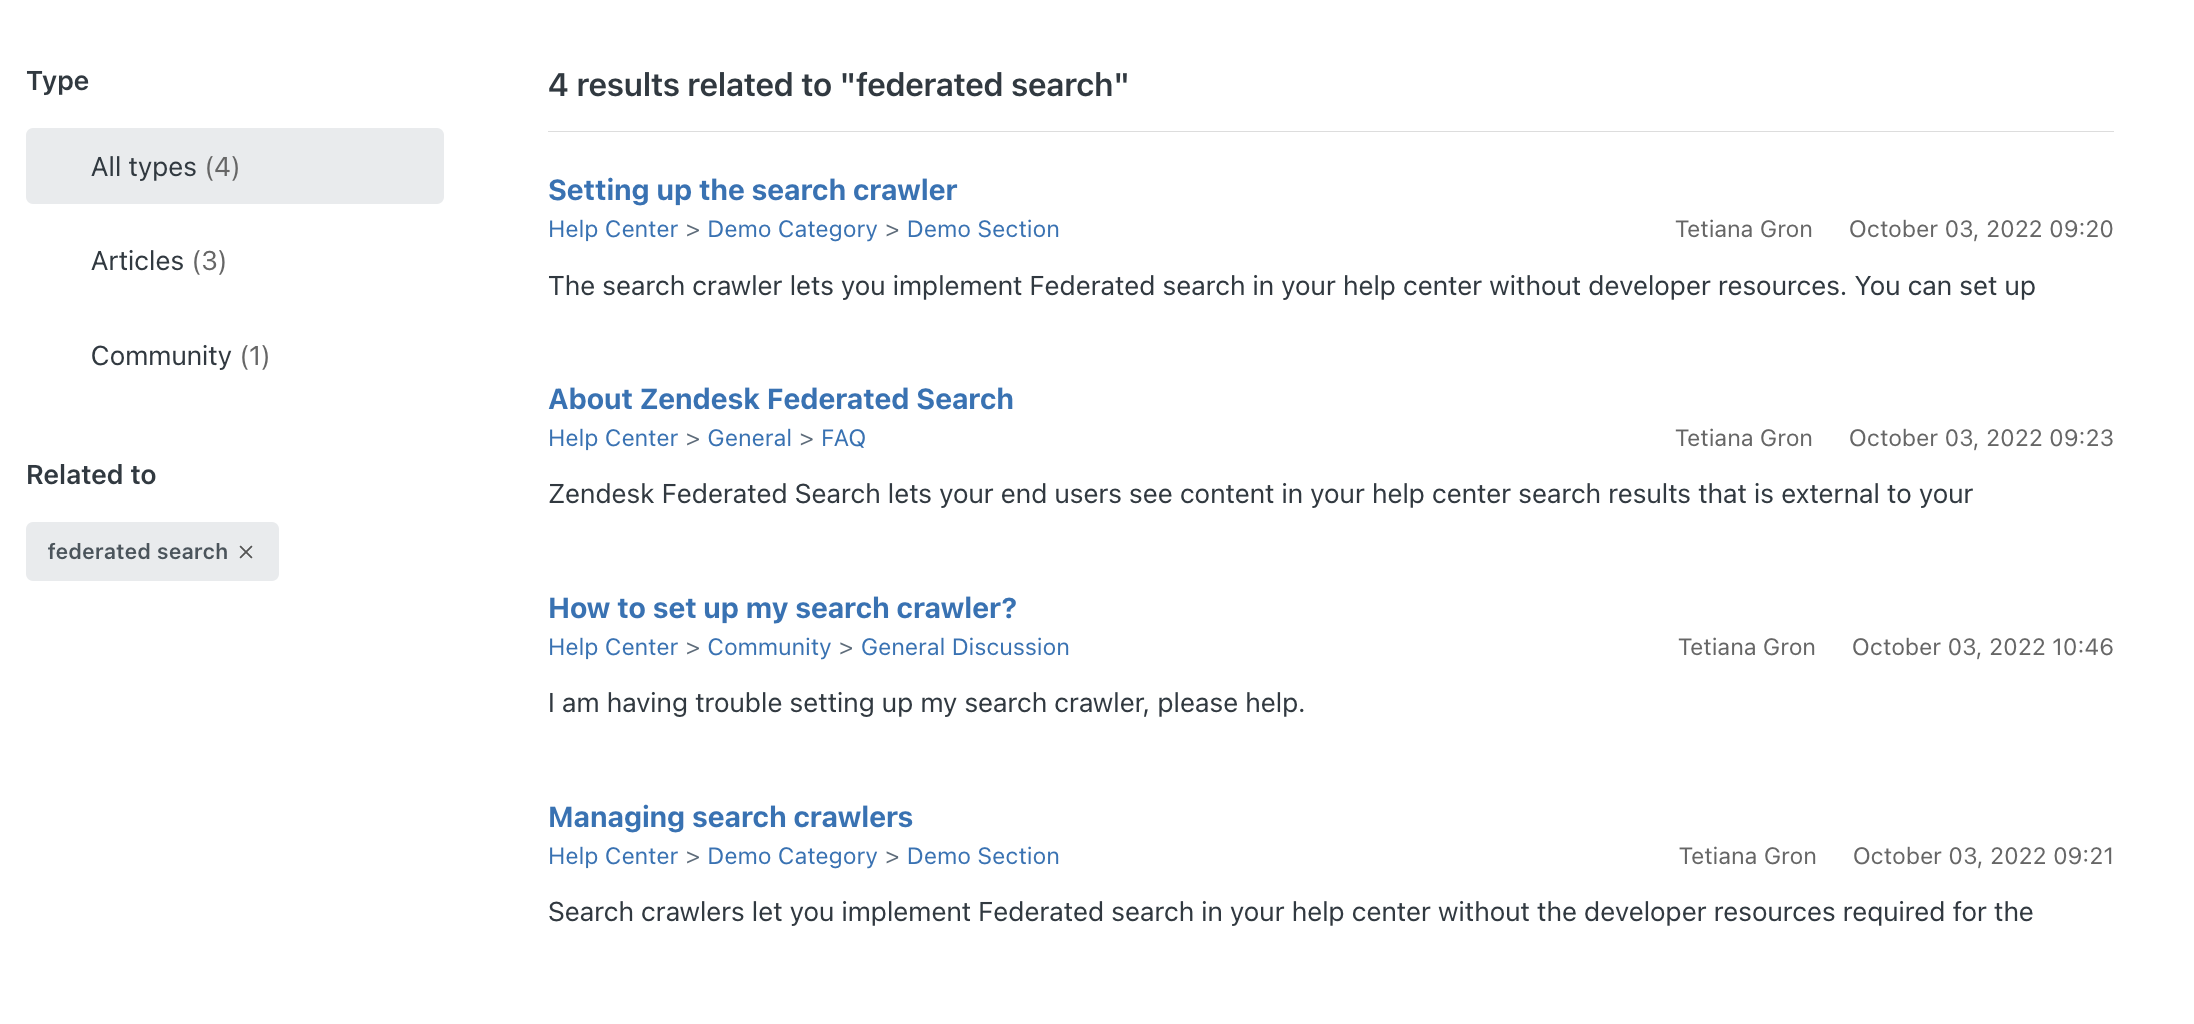
When you click the “federated search” tag in this example, a search results page appears with links to all help center content that shares that tag. You can use this page to navigate to related topics without having to sort through search results. This image shows the search results page with four links to related content.
Using the search filters
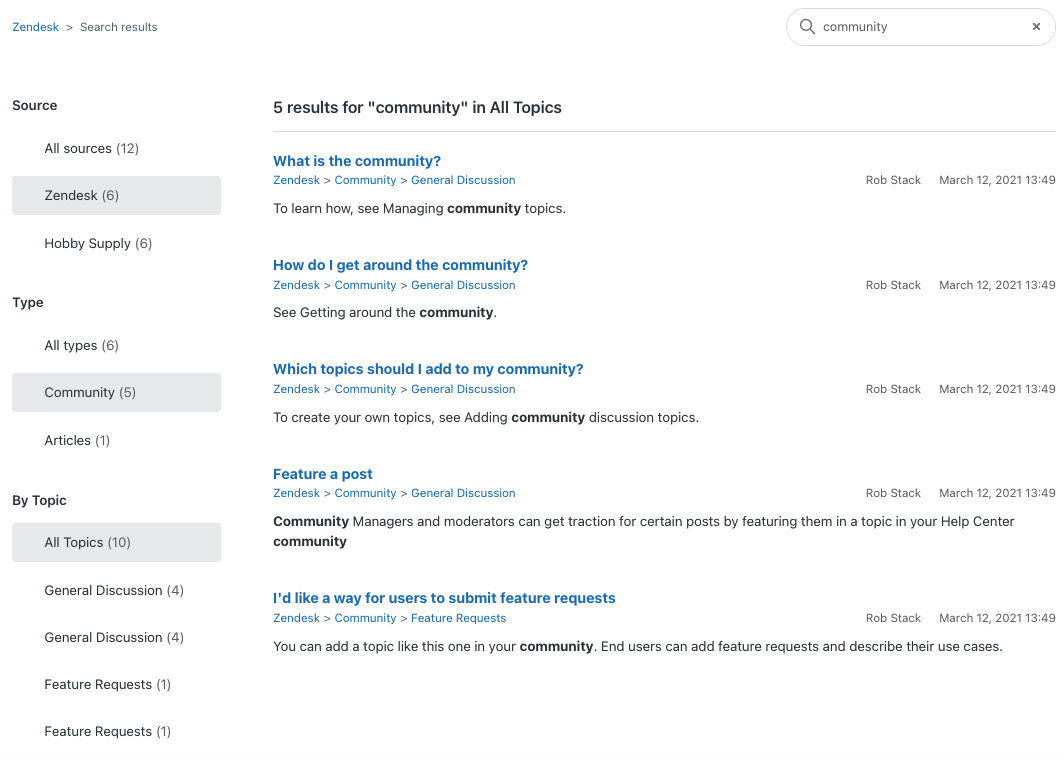
You can use the search results filter panel to refine the content that appears in the search results pane. Filters appear as bolded headings that display the content groupings within that filter and the number of search results for each content group.
-
Source - Search results grouped by their point of
origin. Your native help center is a default source.
Additional sources are defined during multiple help
center enablement and Federated Search
configuration. If content from only one source is
relevant to the search, the content from that source
will be selected by default and the source filter
will not appear. The source filter can contain one
or more of the following:
- All sources - Content from the native help center and, if configured, other help centers and external content.
- Other help center brands in the account - Search results from each help center brand, if multiple help centers are enabled and search has been configured to include results from those help centers.
- External content - Content from external sources that match the search query (for example website name). This filter is available only if Federated Search is enabled and search has been configured to include results from external content. External content sources are defined during search crawler setup or through the Federated Search API. See About Zendesk Federated Search.
-
Type - Search results grouped by the kind of
content that the search result is. Articles are a
default content type and will always appear.
Additional types appear if a community is enabled
(Community posts) and if there are external content
of other types in your search results. The Type
filter can contain one or more of the following:
- All Types - Content from all defined types in your application.
- Articles - Help center articles that match the search query. Articles can originate from either the native help center or other help centers in your account, if multiple help center search is enabled (see Enabling search across multiple help centers). When you select this type, the By Category subfilter appears, allowing you to further refine your search.
- Community - Community posts that match the search query. When you select this type, the By Topic subfilter appears, allowing you to further refine your search.
Using generative search to receive AI-powered answers to your search query
With generative search, you can enter questions or phrases in the help center search field and receive AI-generated answers to your question. Answers are posted in a box above the search results, and provide you with the information you're looking for without requiring you to open each link and scan through the articles for an answer.

If there is not enough information for AI to generate an answer, you'll receive instructions to rephrase your search to sound more like a question or phrase. For example, the search query "What documents do we need to provide to create a joint account?" is more likely to generate an answer than the search terms "joint account."
Sorting content in the community
If the help center includes community forums, you can view content in the community by browsing topics or by showing all the posts in community, regardless of topic. Within topics you can sort posts by newest, recent activity, votes, or comments. Within a post, you can sort comments according to date or votes.
To show all posts across all topics
- On the community landing page, click the arrow beside
Community, then select Show all
posts.

All of the community posts appear in a list, regardless of which topic they are associated with. To show all topics again, select Show topics.
To sort community posts within a topic
- In a community topic, select one of the following
options:
- Newest - (Default) Lists posts in the order they were created, starting with the most recently created
- Recent activity - Lists posts in the order of recent comments, starting with the post that most recently received a comment
- Votes - Lists posts in order by votes, starting with the post that has the most votes
-
Comments - Lists posts in order by
comments, starting with the post that has the most
comments

To sort comments in a topic by date or votes
- In a community post, select Dates or Votes
to sort the comments by the date the comments were
made or by the number of votes the comments
have.
Comments appear chronologically by default, with the oldest comment appearing first.

Making posts in the community
If the help center includes community forums, you can participate in the community by making a post or a comment to ask questions, provide answers, or share ideas, among other things. Before you post, it's always a good idea to run a quick search to see if the question has already been asked and answered in the community.
To make a community post
- Click New post in the top-right side of any community
page.

- Enter a Title for your post.
- Enter Details, which might be anything, including a
question, feature request, or tip.
- Use the toolbar for formatting options or to add
links or images (GIF, JPEG, or PNG).
You can add an image with a maximum file size of 2MB. If you add images to a post in a restricted topic, be aware that users who follow your content will only see these images within their email notifications for a limited amount of time (seven days).
- @mentions: If you want to mention
another user, type "@" followed by a minimum of
the first three characters of their alias, or user
name if the user does not have an alias, then
select the user you want to add from the
autocomplete menu. To mention another user using
@mentions, that user must have submitted at least
one post or comment in the community.
For instance, if you want to @mention Jane Doe, type "@Jan," then select Jane Doe. The user mentioned is automatically emailed, and now follows the post.
- Use the toolbar for formatting options or to add
links or images (GIF, JPEG, or PNG).
- Select a Topic for the post from the drop-down menu, if you want to change the selected topic.
- Click Submit.
Viewing your contributions
If the help center includes community, you can participate in the community by making a post or a comment. You can also participate by making comments on articles, if article commenting is enabled. You can view all your own contributions in one place.
To view all your contributions
- Click your profile icon on the upper-right side of any page, and then click My activities.
- Click Contributions.
Any posts you've made show by default.

- Click Community comments or Article comments to view the comments you've made on post or articles.
- Click any link to view the contribution.
Following content in the KB and community to get notifications
When you follow content, you are subscribing to it, so that you will be notified by email when new articles, posts, or comments are added. You will not be notified when updates are made to the body of an article, post, or comment.
If a section you are following contains additional sections, you must also follow those individual subsections to receive notifications for them.
You will receive email notification for contributions made by other users who you are following, but you will not receive notifications for your own contributions.
You can stop following content at any time.
Following content
In the knowledge base, you can follow sections and individual articles. You cannot follow entire categories. In the community, you can follow topics and posts. You will not be notified when updates are made to existing articles or posts.
You cannot automatically follow all new articles across the help center. You must follow each section instead.
To follow a section or topic
- Navigate to the section or topic that you want to follow.
- Click Follow, then choose notifications for only
new articles/posts or for all new
articles/posts and all comments.

For articles/posts, you will receive email notifications for new articles/posts only in the section or topic. For articles/post and comments, you will receive email notifications for all new articles/posts in the section or topic and any new comments.
To follow an article or post
- Navigate to the article or post.
- Click Follow.

You will receive email notifications for any new comments on the article or post; however, you will not receive notifications when the content in the article or post is updated.
Unfollowing content
You can stop following content at any time if you no longer want to receive notifications. For sections and topics, you can also modify your subscription if you decide you only want notifications for new articles/posts and not all comments or vice versa.
- In the section or topic, click Following,
then select Unfollow.

- In the article or post, click
Following.

The button changes to Unfollow, indicating that you are no longer following the post.
Viewing and managing your subscriptions
You can view and modify all your subscriptions in one place. You must be signed in as an end user to manage your subscriptions.
Subscriptions are managed in My Activities in the Customer Portal of the help center.
To manage your subscriptions
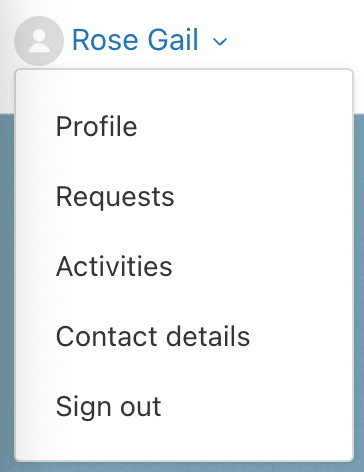
- Click your profile icon on the upper-right side of any page, and
then click Activities.
 Note: You must be signed in as an end user to see the link.
 - Click Following.

- Make any changes to your subscriptions.
Unsubscribing removes the subscription from the page.
Sharing links to specific comments
You can share a link to a comment on an article or a post to point users to the exact answer or solution.
To copy a link to a specific comment
- Click the options menu beside the comment, then select
Permalink.

- Click Copy.
- Paste the link where you want to share it.
Responding to approval requests assigned to you as an end user
Approvals are requests that agents make on behalf of other agents and end users. End users must view and respond to approval requests through the customer portal in the help center.
Accessing approval requests assigned to you as an end user
End user approvers can use the links from the approval requested notification emails to open and respond to an approval request directly. However, they can also see a list of approval requests they're assigned to approve within the customer portal.
- Click your profile icon on the upper-right side of any help center page, and then click Approval requests.
Responding to approval requests as an end user
End user approvers can respond to an approval request from the help center. You’ll receive an email notification when your approval is requested and if any comments are added to an approval request for which you are the approver.
To respond to an approval request as an end user
- In the email notification, click Review
request.

If you’re not already logged in, you’ll be prompted to log into the help center.
- Review the request, then do one of the following:
- If you need to add notes, comments, or request additional information before you approve or deny the request, enter a comment and click Send.
- Click Approve request.
- Click Deny request.
