Verified AI summary ◀▼
The integration log helps you monitor data syncing between your support system and integrations like Salesforce, Jira, and Shopify. It lets you track activities, identify issues, and filter logs by date, time, product, or status. You can view detailed information for each activity, including date, product, status, and a description of the event, to ensure smooth operation and troubleshoot errors effectively.
The integration log in Admin Center provides information about data syncing between Zendesk Support and your integrations. It enables you to check that the integrations are running successfully and identify any issues.
Related articles:
About the integration logs
The integration log lists activities in the last 7 days for the following integrations:
- Ticket sync: Synchronization of Zendesk tickets to Salesforce Cases when
they are created or modified in ZendeskNote: Tickets that are created or modified in Salesforce are not included in the integrations log.
- Accounts to Organization sync: Synchronization of Salesforce Accounts to Zendesk organizations in Support when they are created or modified in Salesforce
- Contact to Users sync: Synchronization of Salesforce Contacts to Zendesk users when they are created or modified in Salesforce
- Leads to Users sync: Synchronization of Salesforce Leads to Zendesk users when they are created or modified in Salesforce
Jira
- Informational and error messages for field sync events. These messages appear when a Zendesk ticket is updated, or a Jira issue is updated or deleted, and the webhook sends data to Zendesk. These events help you track updates that sync between Zendesk and Jira.
- Customer, order, and fulfillment events received by Sunshine profiles and events
- API calls made by a conversation bot. For more information, see Using the Make API call step in a conversation bot
- Run and test events for custom actions created for use with the auto assist and action flow features. For more information, see Creating and managing actions for auto assist and action flows.
- Details about action flow run and test events. See Understanding the action builder and action flows (EAP).
- Error logs for messaging and social channels powered by Sunshine Conversations.

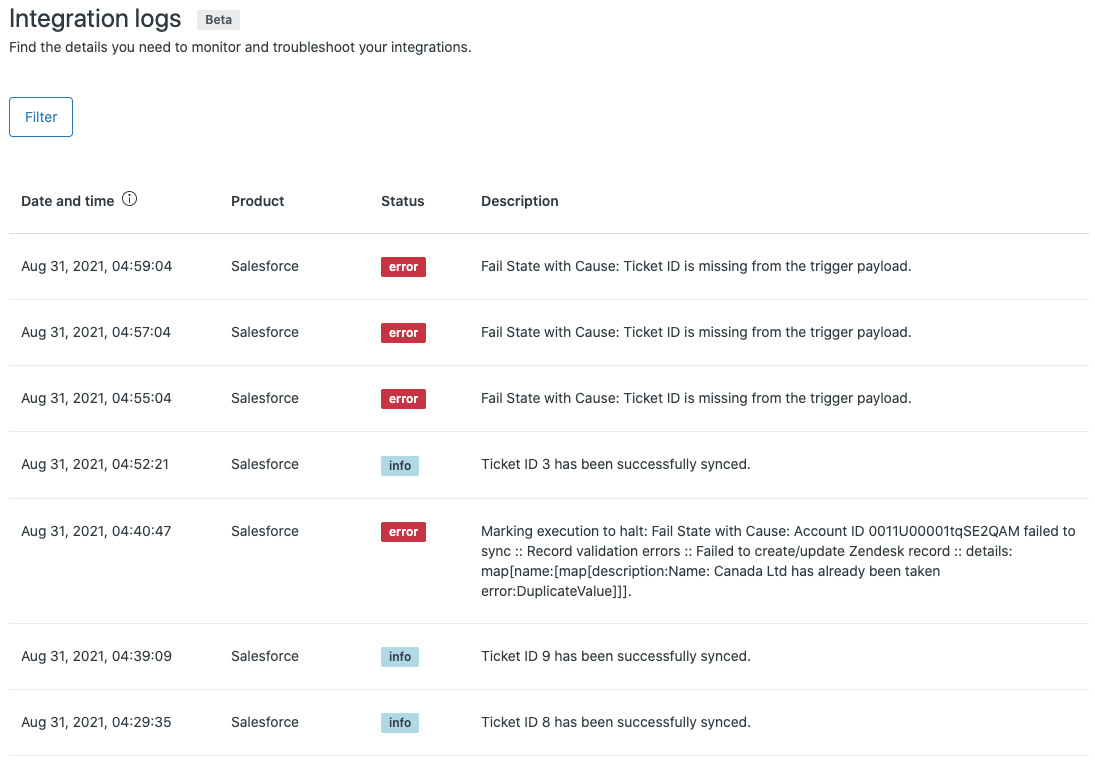
The log contains the following information for each activity:
| Column | Description |
|---|---|
| Date and time | The date and time the activity occurred in the viewer's specified timezone. |
| Product | The integration name |
| Status | The job status: info, warning, error, or debug |
| Description | A description of the event. For failed jobs, a message with error details is displayed |
Viewing the integration log
You can view the integration log in Admin Center. Activities can be filtered by date and time and by product or status.
- In Admin Center, click
 Apps and integrations in the sidebar, then select Integrations >
Logs.
- On the Integration log page, click Filter and select the date and time in Start date, End date, Start time, and End time.
- (Optional) Specify a Status or Product.
- Click Apply filters.
The Product drop-down list displays only products with errors. If there are no errors, the list will be empty.
- On the Integration log page, click on any row to open the details panel with more information.