Verified AI summary ◀▼
Use the Admin Center to manage team member roles and access across product areas. Assign roles like Viewer for knowledge and analytics, and activate or deactivate product access to manage licenses. Remember, only account owners and admins can set roles and access, and some settings depend on your plan. Note that product-specific settings, like adding end users, are managed separately.
This article describes how to use Zendesk Admin Center to view and change roles for team members, as well as to activate and deactivate access to product areas.
This article includes the following sections:
About team member roles and access
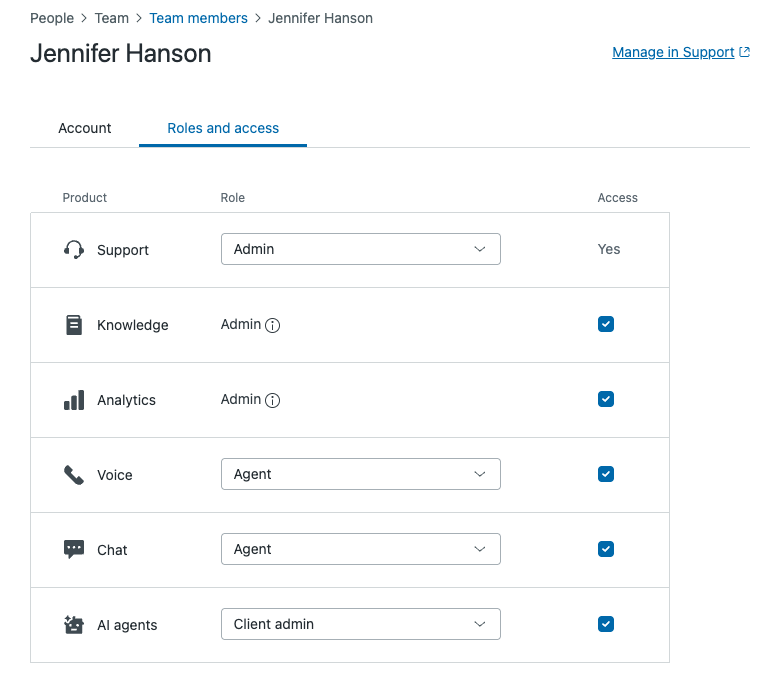
Admin Center provides a central location for setting a team member’s roles and access across multiple Zendesk product areas. Only product areas that are active in your Zendesk account are displayed in the list.

A team member is anyone you add to a Zendesk account who is not an end user. For example, in Support, a team member can be an account owner, an administrator, an agent, a light agent, or a user with a custom role. Team members are also sometimes referred to as staff members.
| Role | Set product access and assign roles |
|---|---|
| Account owner | Set product access and assign roles for any team member in any product area, including for themselves. |
| Support admins | Set product access and assign roles for any team member in any product area, including for themselves. |
| Non-Support admins | Set product access and assign roles for themselves and other team members
only in the product areas where they are an admin. If a non-Support admin removes their own access to a product area, only another admin of the same product area, a Support admin, or the account owner can restore their access. |
Product dependencies for roles and access
Your options for assigning roles vary by product area. For more information, see About team member product roles and access.
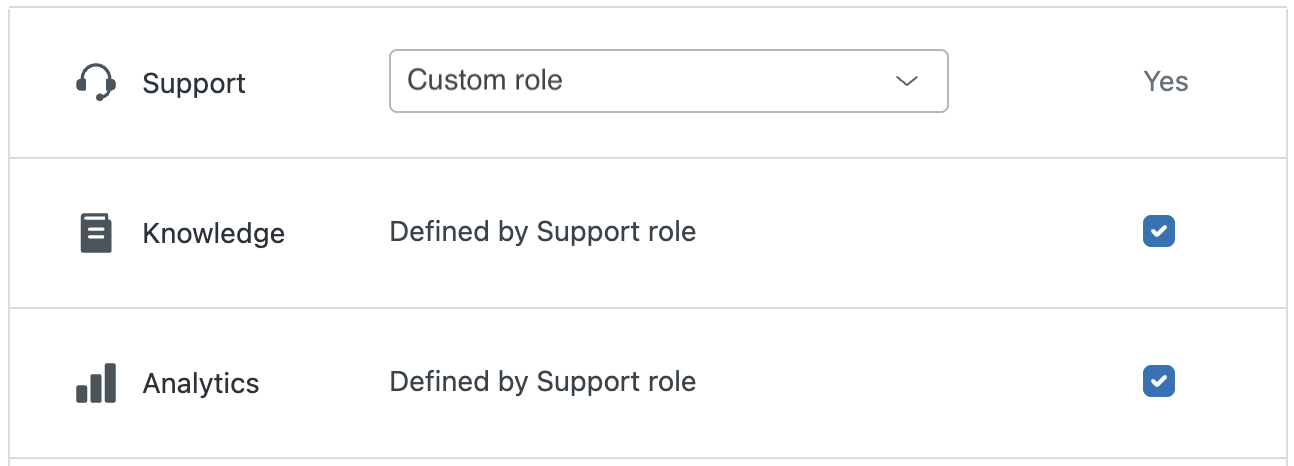
Some team member roles can't be set from the drop-down because there are product and plan dependencies. For example, if you have a Zendesk Suite Enterprise or Enterprise Plus plan, access is dependent on Support custom roles.

Opening the team member's profile
There are several ways to open a team member's profile in Admin Center, depending on the product area you’re using. Here are some examples:
To open a team member's profile from Admin Center
- In Admin Center, click
 People in the sidebar, then select Team > Team members.
 - Locate the team member or use the search to find the team member.
- Click the team member to access their settings.
To open a team member's profile from Support
- In Support, click the team member to open their user profile.
- In the menu on the left, click Manage in Admin Center under Role.
The team member’s Roles and access page opens.
Setting team member roles
To assign a role to a team member in Admin Center
- In Admin Center, click
 People in the sidebar, then select Team > Team members.
 - Locate the team member or use the search to find the team member.
- Click the team member to access their settings.
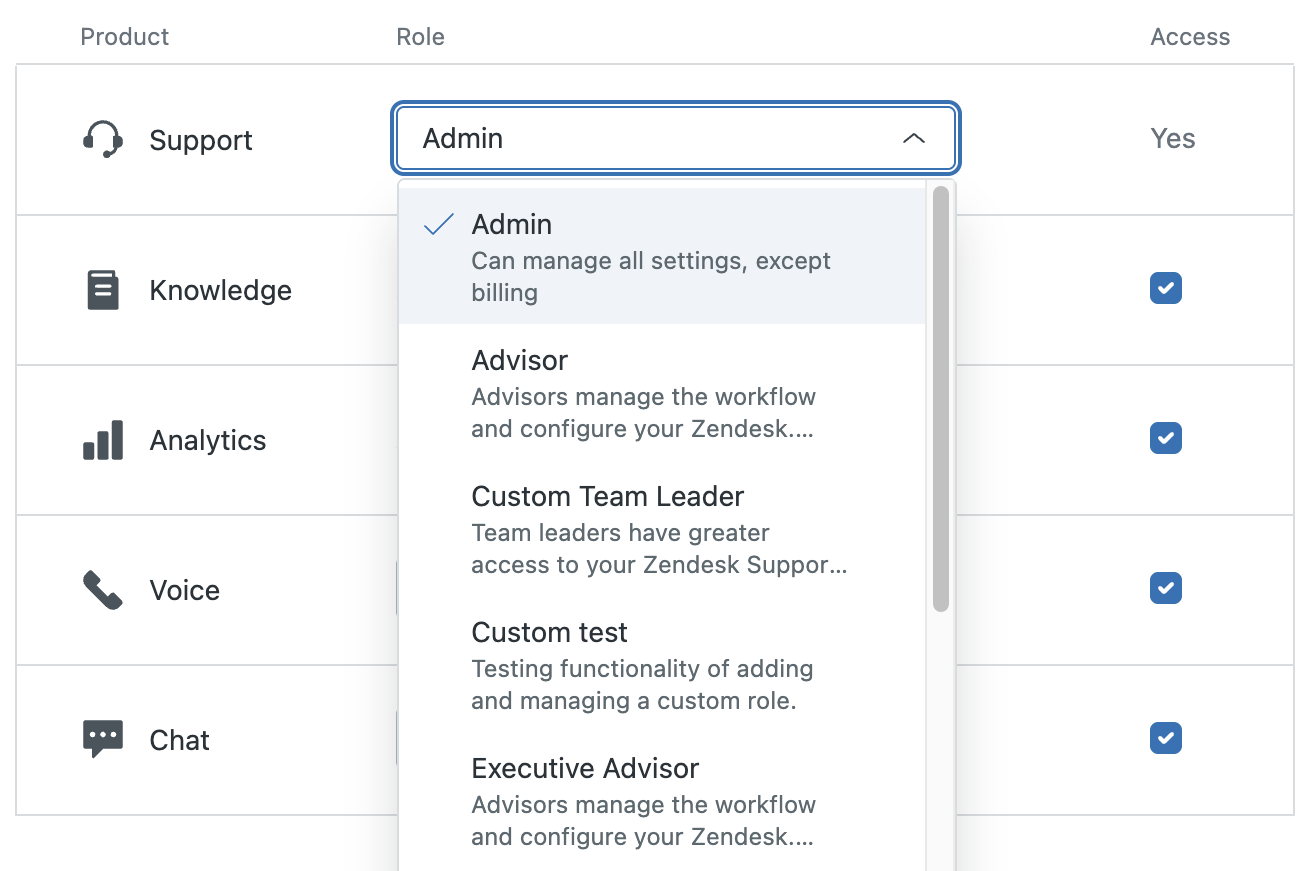
- In the Role column, use the drop-down fields to select the new role you want to
assign to the team member.
 Note: You must be an admin in Support to set a team member's role in Support.
 - Click Save.
- Repeat this procedure for each user whose role you want to change.
Setting Viewer roles for knowledge and analytics
Team member roles you can set for knowledge and analytics include a Viewer role you can use to grant access without providing full agent permissions. For example, the analytics Viewer role allows staff members (including light agents) to view dashboards shared with them, but they cannot create queries and dashboards. The knowledge Viewer roles provides staff members with the same permissions as end users. They can't be granted create, edit, and publish privileges. See About team member product roles and access.
Activating and deactivating access to product areas
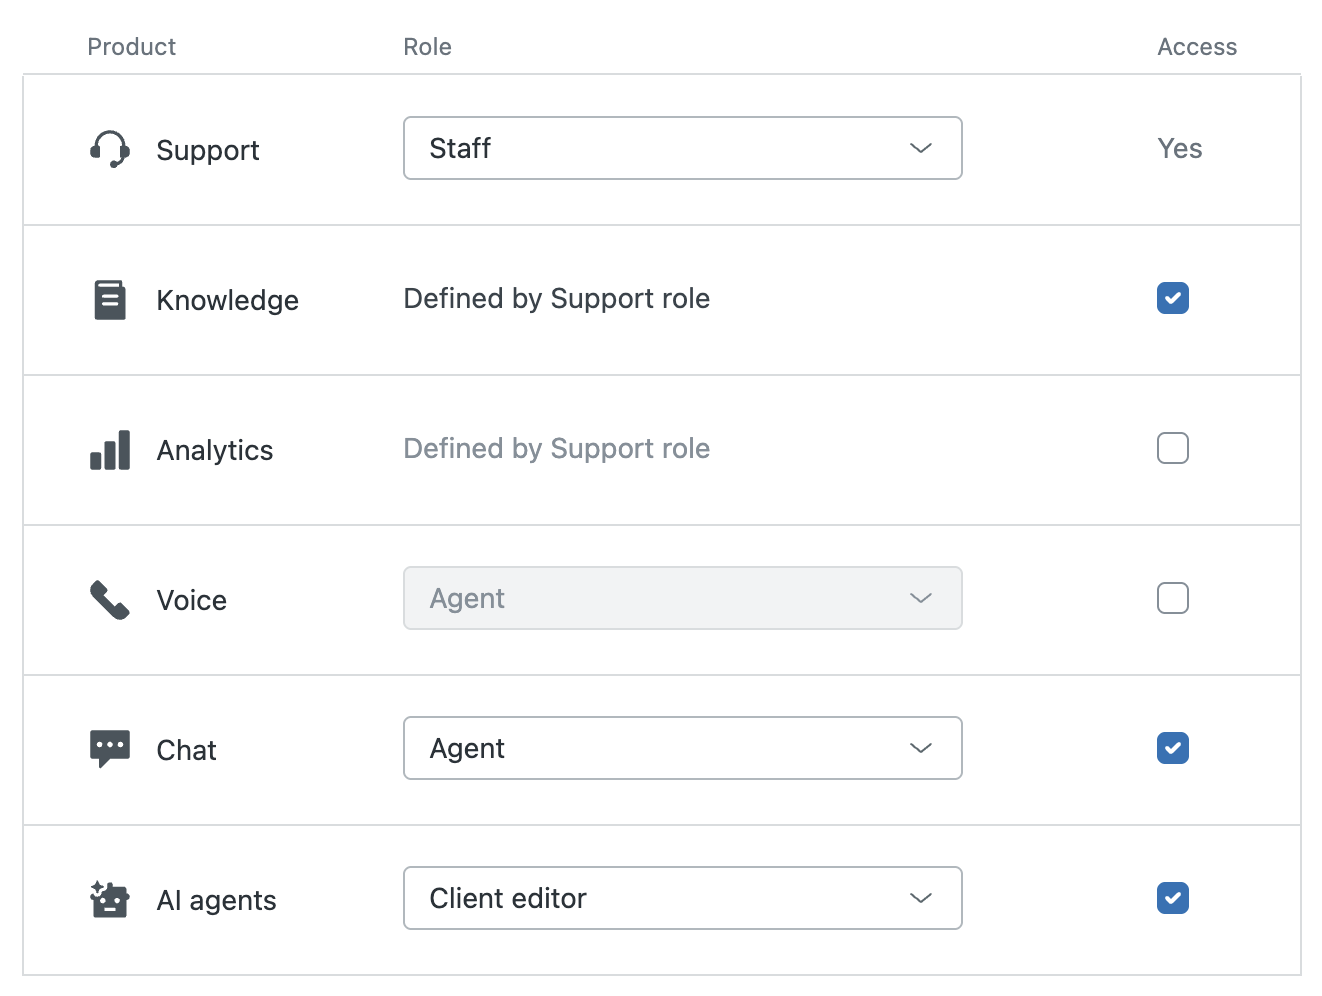
Activating access to a product area typically requires a license (seat). Deactivating access frees up a license. To make sure you don’t exceed the number of licenses you have purchased for a product area, Admin Center shows when your subscription limit is reached.

To activate or deactivate a team member's access to product areas
- In Admin Center, click
 People in the sidebar, then select Team > Team members.
 - Locate the team member or use the search to find the team member.
- Click the team member to access their settings.
- In the Access column, select the product areas to activate for the team member and
deselect those you want to restrict.

- Click Save.
- Repeat this procedure for each user whose access you want to set.
Limitations
You can use Admin Center to manage team member roles and access to different product areas. Product area-specific settings are still managed separately within each product area. For example:
- Adding end users.
- Downgrading users from a team member to an end user.
- Deleting team members.