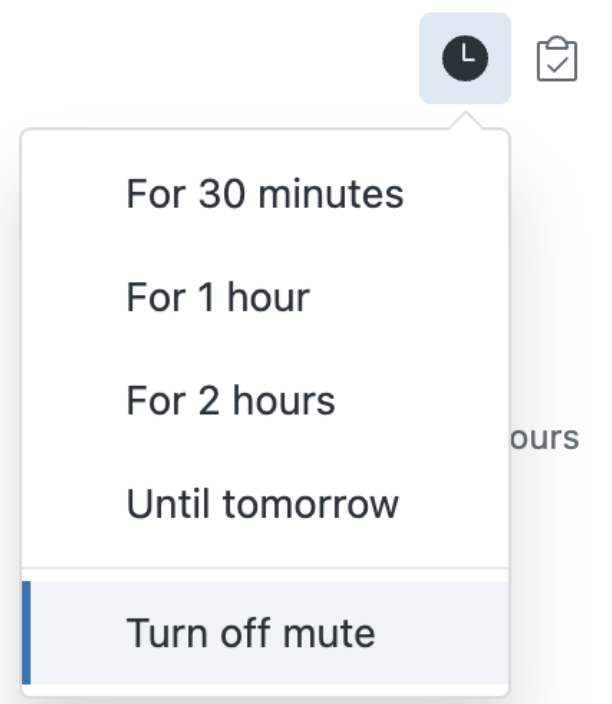
Summary: ◀▼
Use the notifications list to manage messaging and email conversations by tracking new replies, ticket assignments, reopened tickets, and @mentions. The notification list helps you prioritize and respond to tickets effectively. You can mute notifications for focused work and unmute when ready.
This article describes how to use your notifications list to manage conversations in the Zendesk Agent Workspace. The notifications list works for both messaging and email conversations. It also works for reopened chat and messaging tickets. To use this feature, you must have notifications turned on.
This article includes the following sections:
About the notifications list
As a busy agent, you may have to manage multiple conversations at the same time. Because customers expect timely responses, Support tickets include a notification list to keep you on-track with your customers. Used in conjunction with ticket tabs, the notifications list is a valuable tool to help you manage your conversations and quickly reply to requests.
The notifications list includes these features:
- Notifications appear in chronological order and include time-based list dividers
- Read and unread status indicators
- A toggle to show unread events only
- A button to mark all notifications as read
- Aggregated updates related to the same ticket
- A button to temporarily mute notifications
The notifications list is updated whenever an end user replies to one of your tickets, but you don't have the ticket open in the workspace. The list keeps you up-to-date on new conversation assignments, new replies from end users, and @mentions from other agents. The list also includes notifications for reopened chat and messaging tickets, helping you to prioritize these responses.
In addition to updating the notifications list, you'll receive an audio alert when a notification occurs and the favicon in your browser tab changes to show a blue dot and exclamation point (!). This helps you to notice unread updates when you are working in another browser tab or with other applications.

Examples of events that cause updates to the notifications list include:
- A ticket is assigned to you by another agent.
- A visitor (end user) replies to a ticket you are currently assigned.
- Another agent replies to a ticket you are currently assigned.
- Another agent @mentions you in another ticket.
- A visitor replies to a ticket you are following (but not necessarily assigned).
- Another agent replies to a ticket you are following.
- One of your chat or messaging tickets is reopened.
Opening the notifications list
When one of your assigned tickets receives a new reply from an end user, you'll see a notification at the top of the workspace and the notifications icon is updated to show your count of unread tickets. For example, if you have 10 unread conversations spread across three tickets, the count shows as 3.

To open the notifications list
-
Click the notifications icon (
 )
at the top of the ticket window.
)
at the top of the ticket window.
A list of notifications appears.
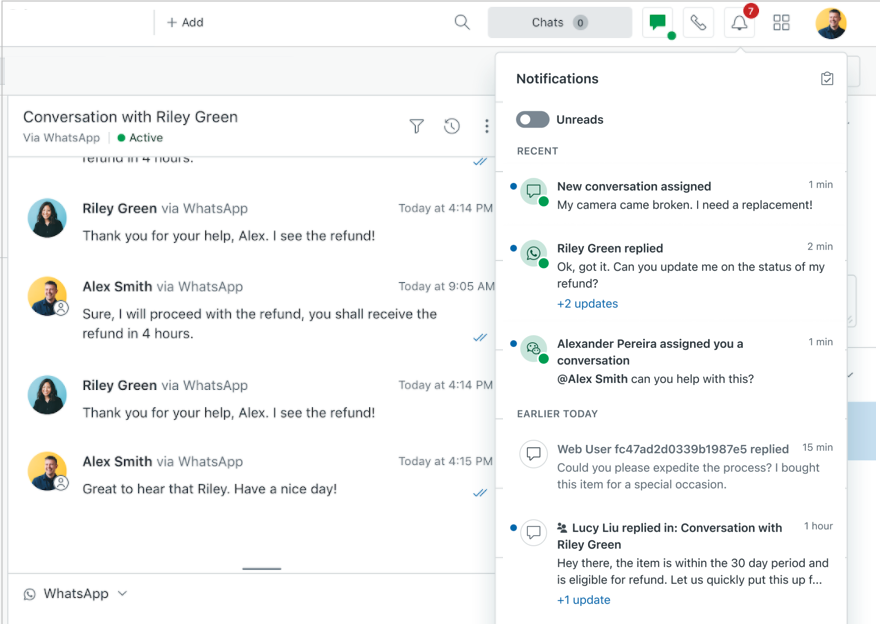
You can quickly see which conversations are unread. Notifications in the list include an icon to show the channel, the name (or ID) of the user sending the reply, the time the reply was sent, and the first line of the reply.
This list also shows you ticket assignments. For example:

-
Click a notification to open the ticket, view conversation details
and reply.
Once you click a notification and open the ticket, it's removed from the list. Notifications for solved or closed tickets are automatically removed from the notifications list, so you can focus on what needs to be done.
-
To close the list, click the notifications icon ()
again.
Muting notifications
Agents can mute notifications for a set period of time when they need focused, uninterrupted work sessions.
To mute notifications
-
Click the notifications icon ()
at the top of the ticket window.
A list of notifications appears.
-
Click the mute icon (
 )
and select a mute time.
)
and select a mute time.
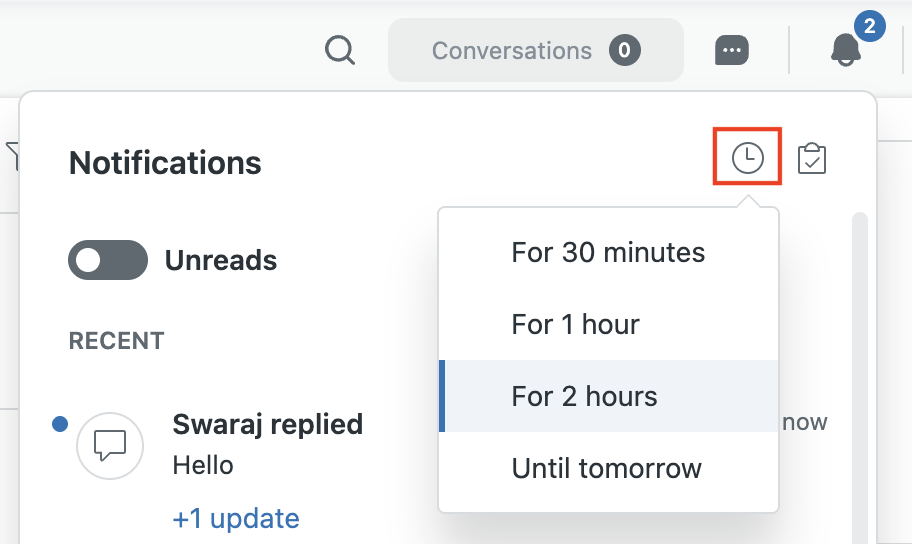
If you select Until tomorrow, the mute expires after 24 hours.
After you select a mute time, the notifications icon (
)
at the top of the ticket window changes to show
notifications are muted.

When notifications are muted, new notifications are added to your list, but you won't hear notification sounds or see notification alert messages in your browser. The mute automatically expires after the time specified.
To see how much longer before the mute expires, hold your mouse pointer over the mute icon
.
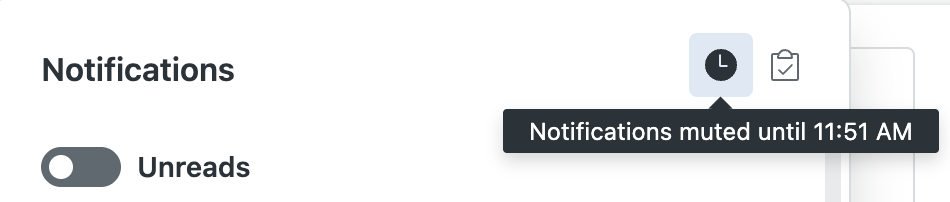
In some cases, you may want to unmute notifications before the mute time expires.
To unmute notifications
-
Click the notifications icon ()
at the top of the ticket window.
-
Click the mute icon ()
in the notifications list and select
Turn off
mute from
the menu.